Complete Guide to Grow Dahlias from Seeds
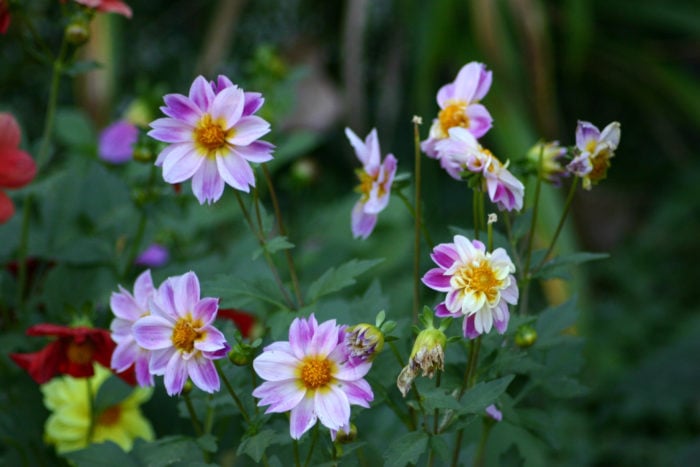
Table of Contents
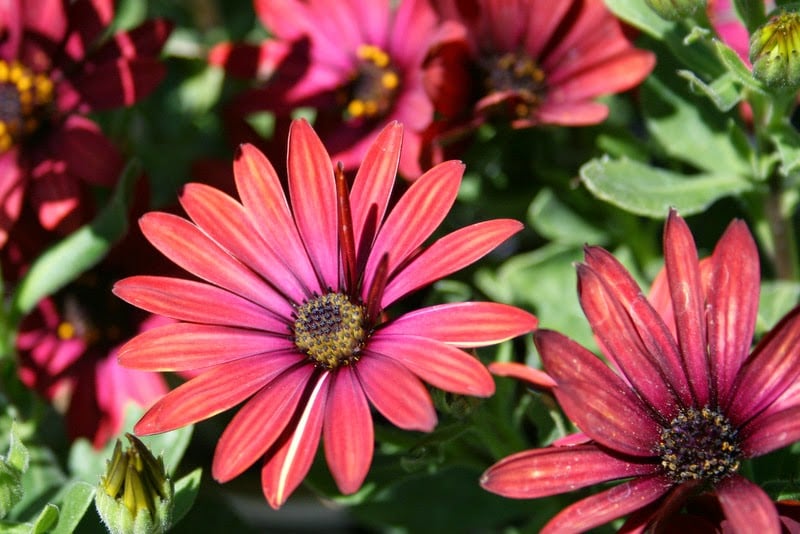
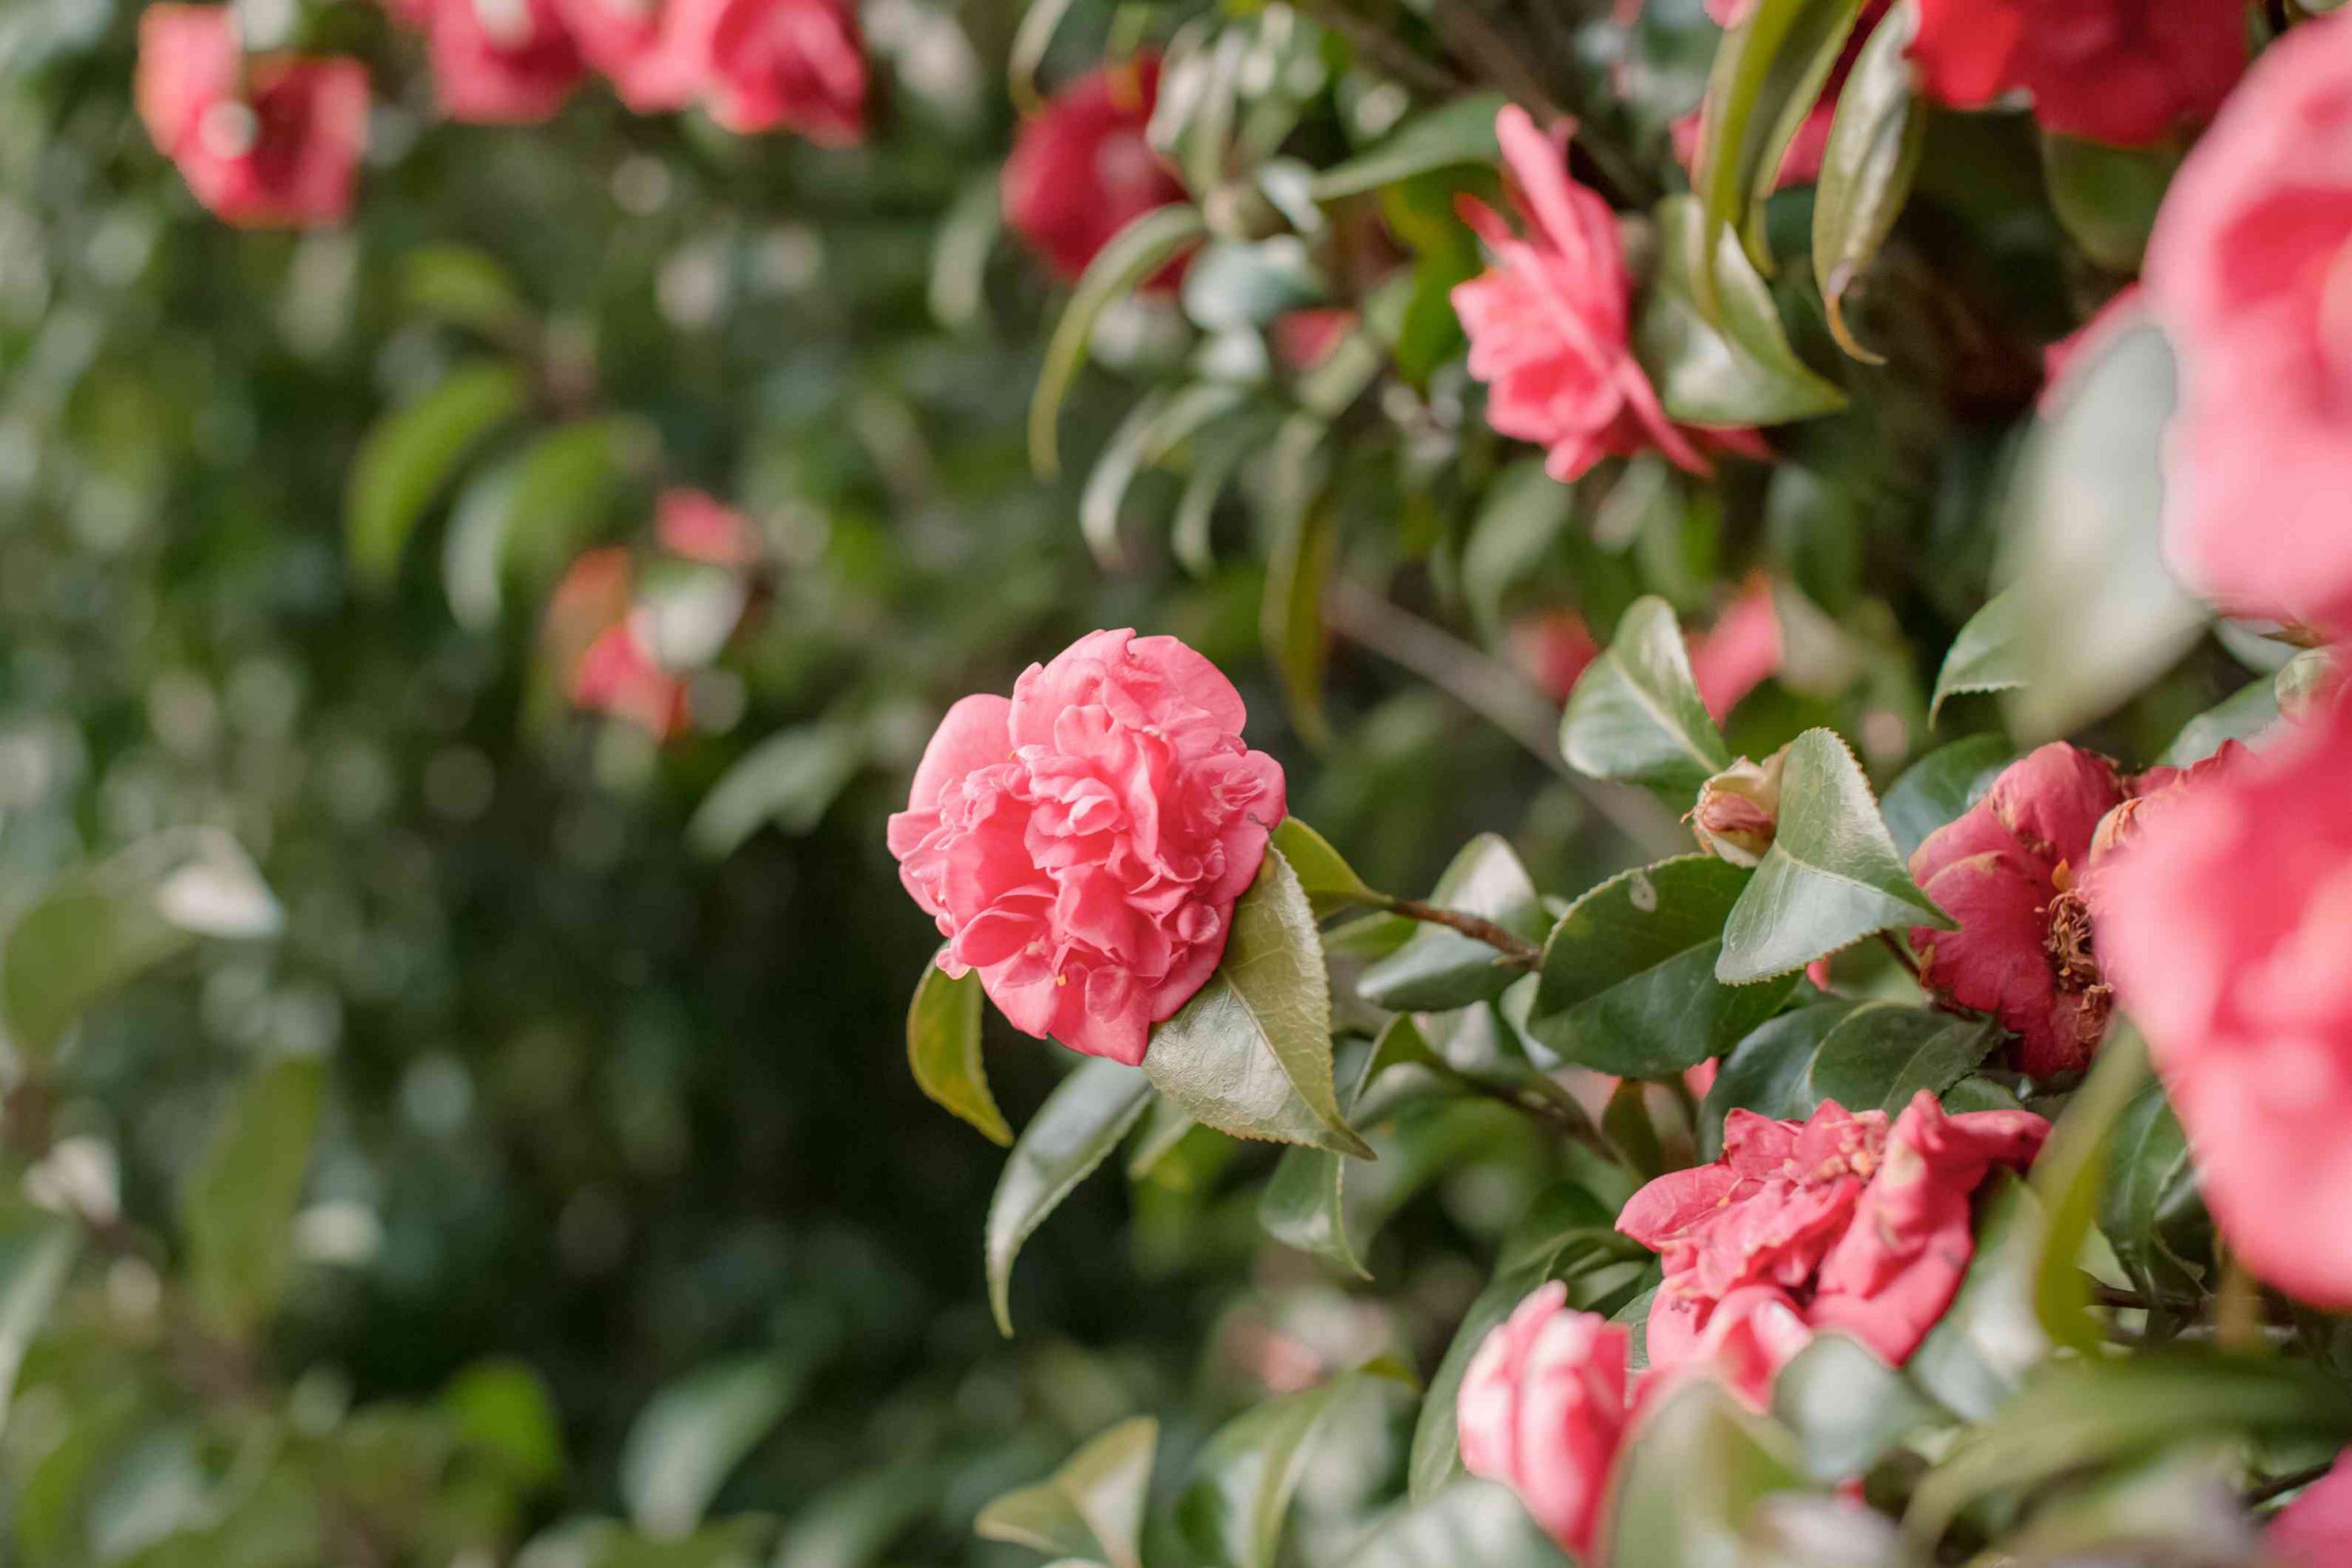
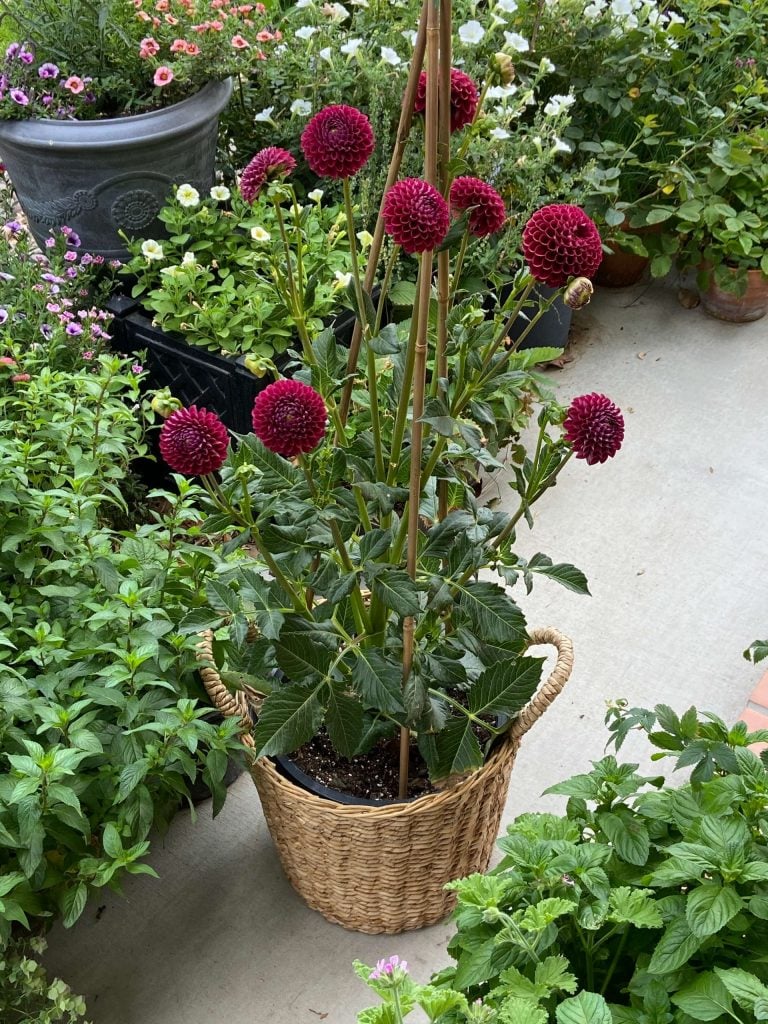
Belonging to the Asteraceae family, Dahlia is a genus of beautiful flowering plants that are native to Mexico, South and Central America. They come under the same species as sunflowers, daisies, chrysanthemums, marigolds, zinnias, etc. Dahlias are popularly known for their vibrant blooms, which can reach up to 12 inches in diameter, and these blooms come in varied colours, such as bright yellow, white, pink, red, black, and purple. These plants grow from 1 foot to 6 feet tall, depending on the type of variety. They have green leaves that are notched and lobed; the stems of this plant produce multiple blooms in the growing season, which lasts from mid-summer to fall.
Dahlias are usually cultivated as decorative flowers and are very famous in the floral industry. The flower size of this plant can range from 2 inches to 15 inches. They are perfect for a border garden, and with the right colour variety, they can give a colourful and splendid view to your garden. There are more than 40 species of Dahlias from across the world, and some of them are Cactus Dahlias, Pompon Dahlias, Anemone Dahlias, Waterlily Dahlias, etc.
Let’s dive into the ways to grow Dahlias from seeds.
How to Grow Dahlias from Seeds
If you are growing Dahlias from seed, then you need to start this process in the early Spring, as this season is best for your plants to thrive. And if you are buying these seeds, then there’s no way you know the type of flowers you are going to get until the plant blooms. This method of growing dahlias from seeds is adapted quite frequently, so let’s look into the complete process of growing dahlias from seeds.
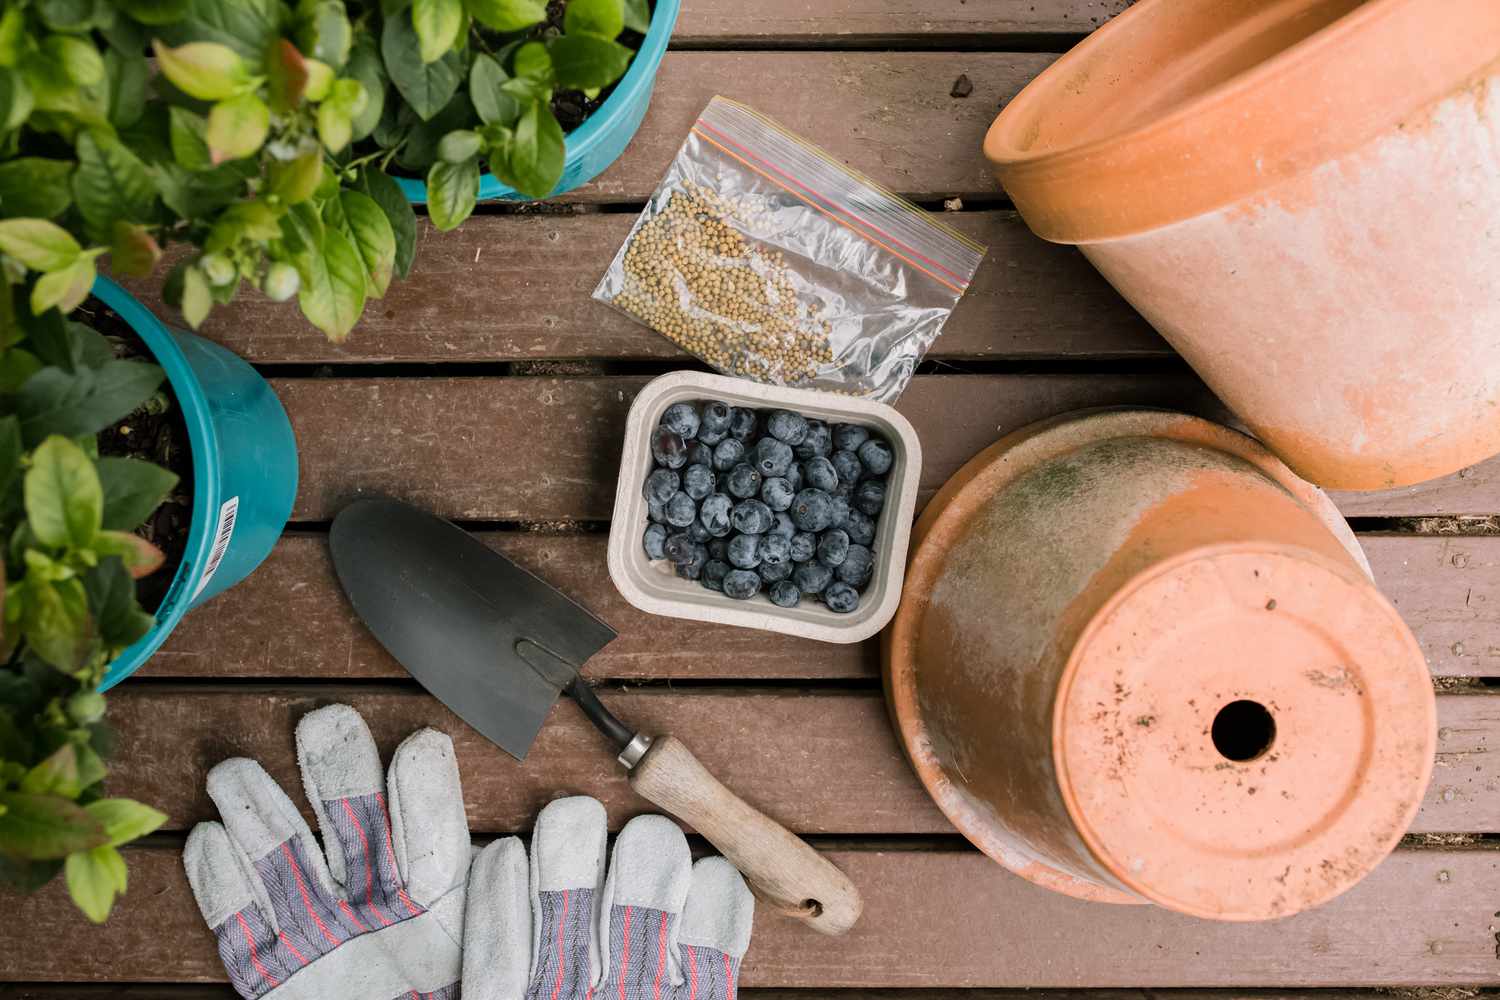
Prepare the Compost
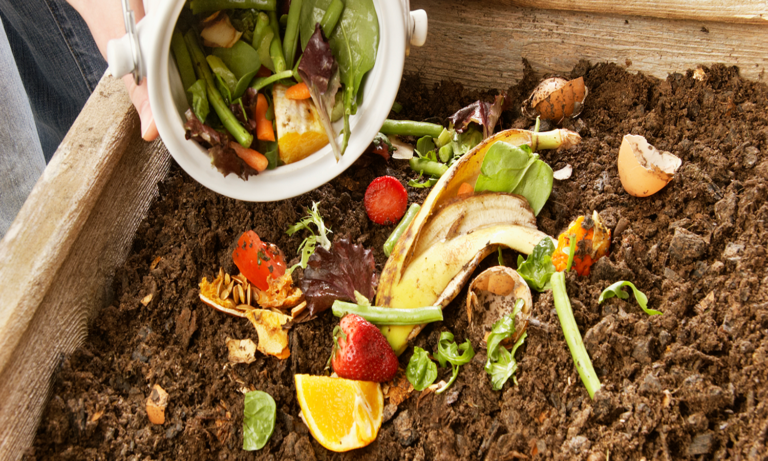
To grow dahlias from seeds healthily, you need to first prepare the compost with the right composition. This will ensure that your soil is rich in nutrients and will protect it from any pests and infestation. Also, make sure that your compost is moist. You can even sprinkle water to bring the moisture levels up. This moisture content is important for Dahlia plants to grow well.
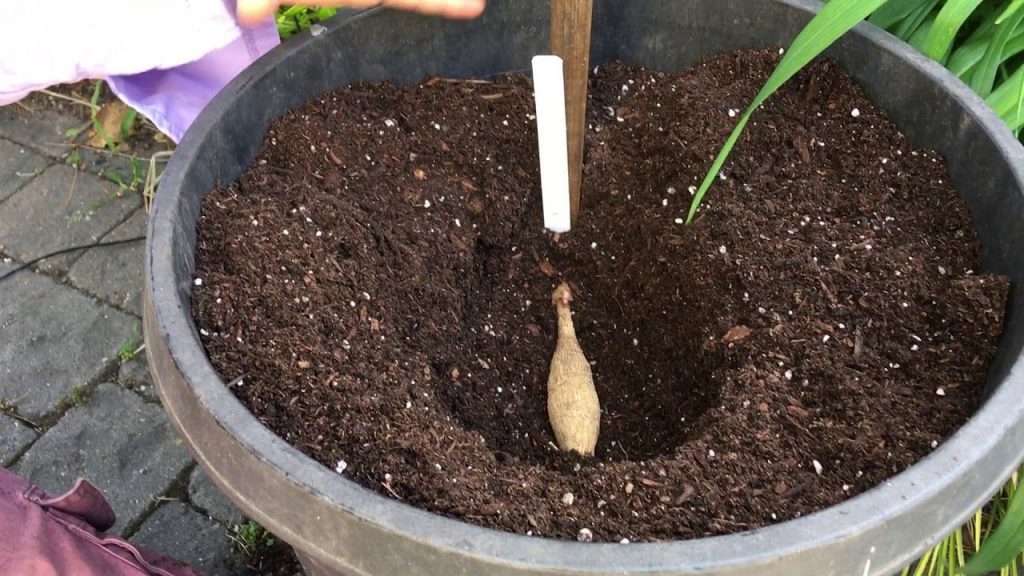
Prepare to Sow
Once you have the compost ready, you can now prepare your soil to sow the seeds. Add the right amount of compost and fertilizer to your soil and mulch it to make sure that it’s ready for the seeds. Do this when there’s the least frost in your surroundings and ensure moisture in your soil. This process can also be performed indoors to make sure that it is protected from harsh weather.
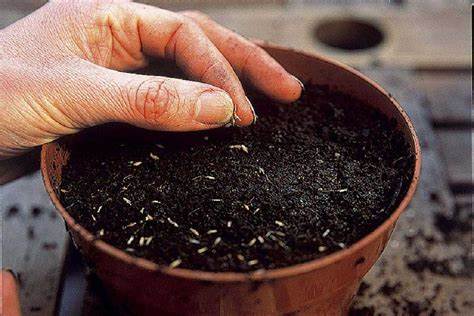
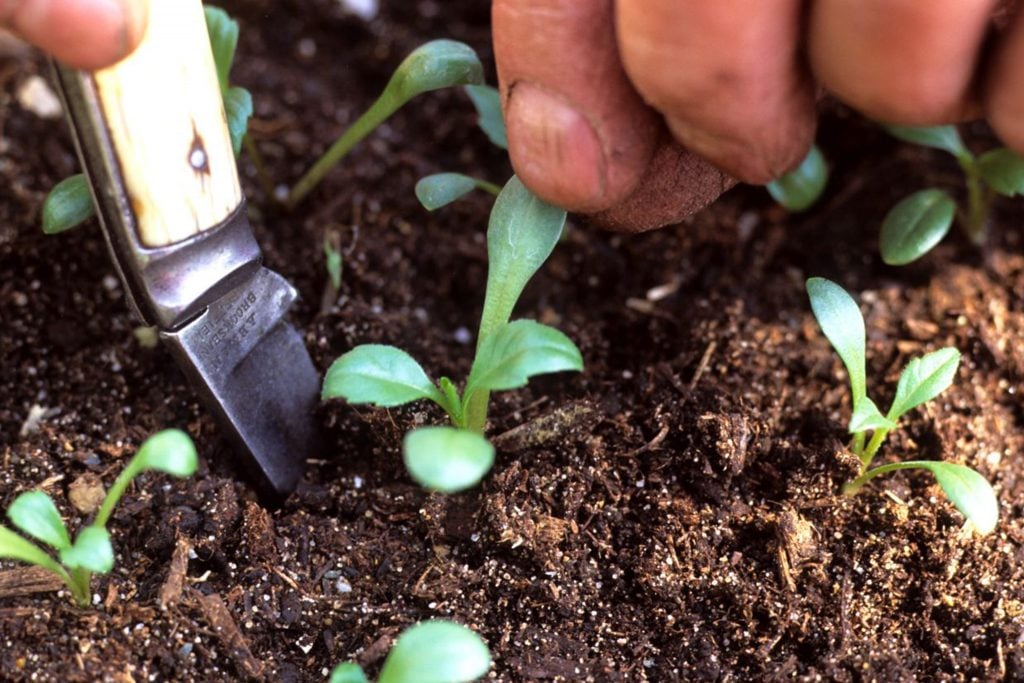
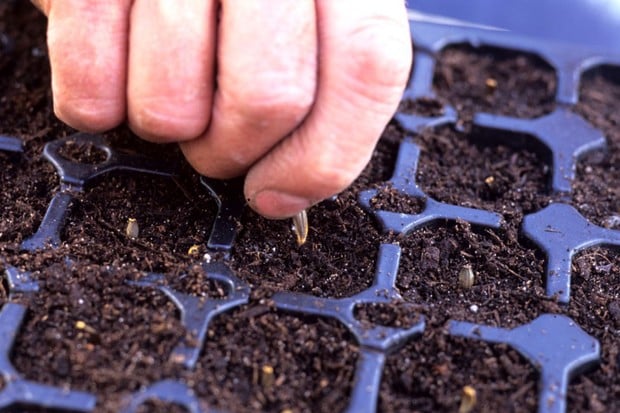
Sow the Seeds
Once the soil is prepared and ready, you can convert the soil into a seed tray, pot, mug, or soil, anything that’s comfortable for you. The seeds are generally long, thin, and black/brown in colour. Make sure to plant them at least 12 inches apart or 18 apart in rows so they have enough space to grow as full plants. Place the seeds and push them gently downwards where there is direct sunlight for most part of the day. These plants can’t grow in frost weather, so you can even bring the containers indoors until the frost season passes by in your area.
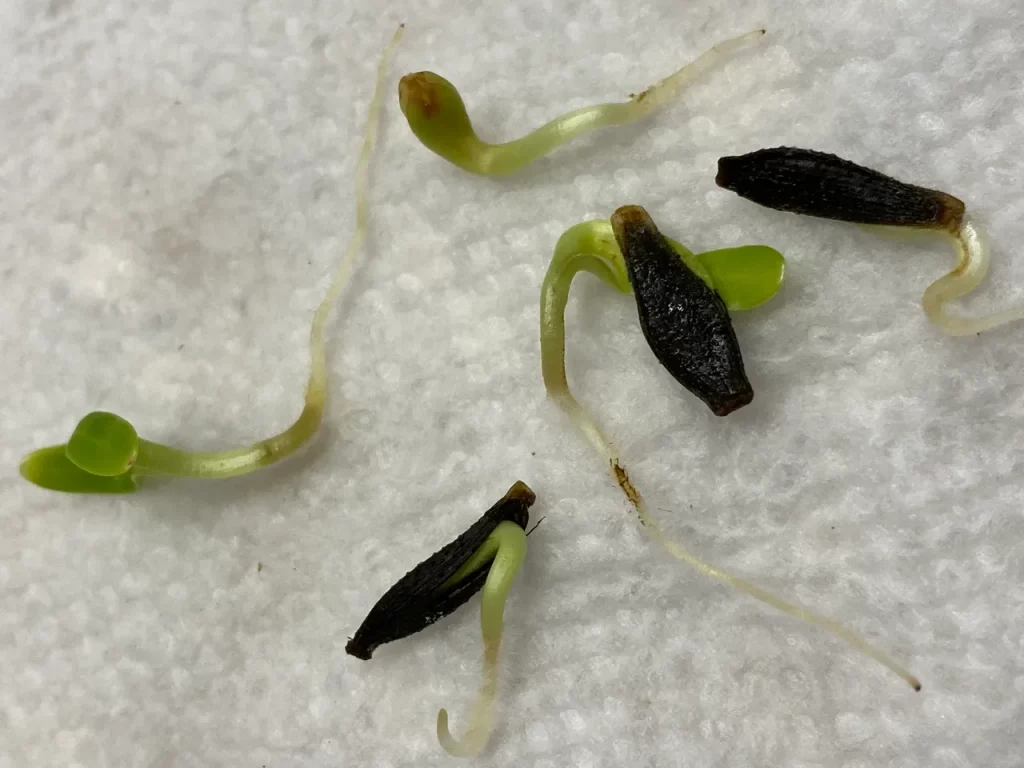
Wait for Germination
Once you sow the seeds, you need to wait for at least a couple of weeks until you see any results. Make sure that your soil is moist all the time with enough humidity and that your seeds have at least 6 hours of direct sunlight all day. If the weather is too frosty, bring the trays indoors or place them in a temperature-regulated conservatory or greenhouse to ensure that they are growing.
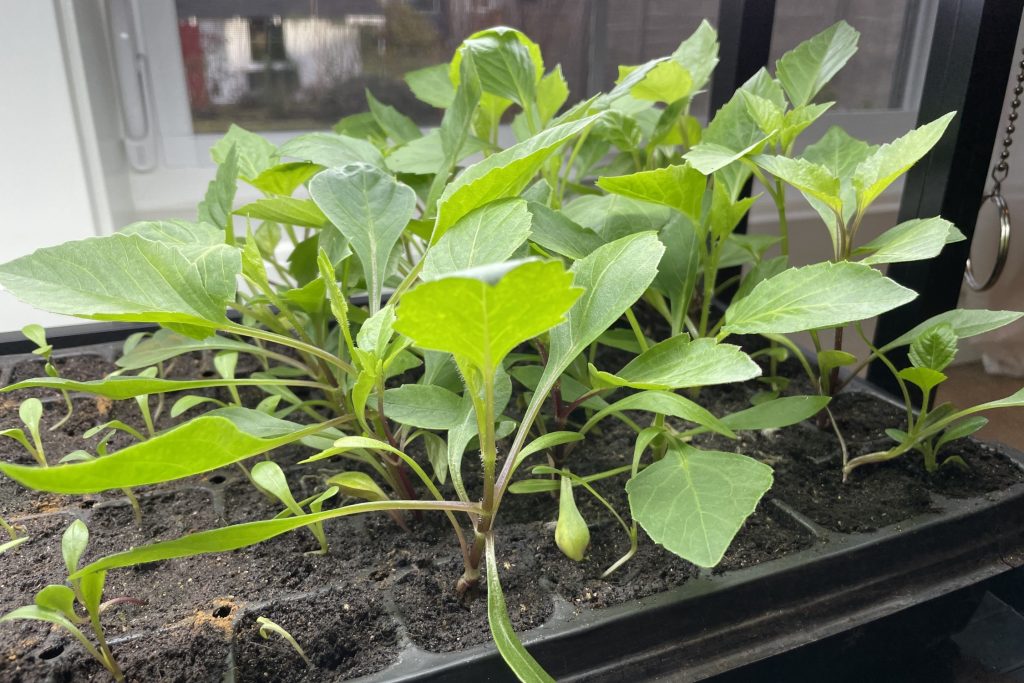
Place the Seedlings
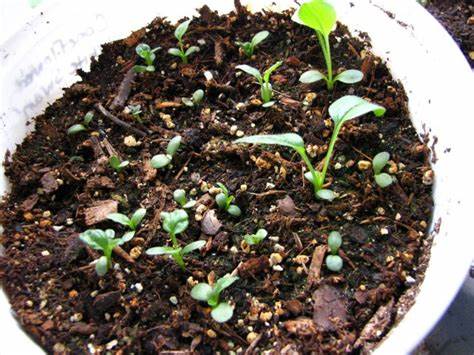
After a couple of weeks or more, according to the sunlight and weather conditions, you will see little seedlings or leaves coming out. At this point, you can be reassured that you have been given the right conditions for your seeds to grow. At this point, if you’ve planted your seedlings in trays, cups, blocks, mugs, etc., you need to now transfer them to large pots or soil so they can grow with enough space. Similarly, you can transfer the seedlings from soil to pots if you wish to grow them in the posts or any large vessels.
Harden-off the Plants
Once the seedlings start growing well, if you’ve been placing your plants indoors, it’s time to bring them outdoors because they need maximum sunlight in this growing stage. But you can’t bring and place them outside in direct sunlight completely. This will burn the foliage, so you need to start placing them out in stages. First, place them out for only a few hours when there’s good sunlight, and then take them indoors. Slowly increase the hours you place them out but bring them indoors at night because of the frost. This will help the harden off the plant.
Different Ways to Grow Dahlias
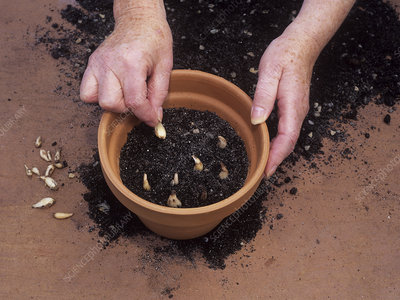
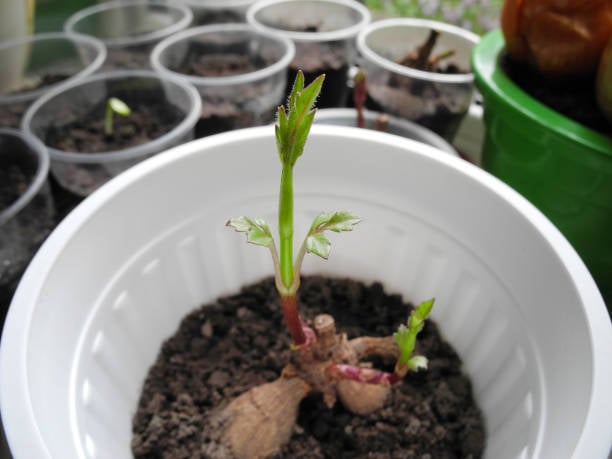
From Tubers
Growing Dahlias using tubers can be one of the simplest ways to grow the plant that gives beautiful flowers in the shape and size that you exactly want. Already grown Dahlias will produce tubers by the end of every Summer, and those tubers can be stored for further use, which are frequently purchased. Generally, tubers are a copy of their genetic plant. They grow to the exact size, shape, and colour of their original plants, which makes it easy for gardeners on what plants to expect. These tubers generally look like mini-sized potatoes.
From Cuttings
This method is also very common in growing Dahlias. In this process, you can cut small parts of the plant and ensure that they have at least a couple of leaves. Now, you can plant these cuttings separately, and they will grow roots and, eventually, as healthy plants. The flowers of these plants will be exactly the same as the original plants, so you know what to expect and which plants exactly to take cuttings from.
From Seeds
Growing Dahlias from seed is the most cost-effective way to grow Dahlia plants, and this process can also help you create a beautiful hybrid variety of flowers in your garden. Dahlia seeds are generally brown or black in colour, and they are about 0.5 inches long. While not all flowering Dahlias produce these, you can dry out your flowers, and you can see these plants producing seeds in the centre of the flowers.
How to Care for Dahlia Growing from Seed
Growing a plant can be easy, but caring for it and being consistent throughout the seasons is a crucial task to do and maintain. Like any other, Dahlia growing from seed has specific requirements that are to be followed when you plan to choose it to be a part of your garden. Dahlia can be grown indoors, outdoors, or both; you can also cultivate it in containers depending on the variety.
When it’s grown from seeds, you can start planting the seeds 4-6 weeks prior to the winter season in moist, warm soil with temperatures between 65 degrees F to 75 degrees F or 18 degrees Celsius to 24 degrees Celsius. They require plenty of light, so make sure they are kept in full sunlight. Once the winter has passed, transplant them in your garden (if you wish to grow them in your garden) with the seedlings being 12-18 inches apart and with the same depth as they have been growing in the containers.
Then, keep the soil moist by watering it regularly but do not overdo it. Dahlias need regular watering during hot and dry weather; water them deeply twice every week. Depending on the climatic conditions, make sure you water them and keep the soil damp and not dried out.
To boost the growth of your plant, you can also put fertilizers once every 4 to 7 weeks throughout the growing season. Some types of Dahlias can grow very tall and become heavy, and these will need support while growing. So, you can use cages to support and keep them from falling over. Once these plants start blooming, remove the spent flowers in order to foster more blooming and avoid seed production. In this way, you can care for your Dahlias and watch them bloom pretty and colourful flowers that will just enliven your garden or home.
Overwinter Dahlia Growing from Seed
Overwintering is a process of protecting a plant during the winter season when temperatures are low, and daylight is limited. It includes providing the plant with the conditions to survive the cold temperatures and grow healthier in the spring.
To overwinter a Dahlia growing from seed, you need to wait till the first frost of the winter, as this will cause the plant’s leaves and stem to fade. Once it’s done, you can cut the stem around 6 inches above the soil line. This will prevent pests or diseases from spreading all over the plant.
Summing Up
With the above-mentioned steps, you now know everything about growing dahlias from seeds. These steps can be followed according to your weather conditions, and understand what best suits your Dahlia plants.
These plants are often grown for the beautiful blooms that they produce. They are also an instant hit because of their ability to produce different colours of flowers, even hybrid ones that you wish to have.
All it needs is a little attention and care, and placed anywhere in a greenhouse, garden, porch, indoors or outdoors, they illuminate the place with their beauty.