DIY Guide: Installing Metal Desk Legs for a Modern Workspace
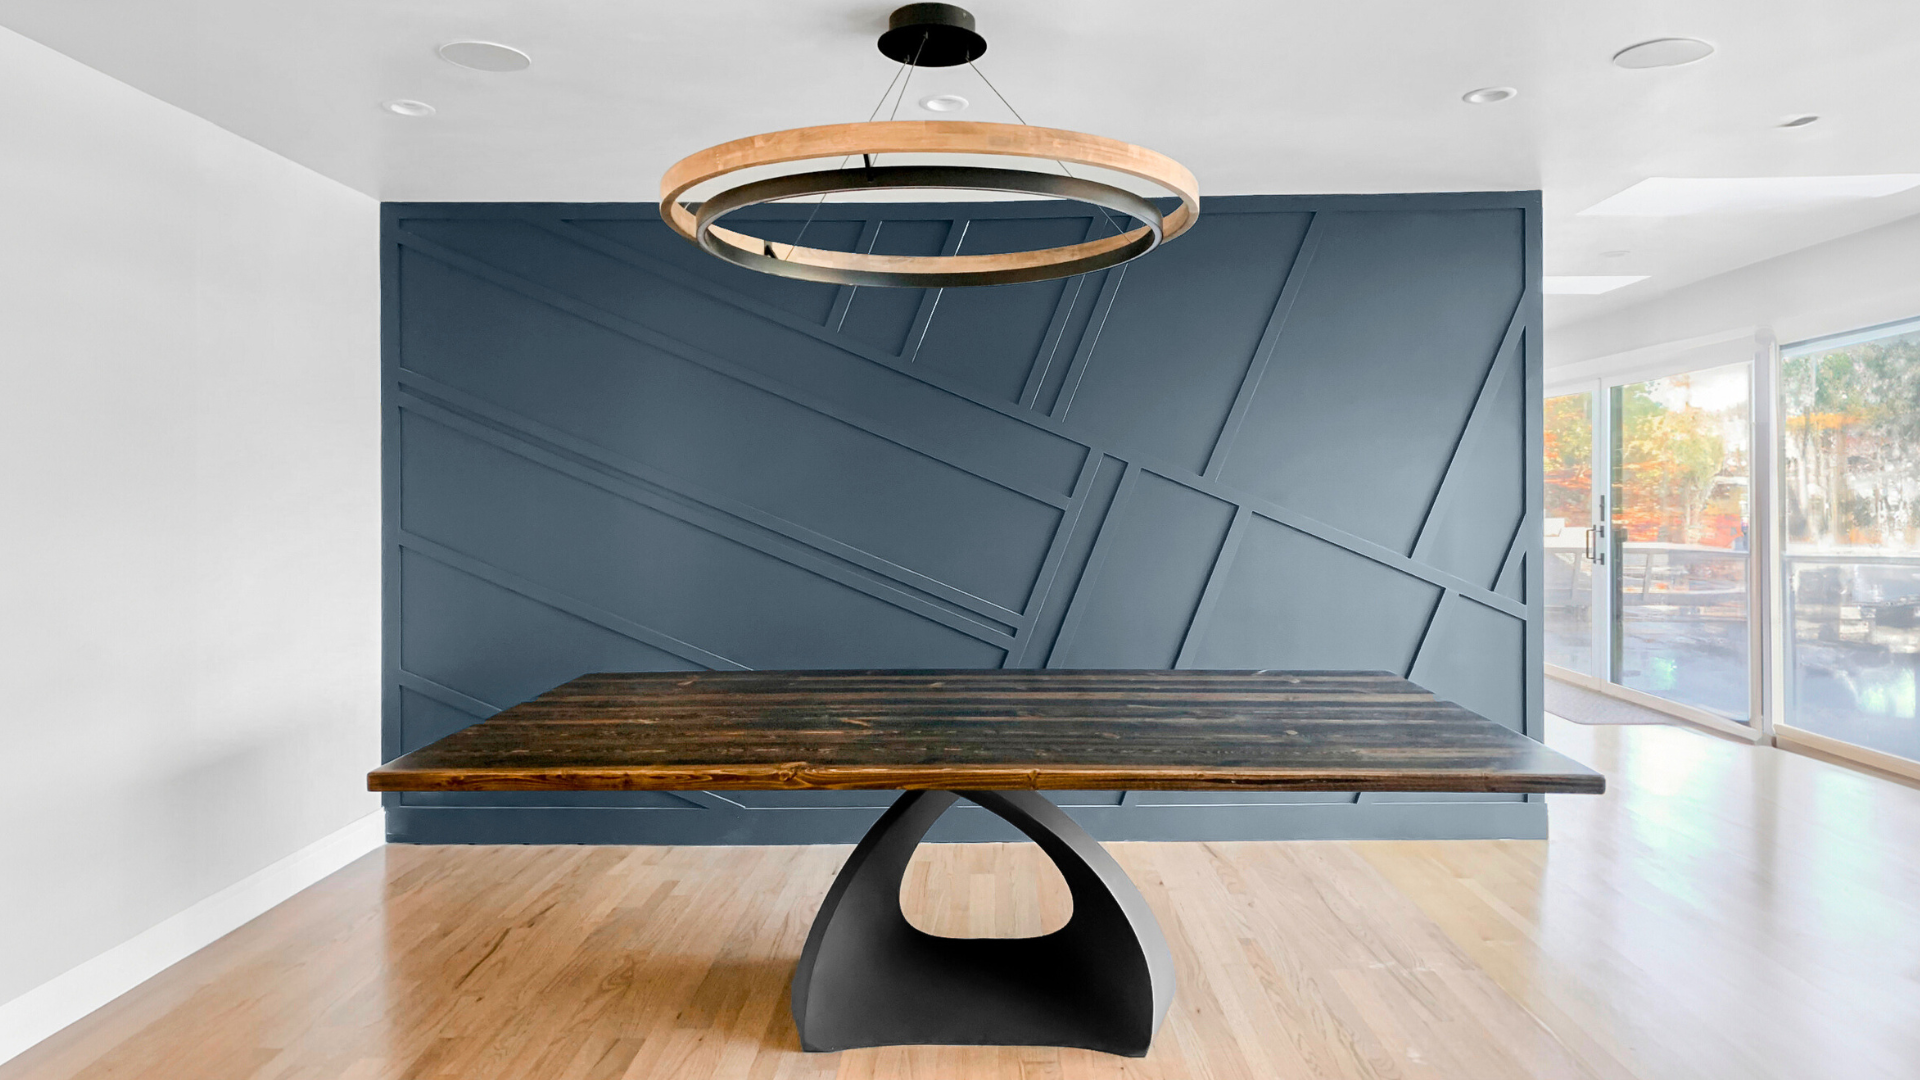
Table of Contents
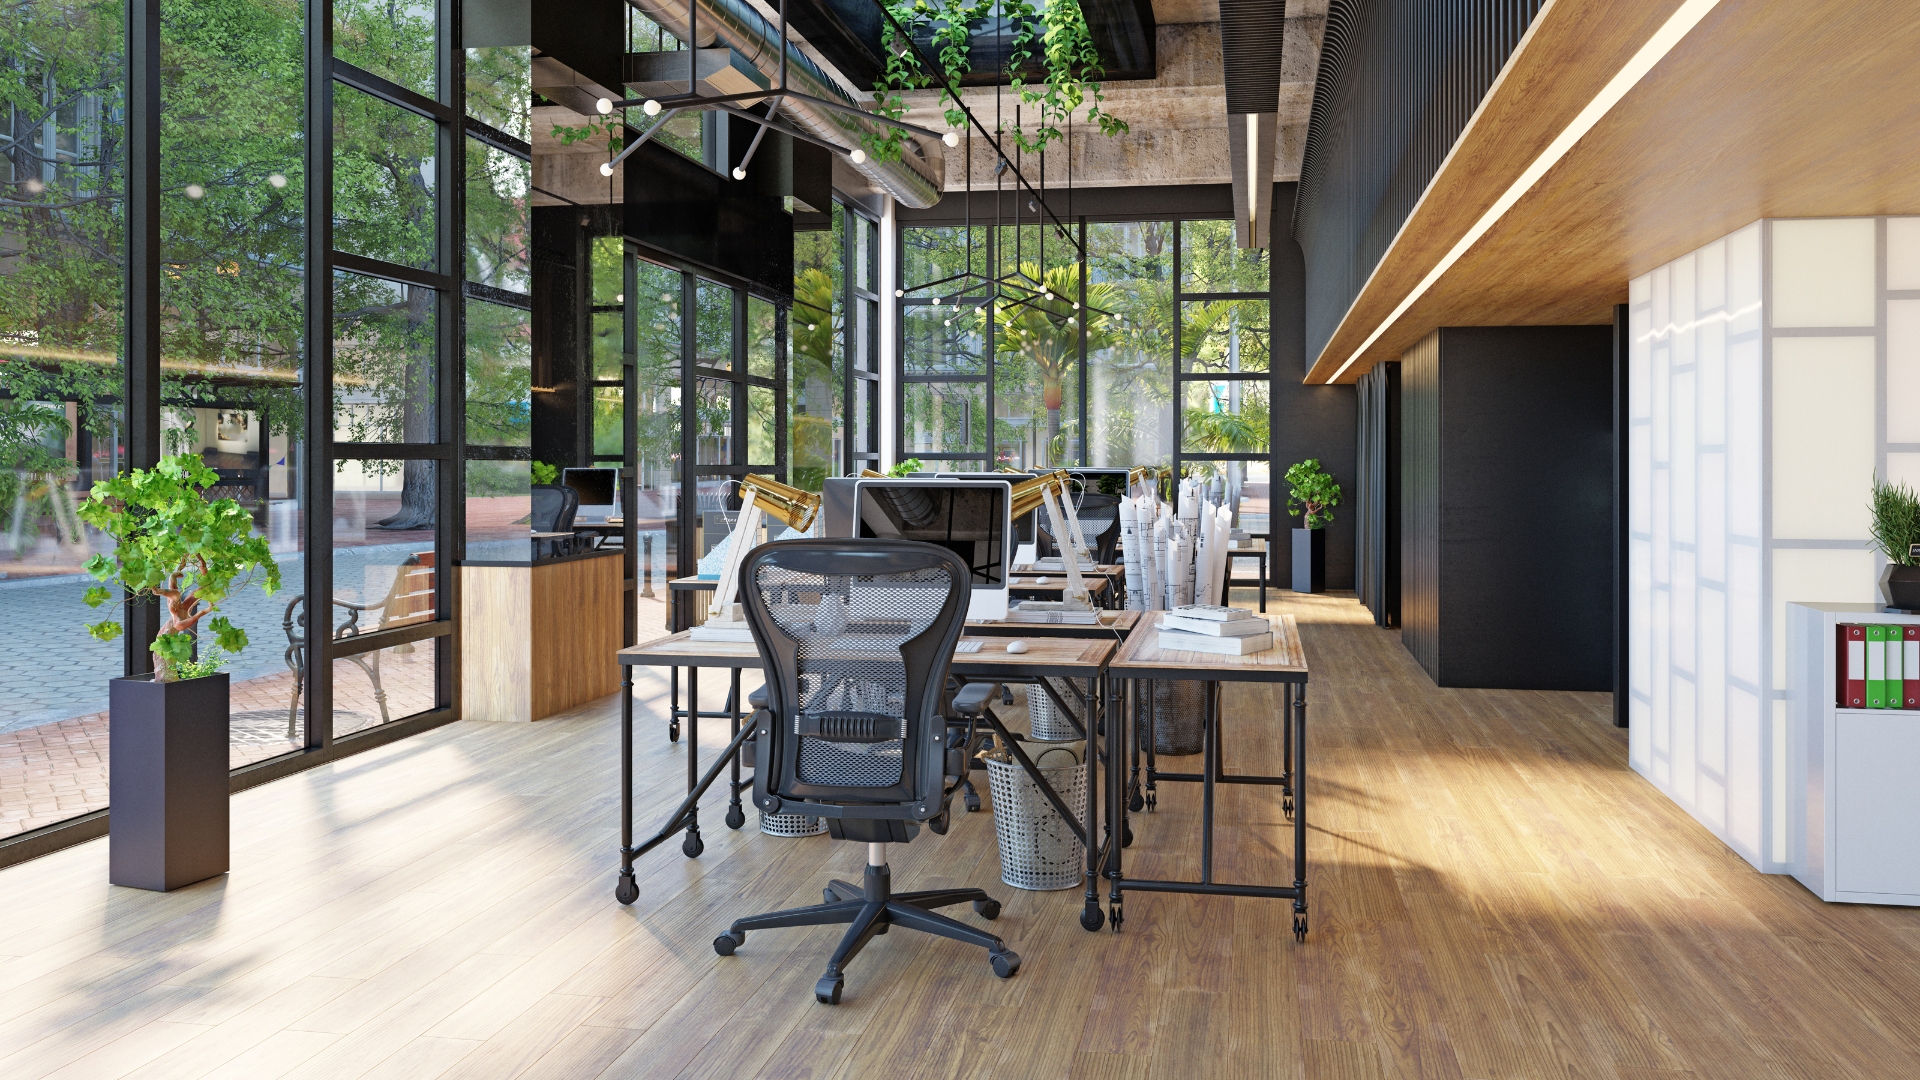
Desk legs are a fundamental component of any workspace. Whether you’re working from home or in an office, a sturdy desk with a striking and attractive design can enhance the aesthetic appeal and elevate your mood, promoting more efficient and effective work. Particularly in a modern workspace, selecting the right leg or base design is crucial to ensure it integrates seamlessly with your work area. One of the most significant steps to achieving a stunning and inviting look for your table is attaching the right table legs. In this guide, we will walk you through the process of choosing the perfect metal desk legs and how to attach them to your tabletops.
Choosing the Right Metal Desk Legs
When it comes to choosing the right metal desk legs, there are a few factors to consider. First, you need to think about the style and design that will best suit your workspace. Sleek, minimalist designs often work well in modern spaces, but you might also consider more industrial or vintage styles if they fit with your decor.
Finally, opting for table legs equipped with pre-existing mounting plates can significantly reduce both the time and cost involved in attaching the legs to your tabletops.
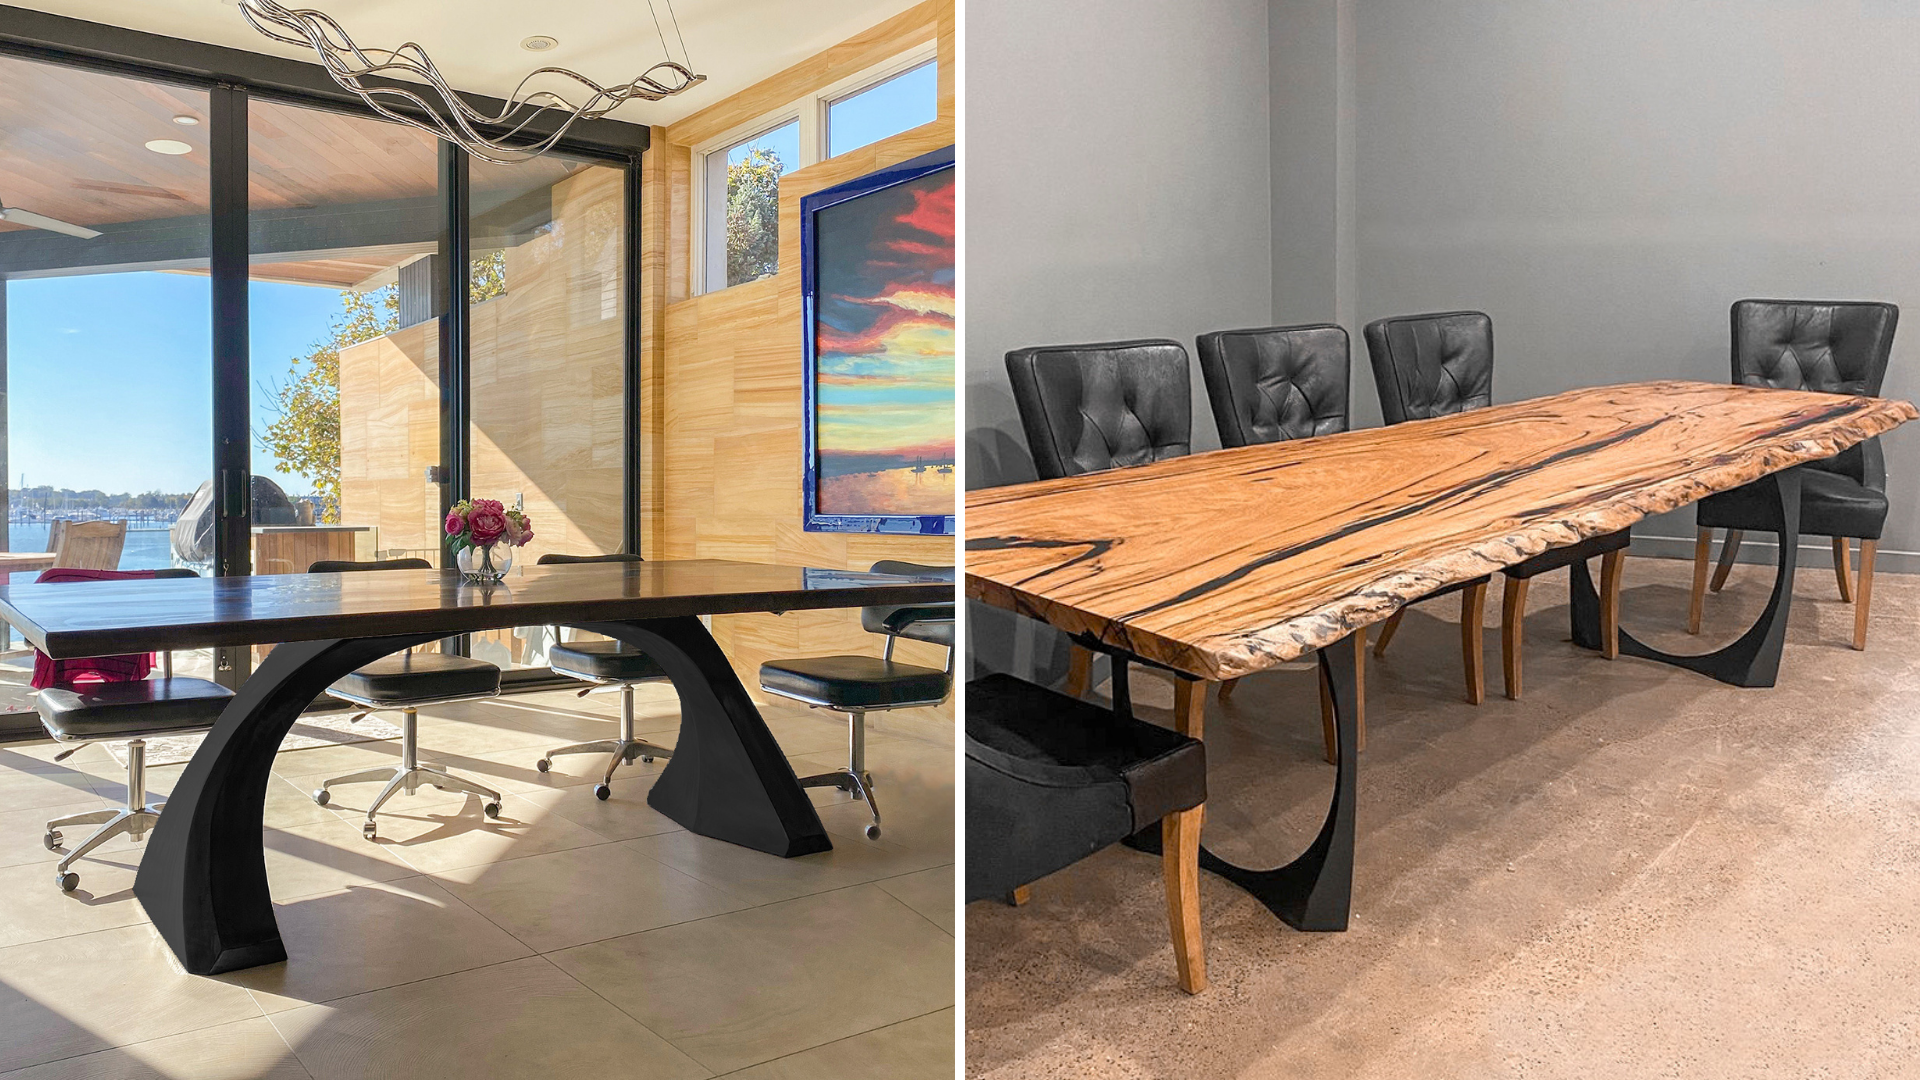
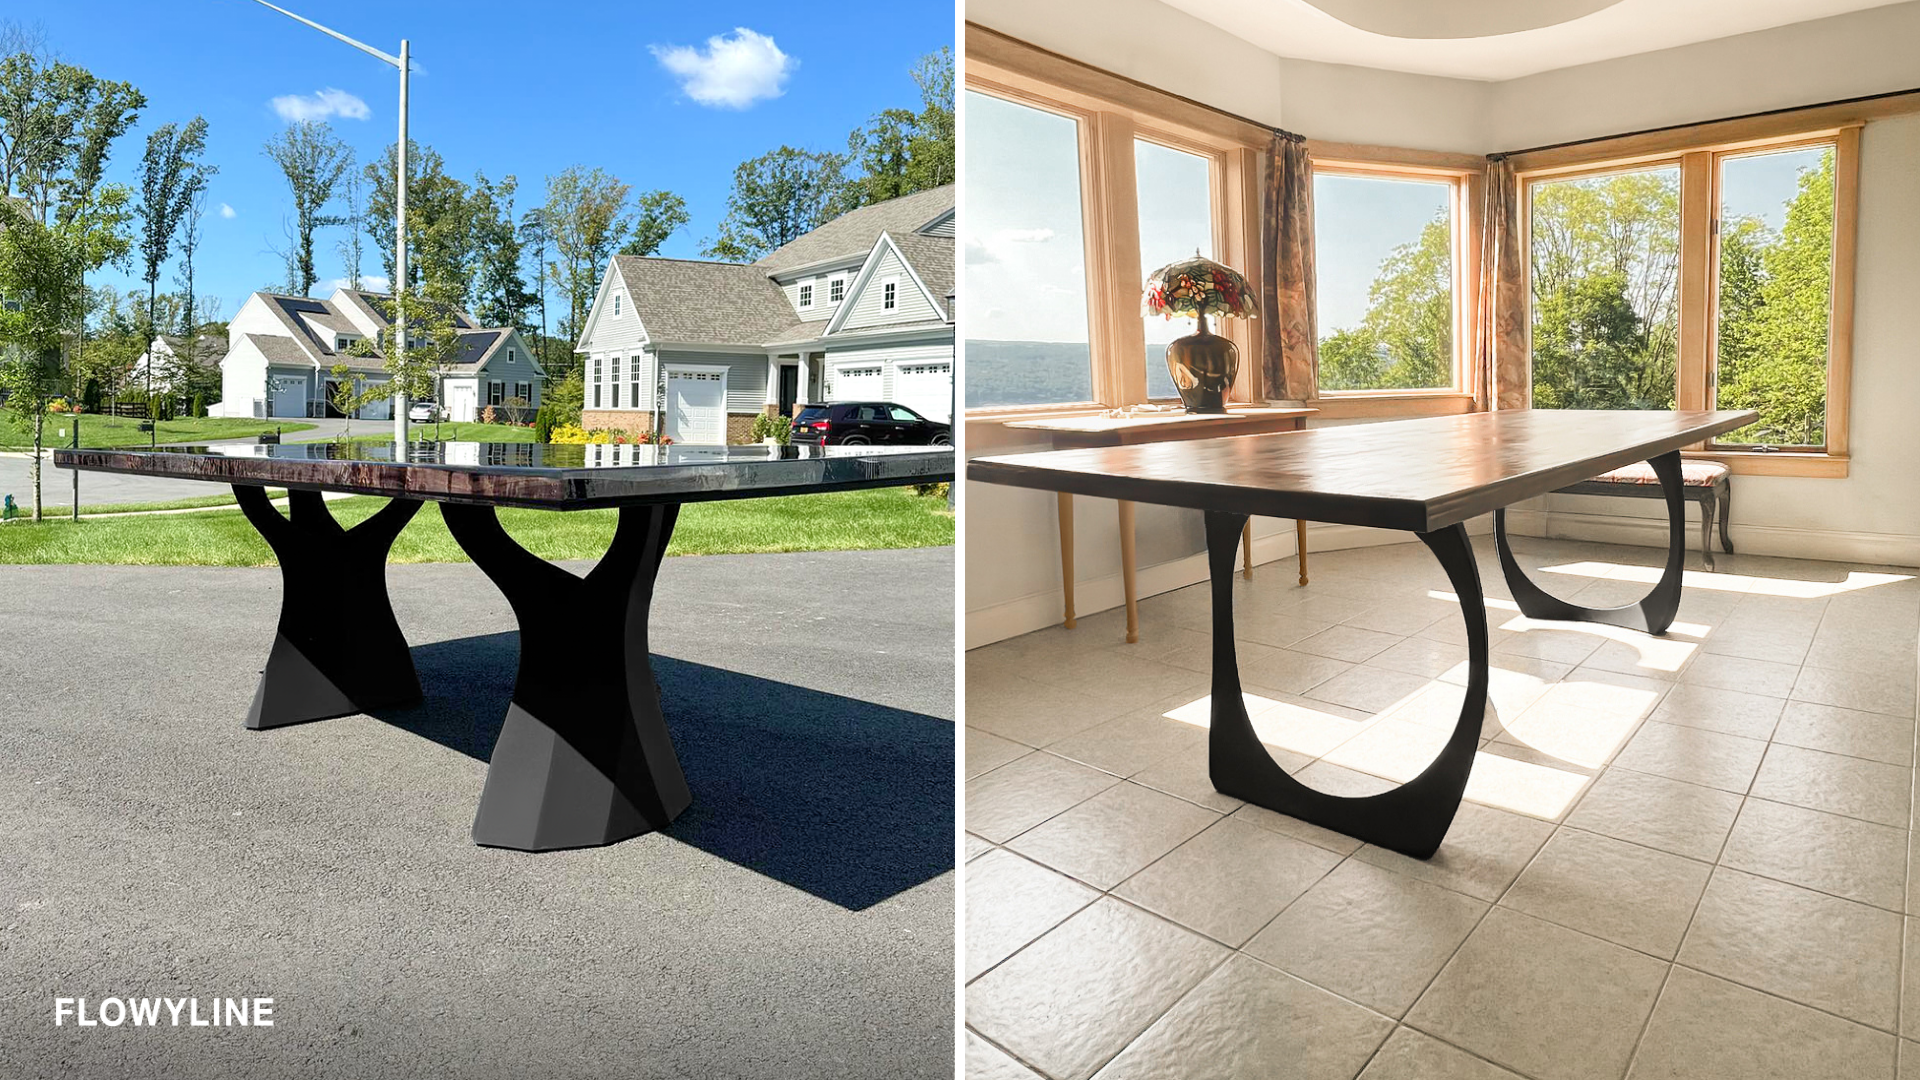
Where Can We Find Unique and Attractive Metal Table Legs?
If you’re looking for unique metal table legs and bases for your workspaces, you might want to check out Flowyline Design, a manufacturer of handcrafted metal furniture. Flowyline Design offers a wide range of styles and designs, from sleek and minimalist to industrial and vintage. You can choose from different shapes, sizes, finishes, and colors to suit your taste and needs. Flowyline Design supplies the table legs you need for your workstation, coffee table, or dining table.
Flowyline Design is not only a great source of quality metal furniture, but also a reliable and trustworthy company. They have received many positive reviews from their customers, who praise their fast delivery, excellent customer service, and affordable prices. They also have a 5-star rating on Etsy, where you can read more about their experience with Flowyline Design.
So why should you choose Flowyline Design for your metal table legs and bases? Here are some reasons:
- You can find unique and stylish metal furniture that will enhance the aesthetic value of your workspace.
- You can customize your order according to your preferences and specifications.
- Flowyline Design also offers a unique service where you can avail of free 3D drawings. This allows you to visualize how your chosen tabletop will harmonize with their metal leg designs, ensuring a perfect match before you make a purchase. This personalized approach helps you make informed decisions and guarantees that the final product aligns with your aesthetic preferences and functional needs.
- You can also benefit from their 7-day return policy if you’re not satisfied with your purchase or the goods are damaged.
Attaching the Metal Desk Legs to Your Tabletops
After selecting your table legs, the next step is to affix them to your tabletop. While this guide is applicable to most materials, including popular choices like wooden tables, it’s also perfectly suited for epoxy tabletops. Let’s walk through the process step-by-step.
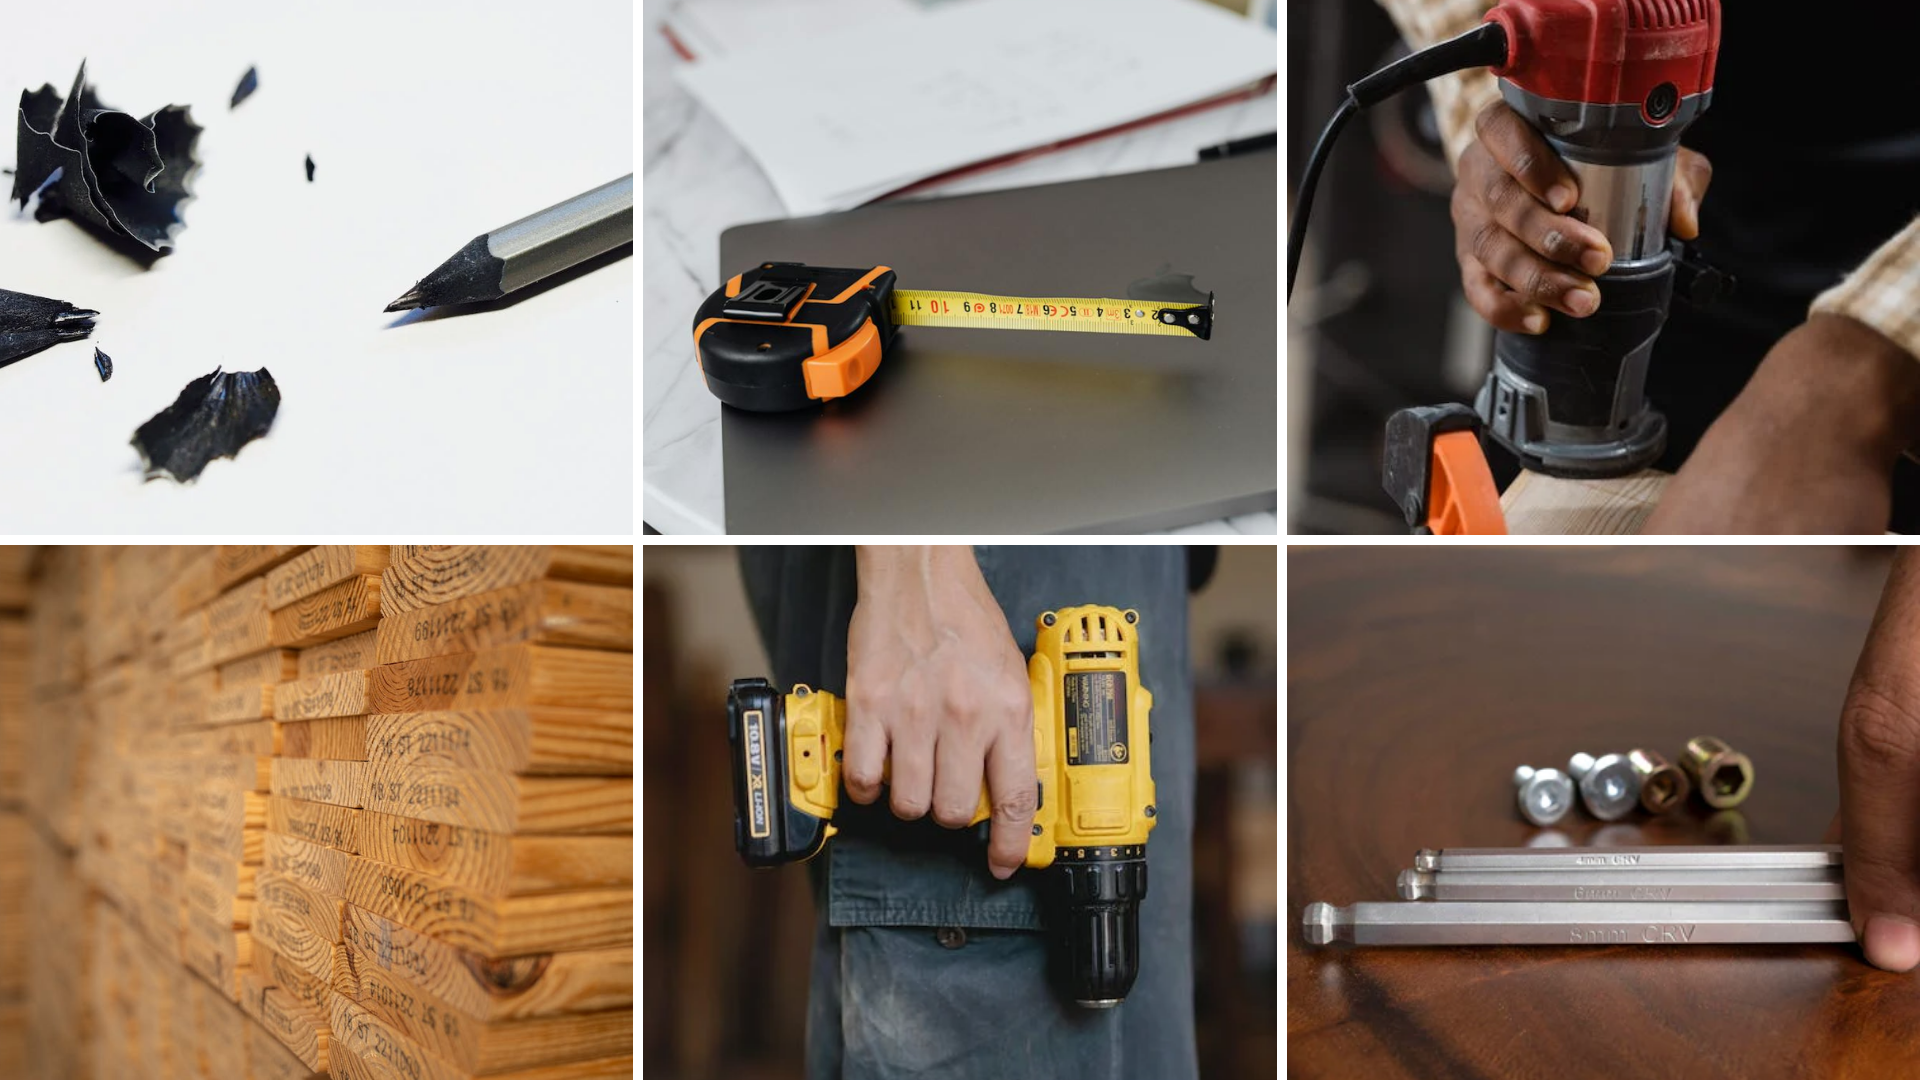
Needed Materials and Tools
- Pencil
- Measuring tape
- Router
- Scrap wood
- Electric drill
- Threaded inserts and bolts
Step-by-Step Instructions
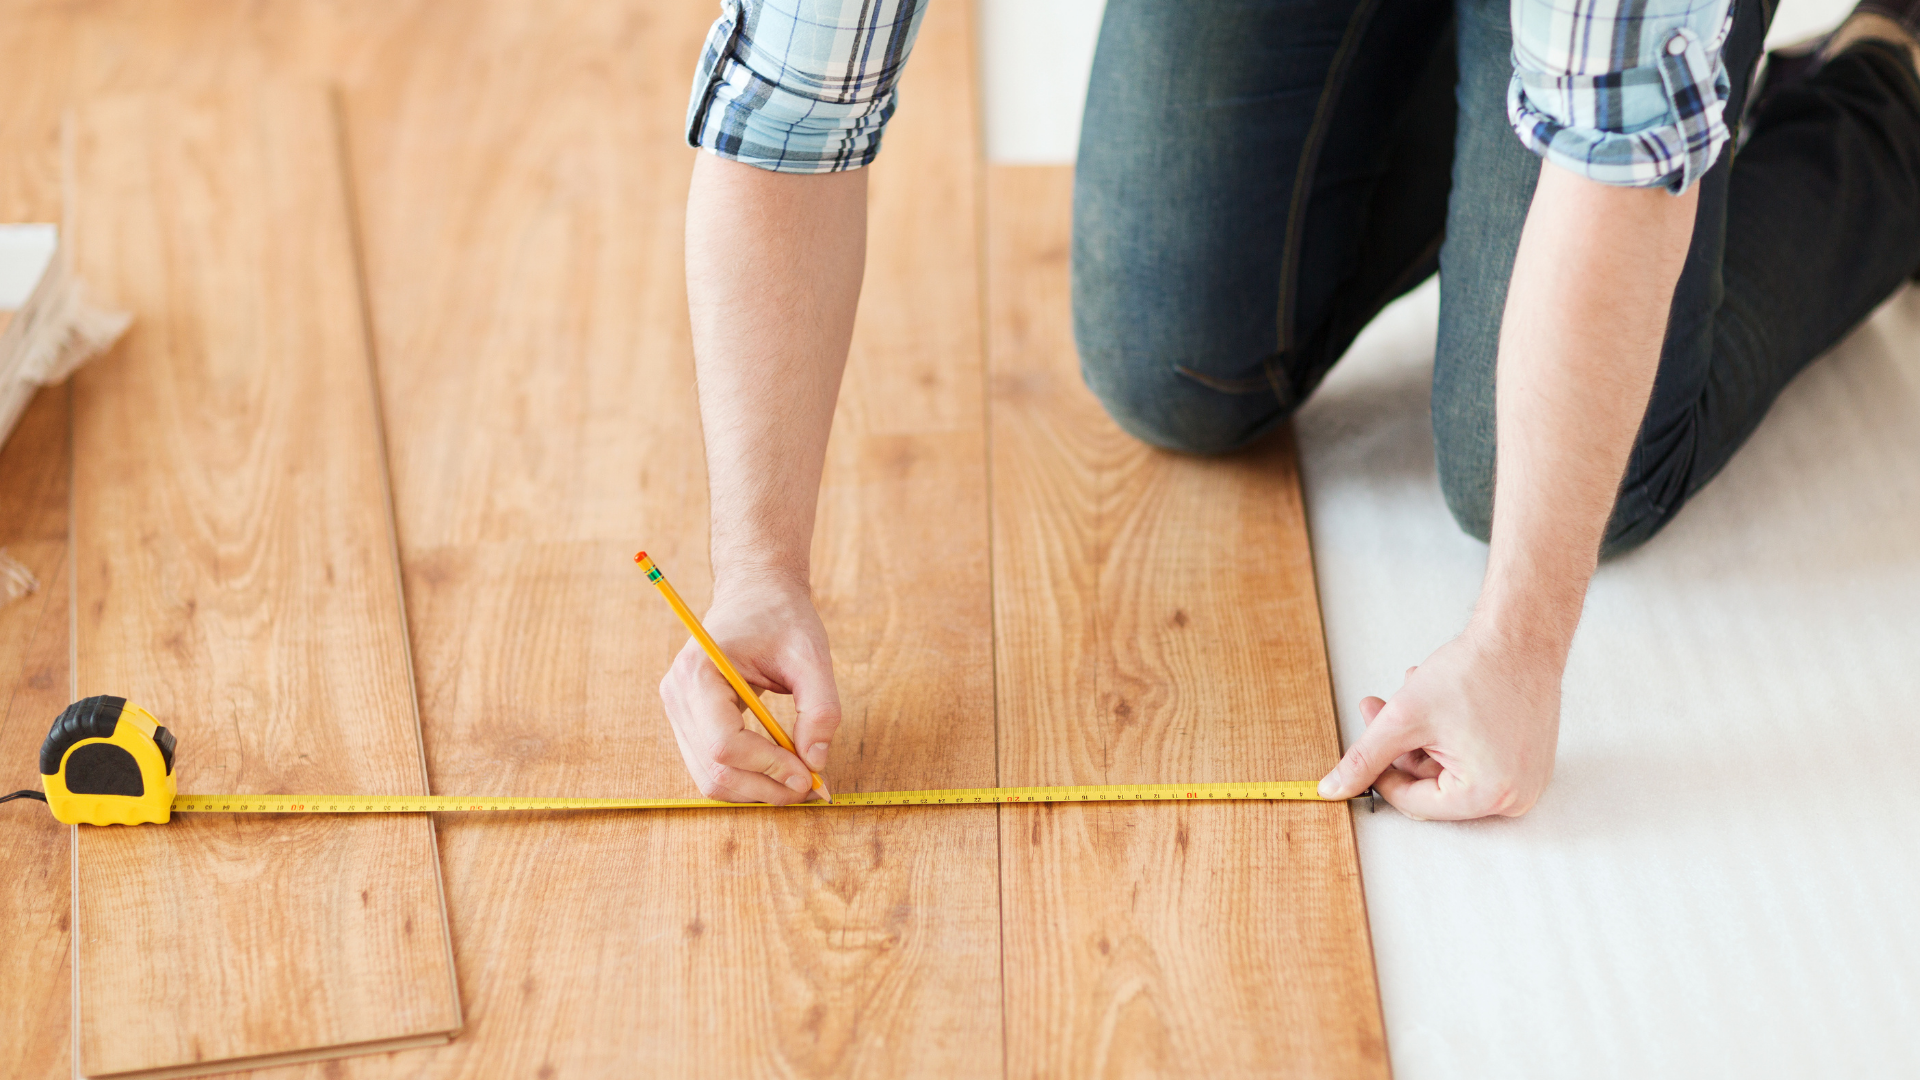
Step 1: Measure and mark
Start by deciding where you want the legs to go on your tabletop. Measure carefully to ensure the legs are evenly spaced and mark the spots where you attach your metal table legs. Use a pencil for marking to ensure the marks can be erased after drilling.

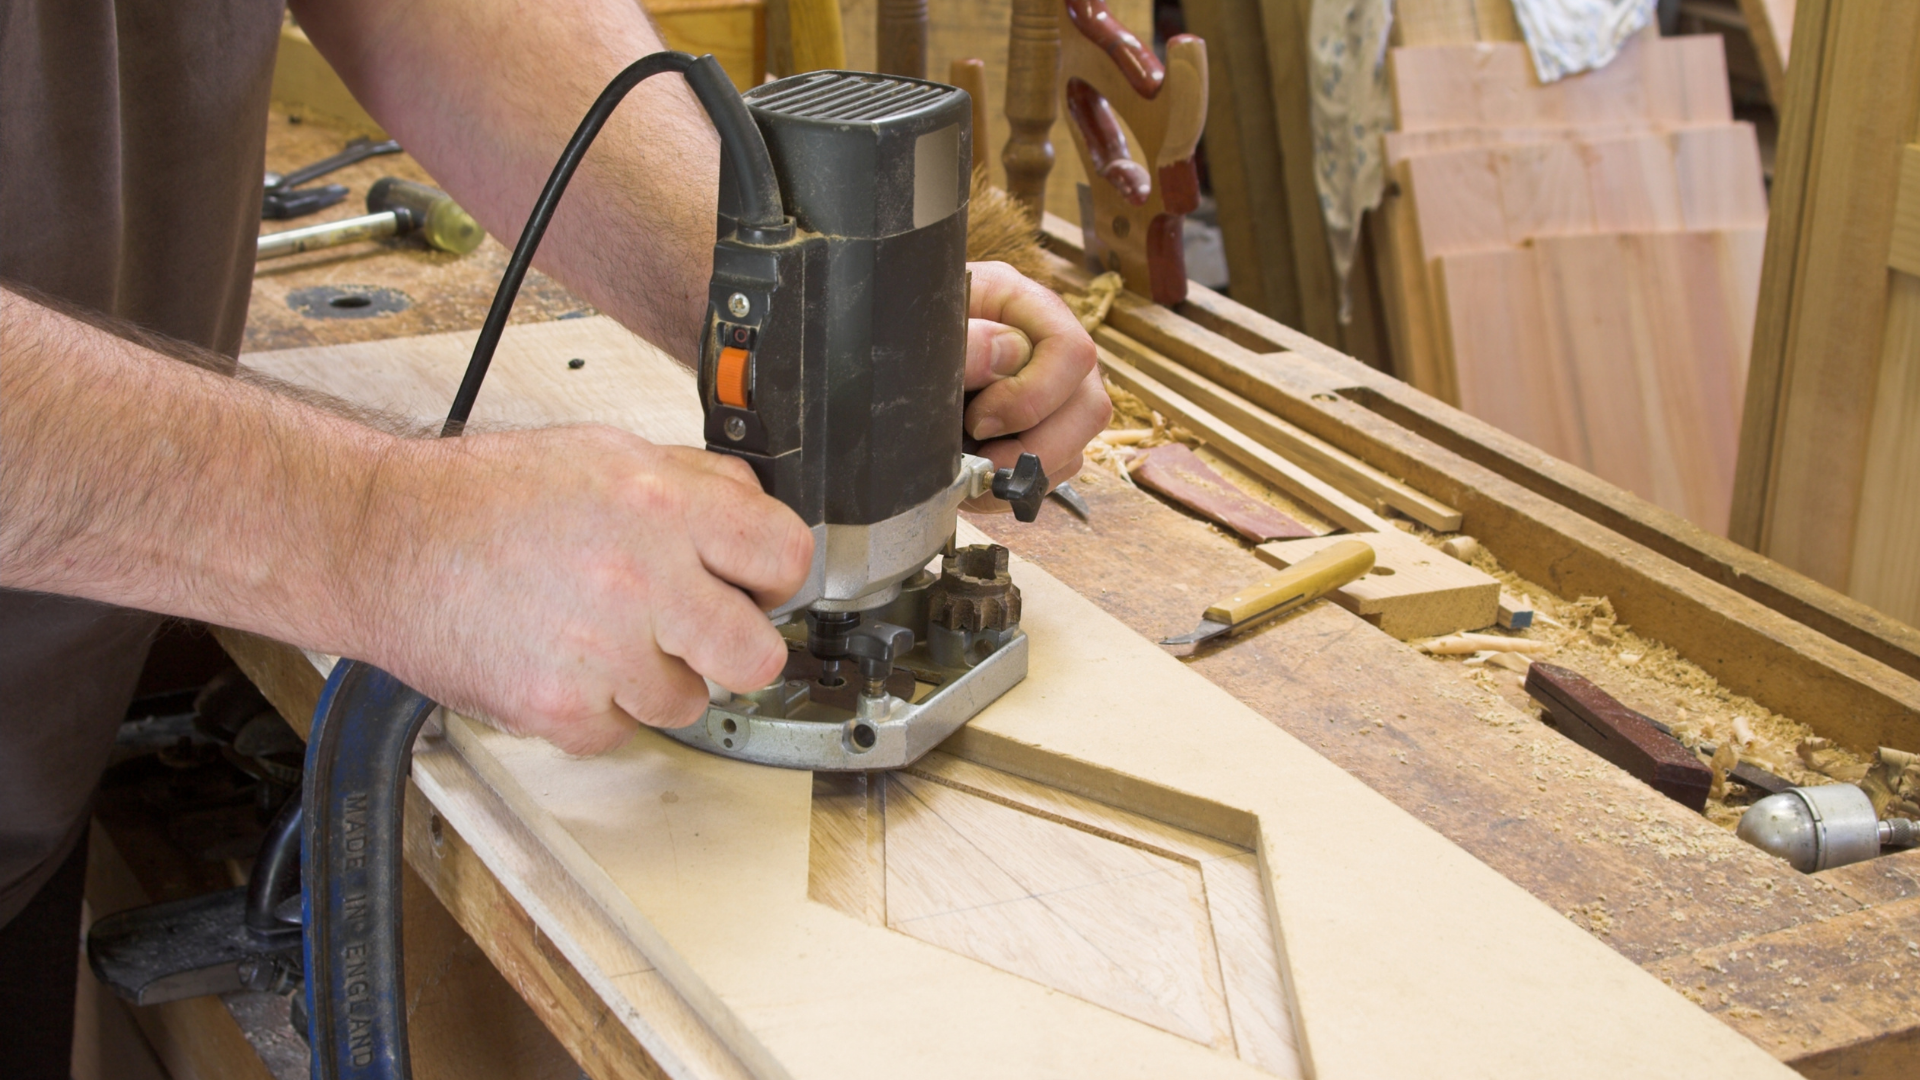
Step 2: Create a router jig
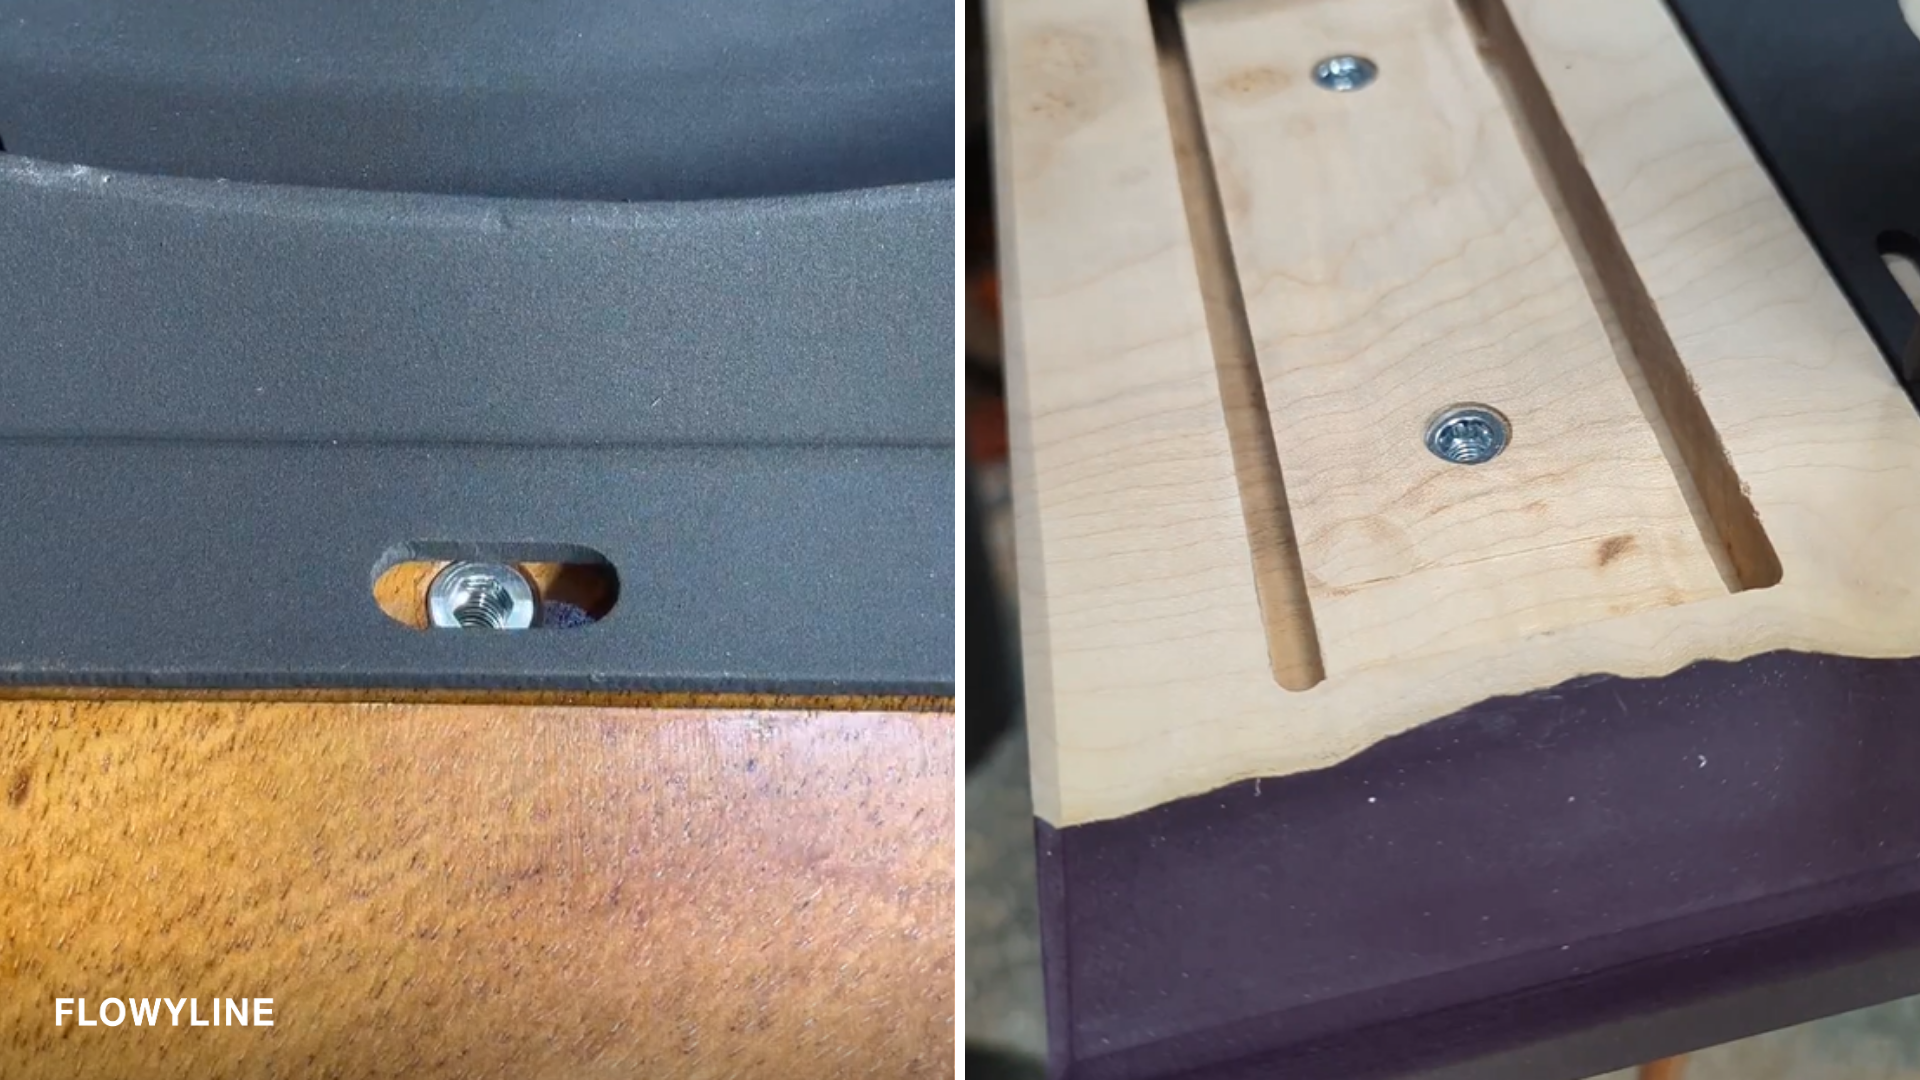
Utilizing a router jig can facilitate the creation of an exact frame for your mounting plates. A simple jig can be crafted from scrap wood, designed to correspond with the dimensions of your table legs’ mounting plates. The section you carve out should be marginally larger than the mounting plates, thereby establishing a buffer zone on your wooden tabletop. This precautionary measure helps prevent potential damage caused by the wood’s natural expansion and contraction due to weather fluctuations.

Step 3: Cut the tabletop
Using the router and the jig, cut into the tabletop where your table legs will be attached. Make sure to cut only as deep as necessary – you don’t want to cut all the way through the tabletop!
Step 4: Mark the holes
Position the mounting plates on your tabletop and delineate the locations for drilling the holes.
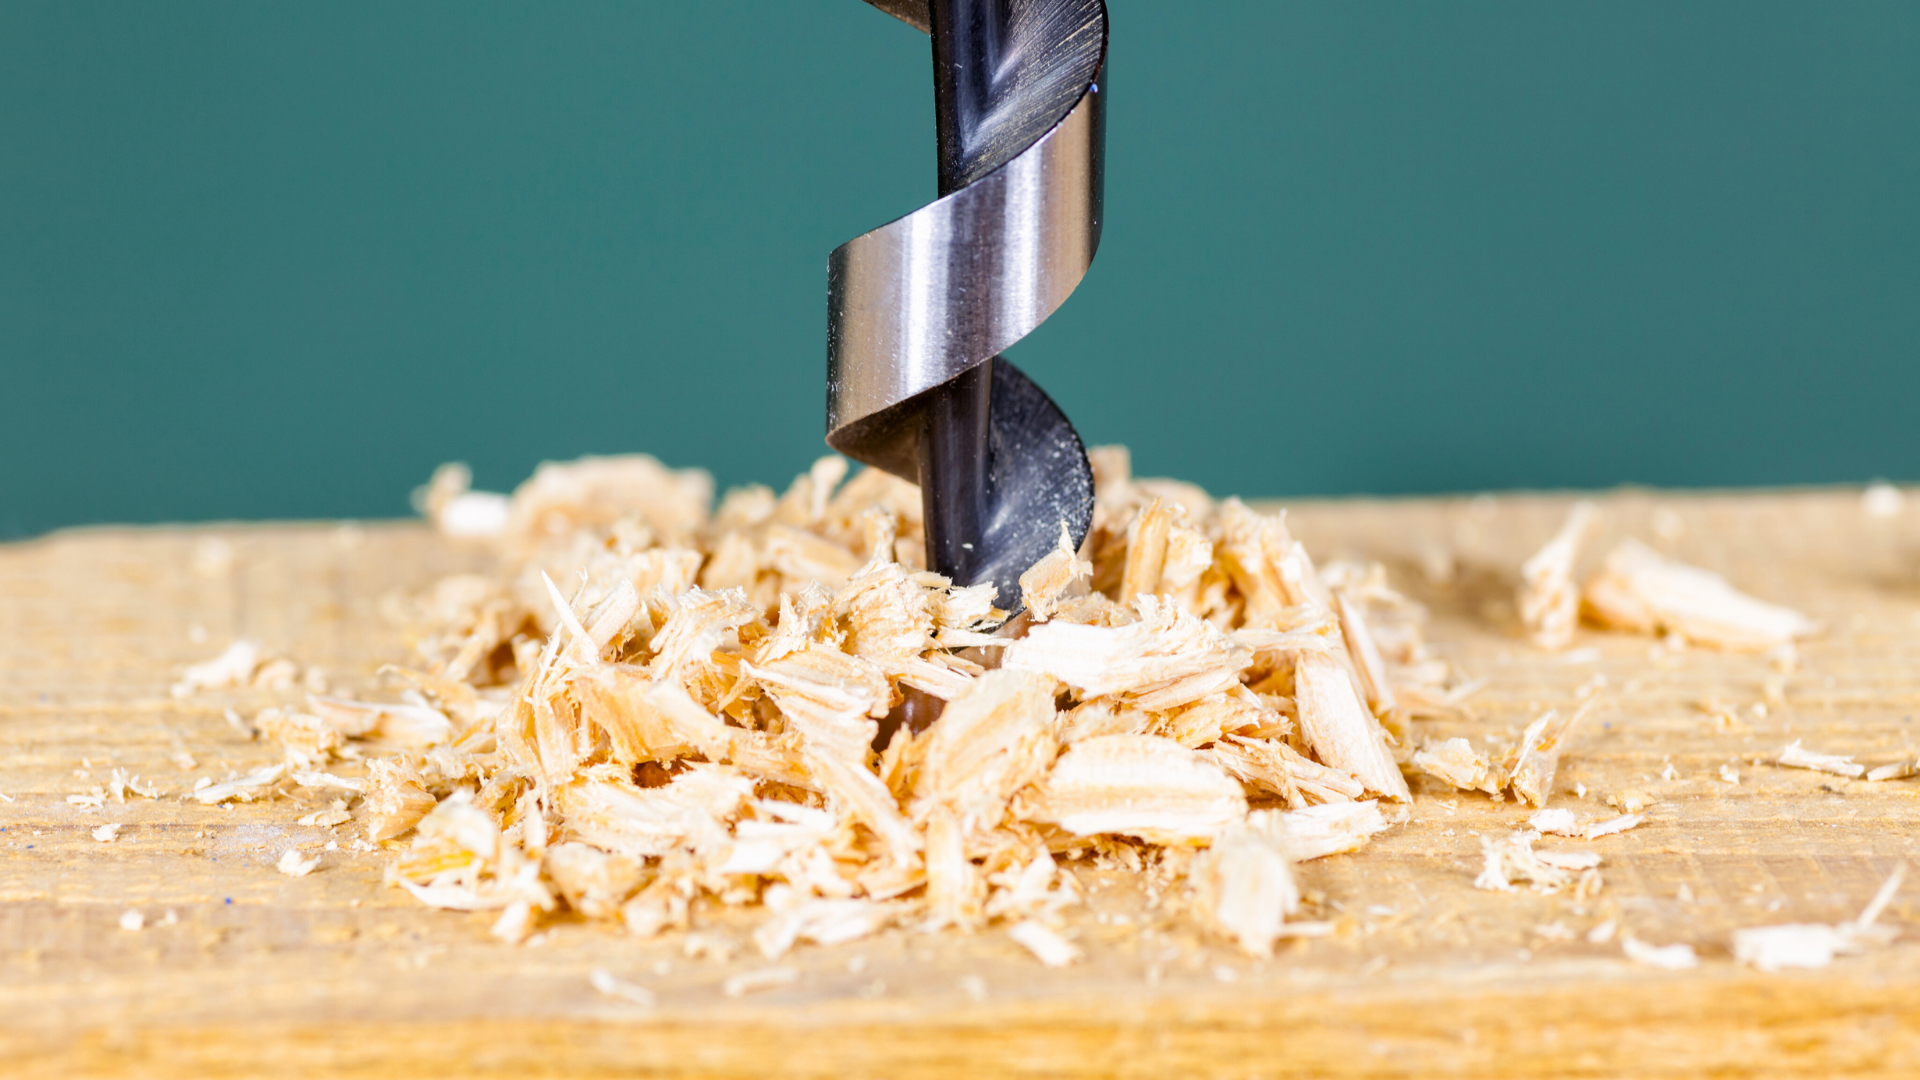
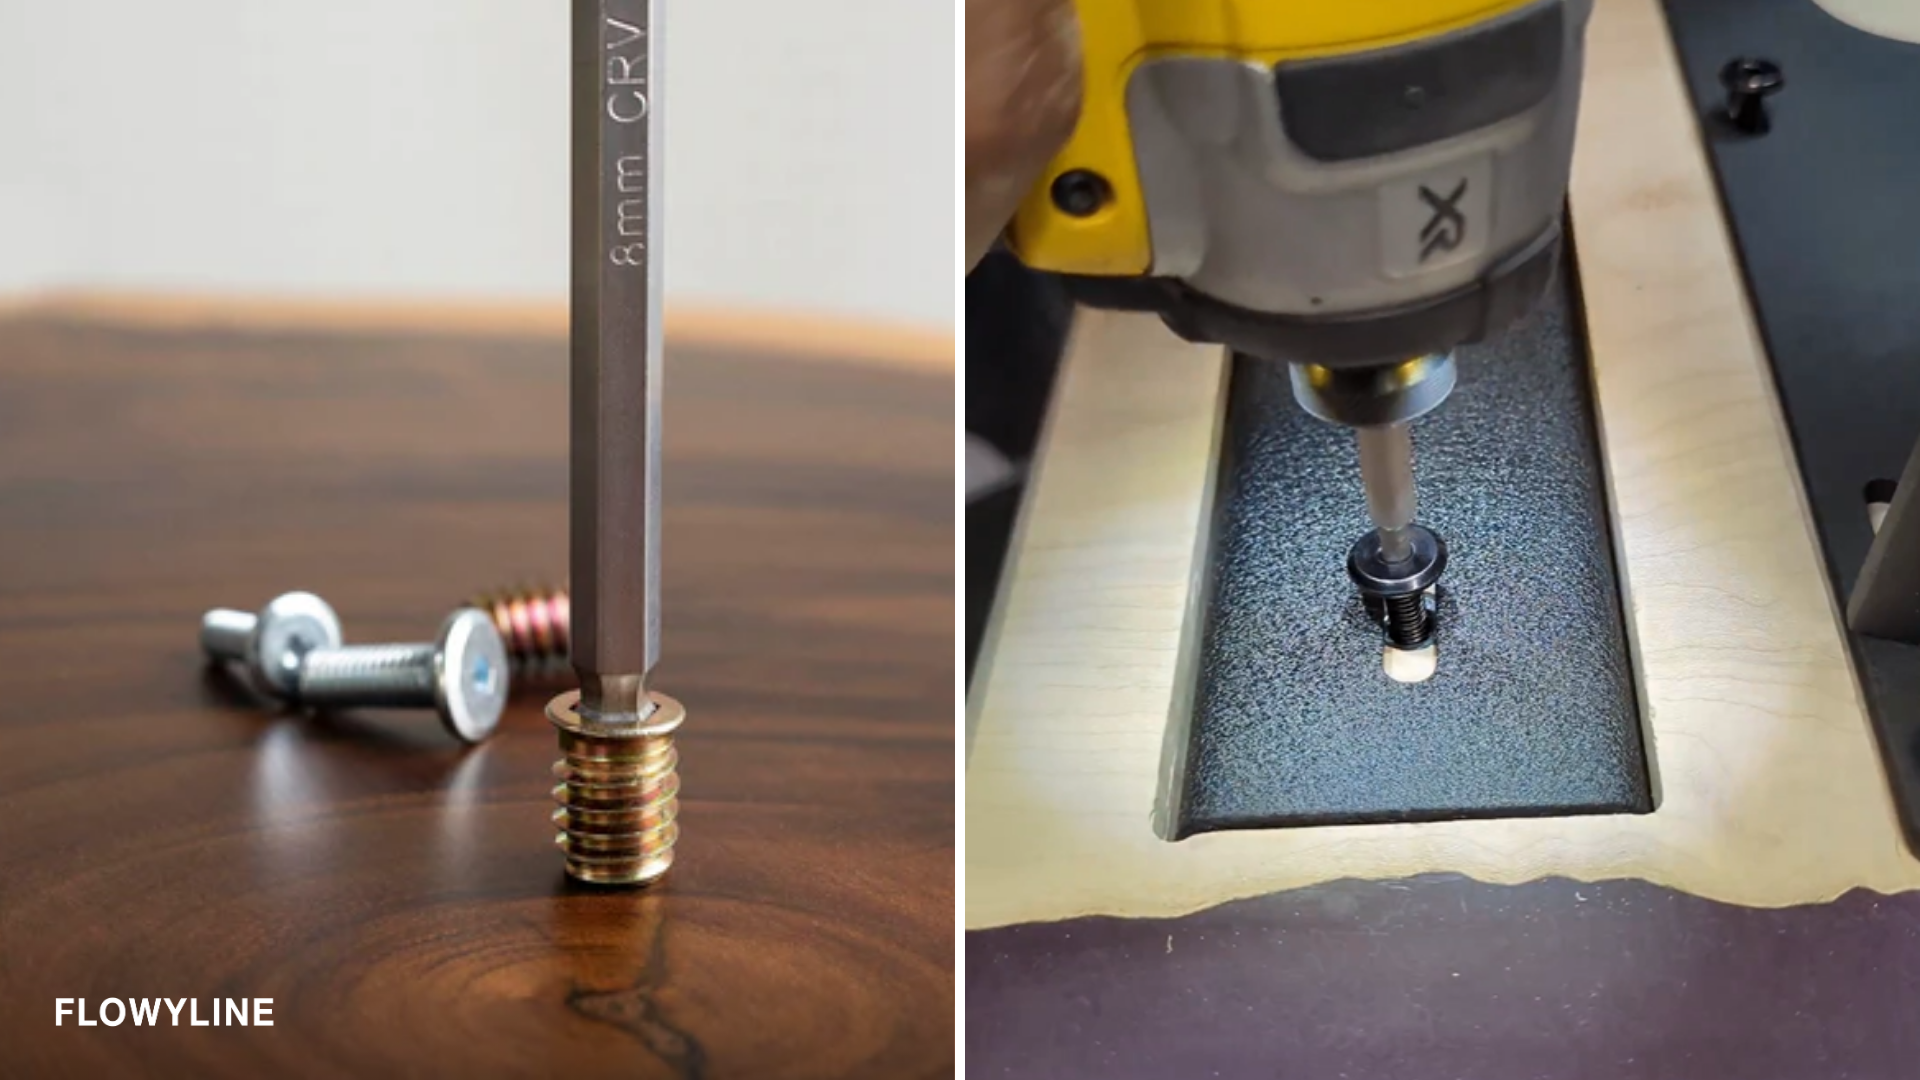
Step 5: Drill the holes
Using a power drill, make straight holes in the marked spots on your tabletop. Be sure to choose a drill bit that matches the size of the screws you’ll be using. It’s a good idea to start with a smaller drill bit and work your way up to the size you need – this can help prevent the wood from splitting.
Step 6: Attach threaded inserts
Drill the threaded inserts into the holes that you created in the previous step.
Step 7: Attach the legs
Place the top of the desk leg over the drilled threaded inserts and attach the screws. Use a screwdriver or power drill to secure the screws in place. Repeat this process for all four legs. Make sure all screws are tightened evenly to ensure the table is level.
Step 7: Check stability
Once all the legs are attached, flip your table over and check its stability. If the table wobbles, you may need to adjust the legs or add some rubber feet for extra stability. You can also use a level to check the evenness of the table. You may also find table legs that have existing adjustable levelers to cut costs and save time.
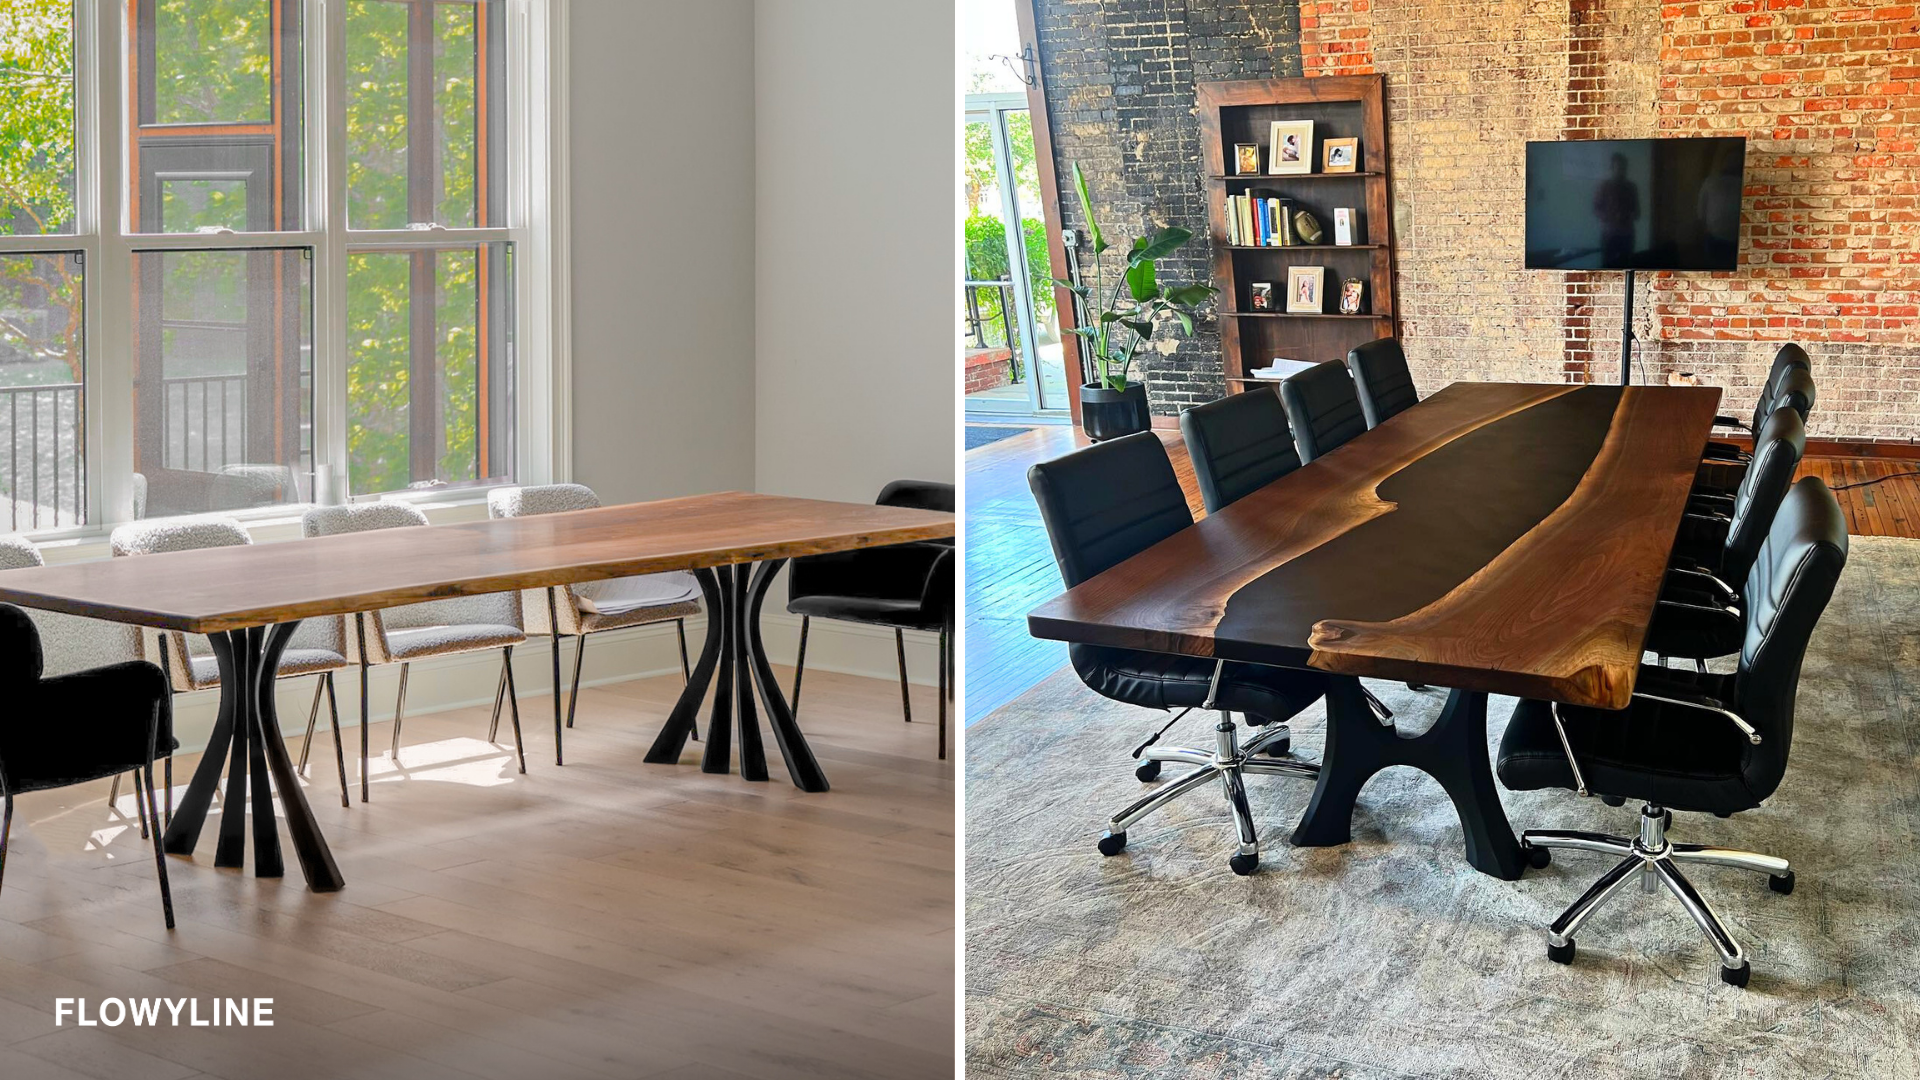
And there you have it! With these simple, yet effective steps, you can completely transform your workspace. Imagine a stylish, modern table that not only serves its functional purpose but also adds an aesthetic appeal to your surroundings. This transformation is made possible by your newly installed metal desk legs, which bring a touch of industrial chic to your workspace.
The process might seem daunting at first, but with a little patience and creativity, you’ll find it’s quite straightforward. Remember, the key to a successful DIY project lies in the details – the careful selection of materials, precise measurements, and meticulous assembly.
So, don’t hesitate! Embark on this exciting DIY journey and witness how a few changes can breathe new life into your workspace. Whether you’re a seasoned DIY enthusiast or a beginner, this project is sure to provide a rewarding experience. Happy DIY-ing! May your creativity continue to shine and your workspace be ever inspiring.