
")
Table of Contents
Gardeners and plant enthusiasts have been using the method of taking plant cuttings to propagate their favourite species for a very long time. Learning how to take plant cuttings is a very useful skill to have. Whether you want to extend your garden, exchange plants with friends, or just enjoy the satisfaction of growing new plants from existing ones, it’s a good skill and an amazing experience and satisfactory experience. This step-by-step guide will show you how to take plant cuttings, and it also comes with photographs to help you understand each step. You may effectively propagate a variety of plants and raise them to maturity by following these steps and by using a few simple ingredients.
So let’s plunge in and discover the intriguing world of plant-cutting propagation!
Before we begin with plant cutting, it is necessary to know that there are different methods of taking plant cutting, but two of the most common methods are softwood and hardwood.
Hardwood Plant Cuttings
Hardwood plant cuttings are an excellent way to propagate many types of woody plants, including hardwood trees, shrubs, and some perennials. You may produce new plants using this method of propagation that are genetically identical to the original plant. Hardwood cuttings are normally obtained in late fall or early winter when the plant is dormant and not actively developing. For example, most deciduous shrubs, roses, climbers like honeysuckle and grape vines, and fruit bushes like fig, gooseberry, redcurrant, and blackcurrant do well with hardwood cuttings.
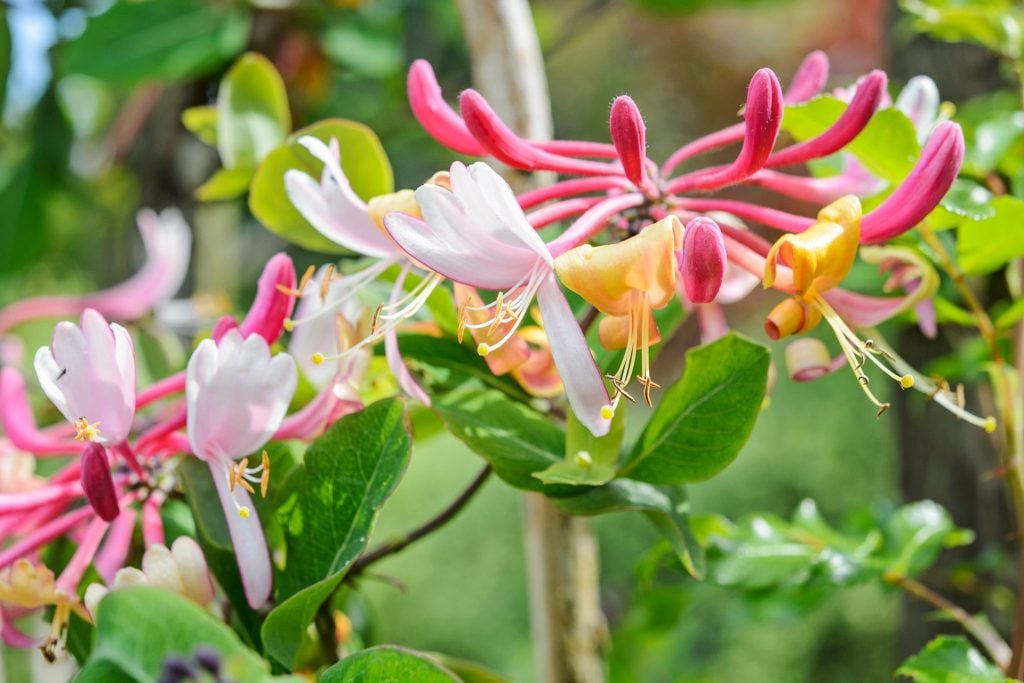
Honeysuckle Plant
Softwood Plant Cuttings
Softwood plant cuttings are a great technique to multiply a variety of plants, including shrubs, trees, and even perennial herbaceous plants. Softwood cuttings are usually obtained from the growth of the current season, while the stems are still supple and haven’t fully developed, which is normally in the spring or early summer. For example, many delicate plants, including pelargoniums, petunias, verbena, argyranthemums, and osteospermums, respond well to softwood cuttings. Many deciduous shrubs, such as lavender, rosemary, forsythia, fuchsias, hydrangeas, lavatera, and buddleia, allow you to take softwood cuttings as well.
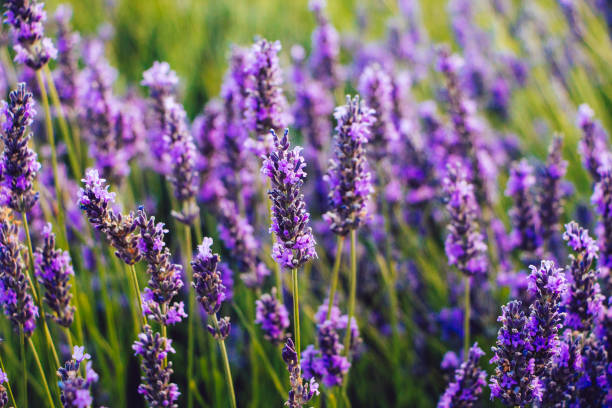
Lavender Plant
While there are differences between both methodologies of plant cutting, the major difference is only between when should the plant cutting be taken and also between what type of plants to be taken. In the below step-by-step guide, all the steps which are important for plant cutting will and are applicable for both methods of cuttings. Wherever there would be a difference in the step, we’ll mention that accordingly.
When to Take Plant Cuttings?
Hardwood cuttings are normally obtained in late fall or early winter when the plant is dormant and not actively developing.
When the plants are actively developing and have developed fresh, flexible branches, late spring or early summer is the typical time to take softwood cuttings. If it’s really hot outside, don’t take these cuttings since they can dry up too fast. For optimal results, use a chilly, gloomy day or the hour of early morning.
Plant propagation commonly involves cuttings from existing plants. Here is a step-by-step guide on how to take plant cuttings, along with some related images:
Materials You’ll Need for Plant Cutting
- Pruning shears or a sharp knife.
- Rooting hormone (optional).
- Small or Clean pots or containers.
- Potting soil or a suitable rooting medium.
- Spray bottle or misting system
- Clear / Transparent plastic bags or a propagator (optional).
Step 1: Gathering the Necessary Materials
As mentioned above, collect and gather all the necessary materials. Ensure that the pruning shears or knives you use are both clean and sharp.
Make sure you have the appropriate supplies before you start taking cuttings:
- Pruners that are clean and sharp or a sharp knife: Make clean incisions with a sharp cutting instrument to encourage quicker roots. To stop the spread of illnesses, sanitize the tool by cleaning it with rubbing alcohol or a bleach solution.
- Sterile potting mixture: Pick a sterile, well-draining potting mixture appropriate for the kind of plant you are propagating.
- Pick small, clean pots or containers with drainage holes to use for planting the cuttings.
- Rooting hormone (optional): Rooting hormone gel or powder can aid in promoting root development and raising rooting success rates. It is especially helpful for tougher plant types.
- Sprayer or misting device: By constantly spraying the cuttings, you may maintain the proper humidity during the roots phase.
- Transparent plastic bags or a propagation dome: These methods assist in producing a greenhouse-like atmosphere that encourages humidity and avoids moisture loss by covering the cuttings with plastic bags or using a propagation dome.

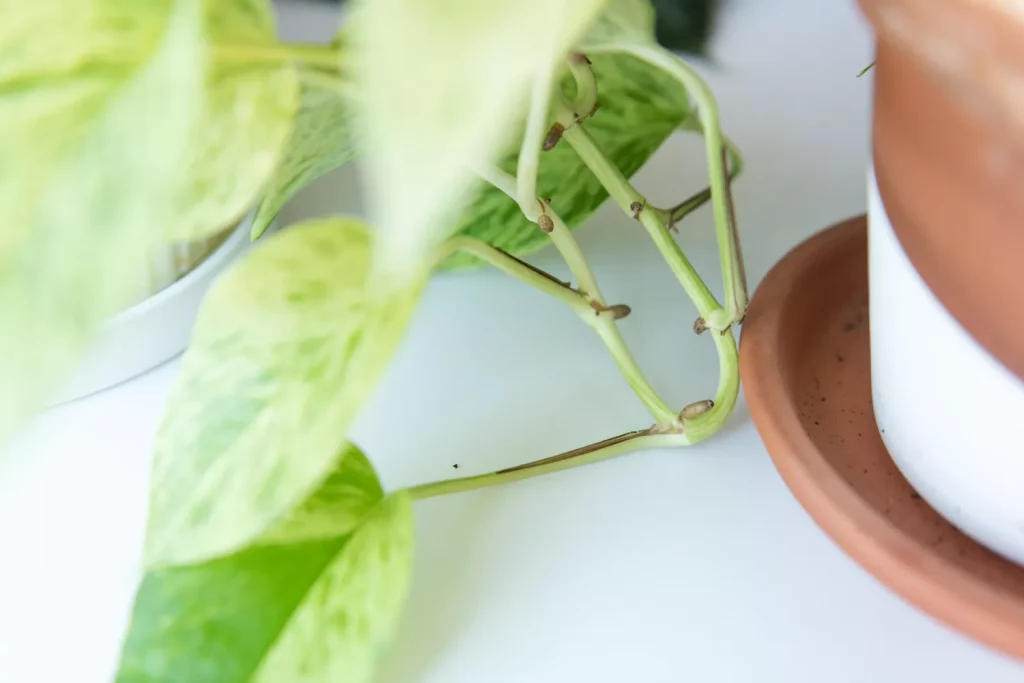
Step 2: Choosing/Selecting the Right Plant and Cutting
Cutting a Softwood Plant
Begin by selecting a robust parent plant from which to take the cuttings. Look for a plant that shows no symptoms of stress, illness, or pests. Pick a plant that is actively growing, especially one that is in its growing season. Additionally, make sure the plant has a number of cutting-ready stems that are healthy and well-developed.
Cutting a Hardwood Plant
Select robust, disease-free hardwood stems from the plant’s growth this season. Choose mature stems that are devoid of damage or disease indications around the thickness of a pencil. When a plant is dormant, go for woody varieties.
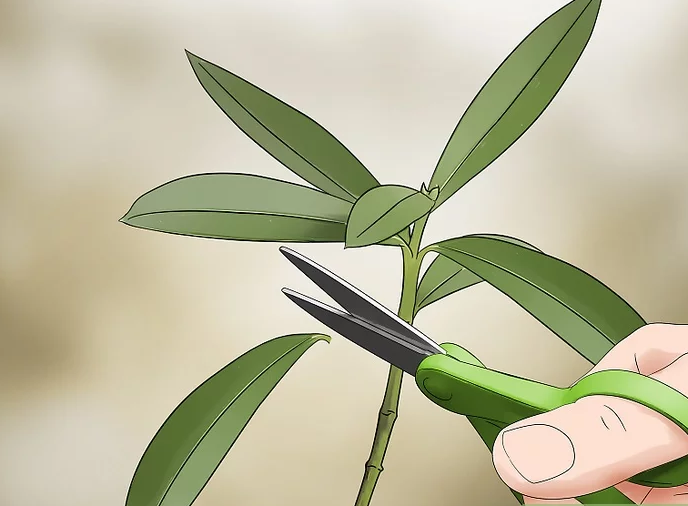
Step 3: Prepare the Cutting
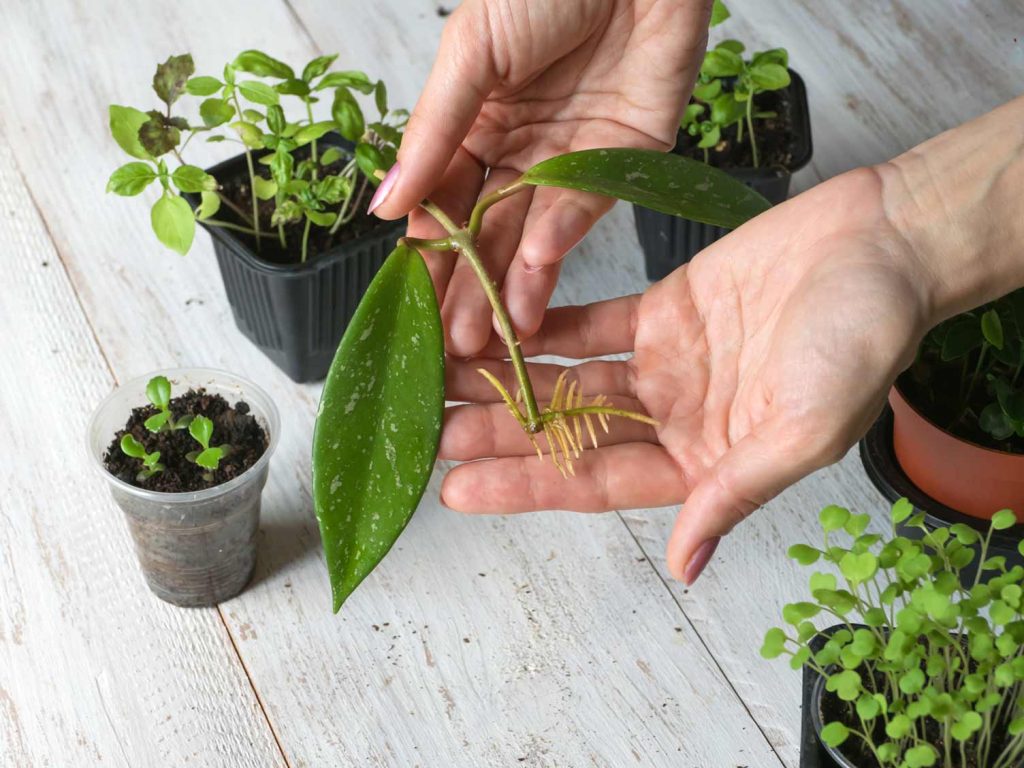
Just below a leaf node, make a clean cut with your pruning shears or knife. Do ensure that just below a leaf node, you make a clean cut with the pruners held at a 45-degree angle. The place where a leaf emerges from the stem is known as a leaf node. Depending on the plant, the cutting should be 4-6 inches long. Determine the stem. Find a stem that is healthy and neither too young nor too elderly. Choose a stem that is softwood or semi-hardwood, meaning it is sturdy but still flexible.
Step 4: Remove Lower Leaves
Leave only a few leaves at the top of the cutting after removing the leaves from the bottom area. By doing so, the plant’s energy is directed into developing its roots and helps to prevent water loss.
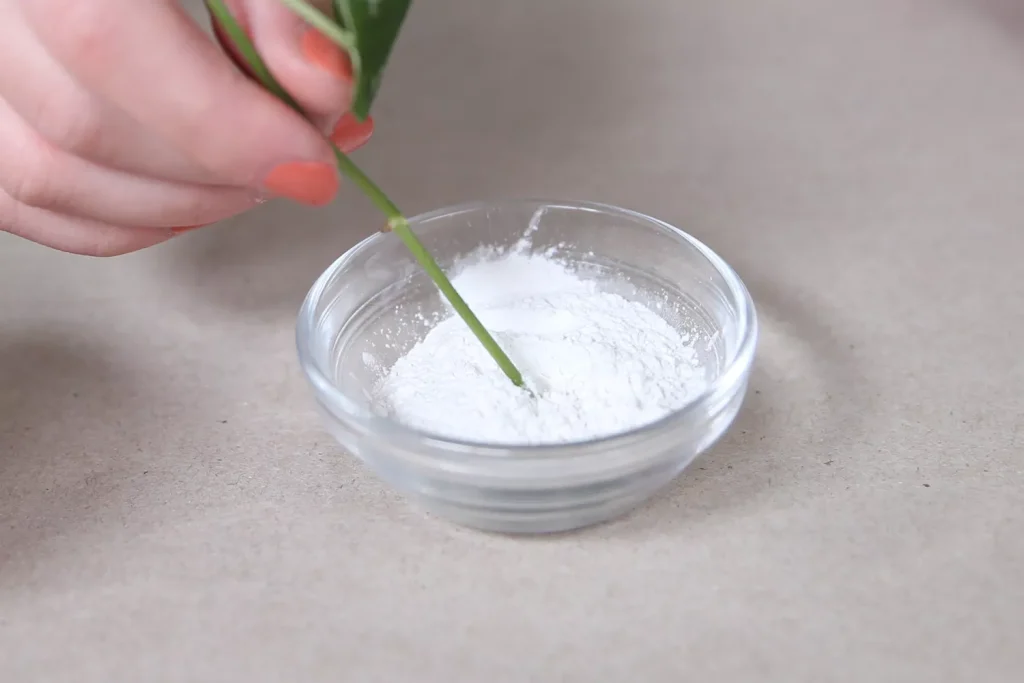
Step 5: Applying Rooting Hormone (optional)
If you have access to rooting hormone, dunk the cut end of the cutting in the hormone liquid or powder. Although it’s not always essential, this can encourage root development.
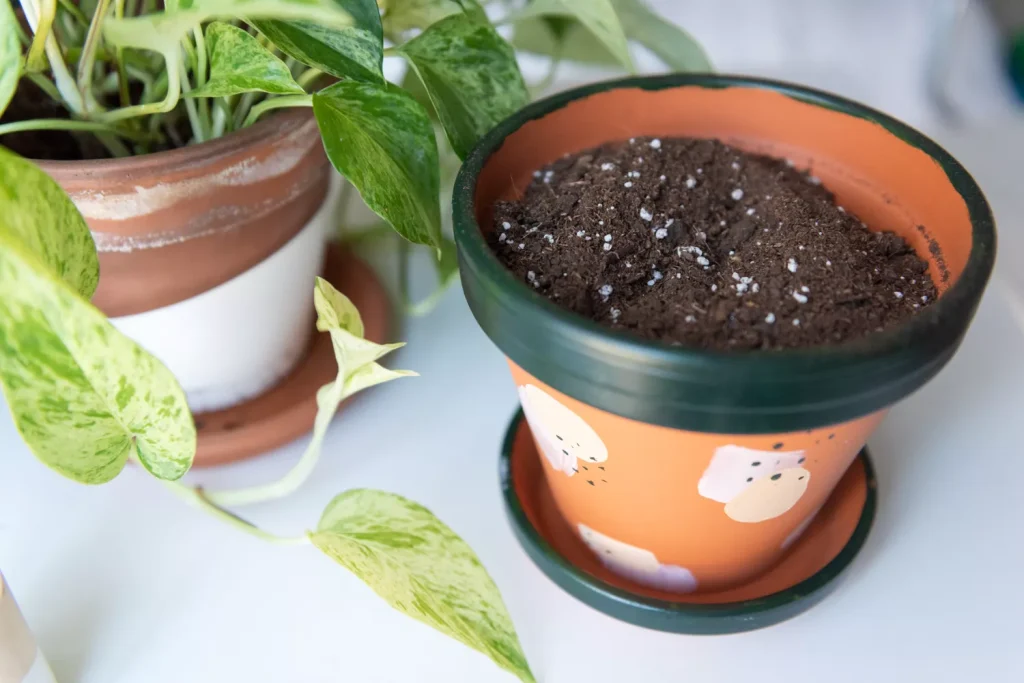
Step 6: Prepare the Container
Potting soil or an appropriate rooting medium should be put in a clean pot or container. Make sure the soil is moistened without becoming excessively saturated.
- To create a rooting medium, combine sand, perlite, vermiculite, or any two of these ingredients. This combination ought to drain easily and be clean.
- Add the rooting medium to clean containers or pots, allowing approximately an inch of space at the top.
- Thoroughly moisten the rooting medium and let any extra water drain.
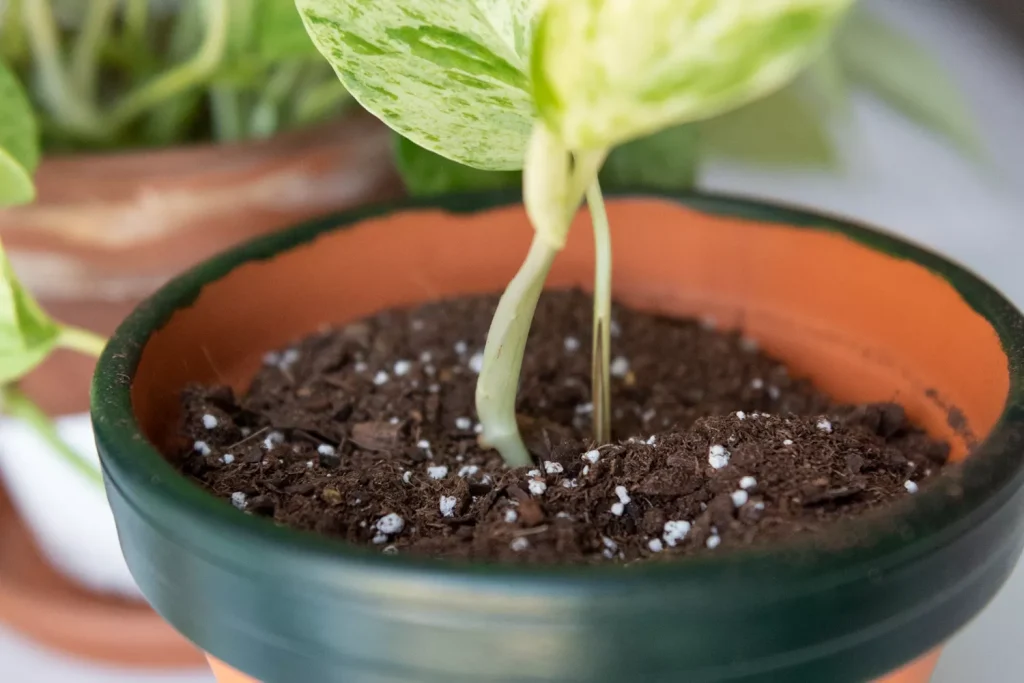
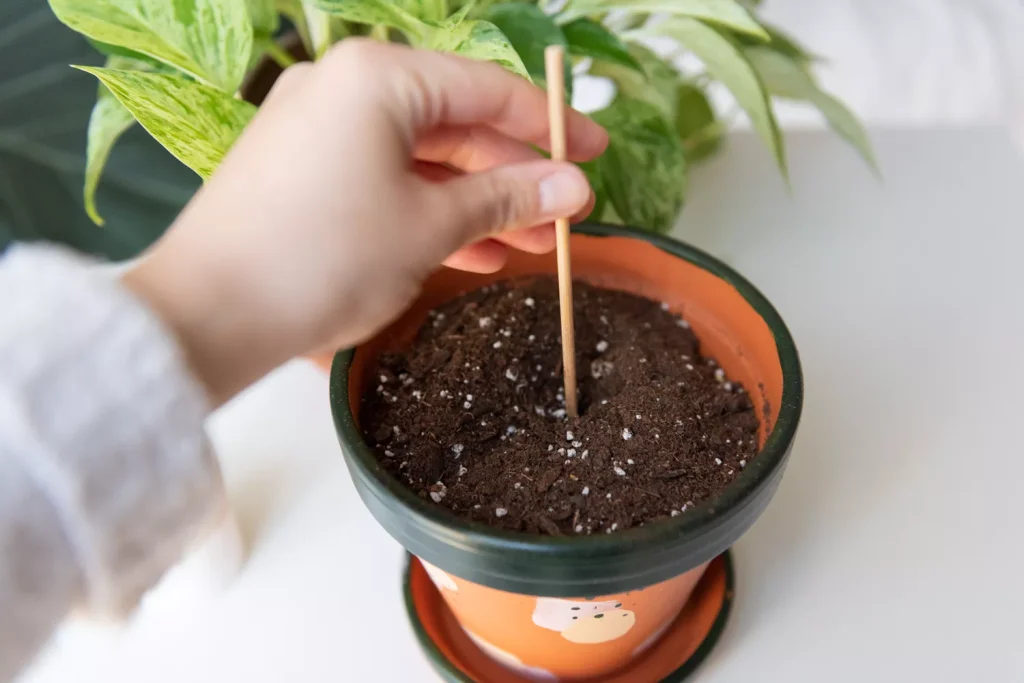
Step 7: Plant the Cutting
Using a pencil or your finger, dig a little hole in the prepared dirt. Make sure that at least one or two nodes are buried in the ground before inserting the cut end of the cutting into the hole.
- Use a clean, sterilized knife or pencil to make a hole in the rooting medium.
- Ensure that at least two nodes of the cutting are buried beneath the surface when you lower it into the hole.
- To keep the cutting in place, firmly push the rooting medium around it.
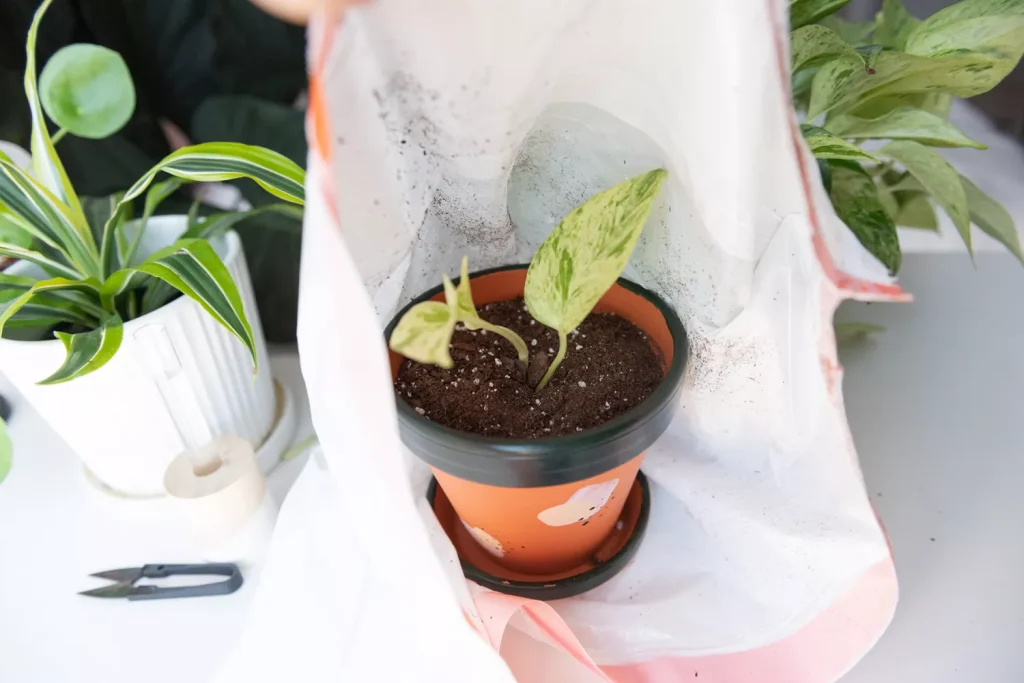
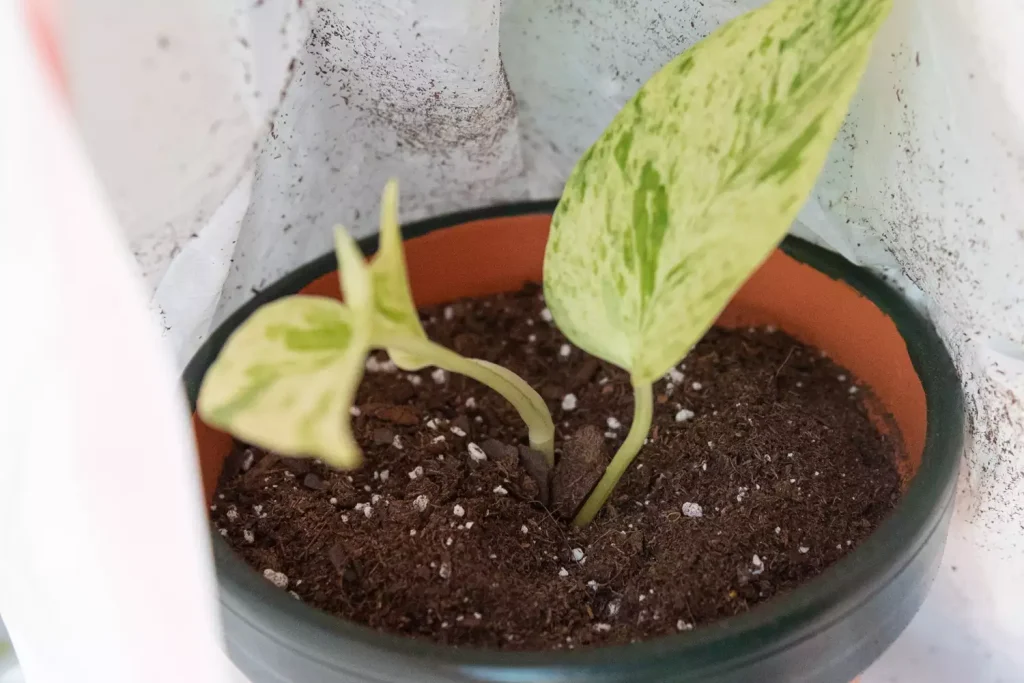
Step 8: Cover the Cutting
Use a propagator or cover the pot with a transparent plastic bag to simulate a little greenhouse effect. This encourages good roots by maintaining high humidity levels surrounding the cutting.
Step 9: Providing an Appropriate Care
Place the potted cutting in a warm, well-lit area, but keep it out of direct sunlight to prevent scorching. Maintain wet but not soggy soil. Regularly check the soil and water as necessary.
To encourage strong roots and wholesome growth:
- Provide enough moisture: After planting, properly water the cuttings, and keep the potting soil damp but not soggy. To keep the humidity level high, spritz the leaves, often using a misting system or a spray bottle.
- Keep the correct atmosphere in place: Place the cuttings in a warm area with indirect lighting. Avoid the sun’s direct rays since they might cause excessive moisture loss and heat discomfort.
- Promote ventilation: Cuttings with good airflow around them are less likely to contract the fungus. However, keep the cuttings away from draughty areas.
- Keep an eye on and regulate humidity: If you’re using plastic bags or a propagation dome, open them occasionally to let excess moisture out and lower the chance of mould or fungus growing. Monitor the moisture content carefully and make adjustments as necessary.
- Have patience: Depending on the plant type, rooting times might vary. While some cuttings may take several months to take root, others may do so in only a few weeks. Be patient and refrain from needlessly disrupting the cuts.
Step 10: Waiting and Monitoring the Rooting
The cutting ought to grow roots over time. Depending on the type of plant, this procedure might take a few weeks to a few months. Be patient and keep an eye out for the cutting’s first symptoms of root growth.
Step 11: Transplanting and Care
Follow these instructions to transplant the cuttings into individual pots or the garden when they have grown roots:
- Check for root growth by giving the cutting a gentle tug to see whether it has formed a strong enough root system. The roots have established if there is resistance.
- Moving into bigger pots: Carefully take the rooted cutting from the potting soil and place it into a little bigger pot that is also filled with suitable potting soil. To prevent harm, handle the fragile roots with care.
- Gradually acclimatize to the outdoors: If you intend to plant the cutting in a garden, expose it to outside circumstances over the course of a week or two, beginning with a few hours of indirect sunlight and extending the time over time.
- Offer continued assistance: Regularly water the transplanted cuttings to keep the potting mix consistently wet but not soggy. Pay close attention to the plant’s species’ particular demands for light, temperature, and fertilizer.
Congratulations! You were successful in the plant cutting. You may move the cutting into a larger container or right into your garden after it has established a rich and strong root system.
Please be aware that while most plants may be propagated by taking cuttings, there may be particular variances based on the plant species. To make sure you follow the best procedures for effective propagation, it is usually a good idea to do some study on the specific plant species you are dealing with.
Conclusion
Taking plant cuttings is a fun and economical way to multiply plants. You may effectively grow new plants from existing ones by following the detailed instructions above. Choosing a healthy plant, preparing and planting the cutting, and giving the necessary care up until the development of roots are the steps in the procedure. The odds of successful rooting can be increased by covering the cutting and using the rooting hormone, both of which are optional. Always be patient and keep an eye out for the cutting’s developing roots and signals of growth. By taking plant cuttings, which is an easy and gratifying procedure, you may grow your garden or share your favorite plants with others with a little practice and understanding of certain plant species. Remember to select healthy parent plants, make clean cuts, provide proper environmental conditions, and be patient throughout the rooting process.
Happy propagating!


