6 Easy Steps for Overwinter Canna Lilies in Winter
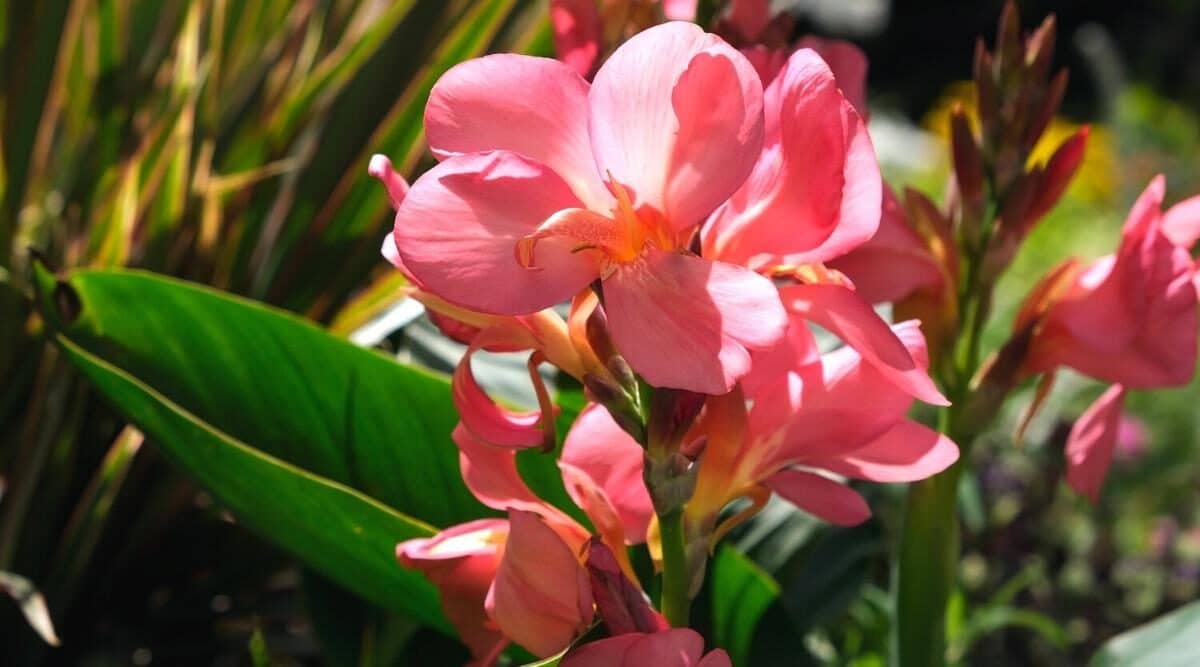
Table of Contents
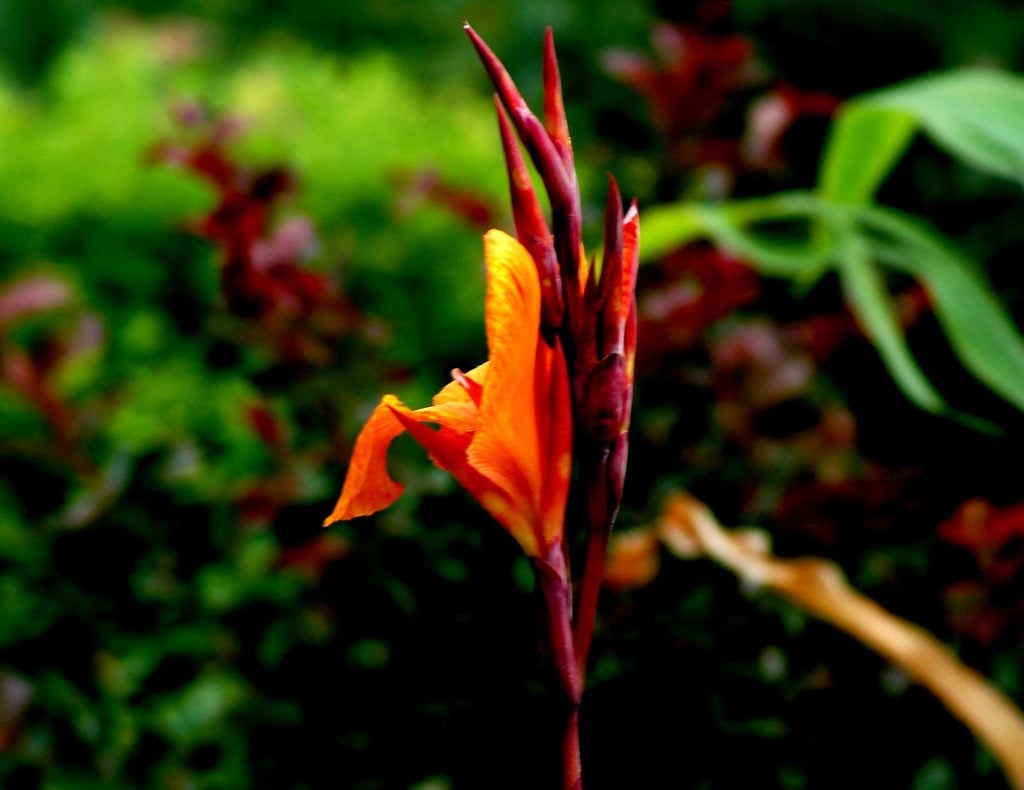
Canna or Canna Lily belong to the Cannaceae genus. It is the only flowering plant in this genus and comes in 20 different species. However, they are not true lilies, but they are known as lilies because they resemble lilies. Canna lilies are primarily used in agriculture for their starch production, which can be consumed by humans and animals. They are tropical and sub-tropical herbaceous perennial plants. The colour of the flower is generally red, orange, yellow, or a combination of these colours. They can grow up to 2 to 3 meters in height which is 6.6 to 9.8 feet tall.
Canna lilies are mostly cultivated by Native Americans in tropical America. They are early domesticated plants that are cultivated widely in these regions. The reason why these Cannas are cultivated in large numbers is for their starch content. By cultivating the canna lilies, you have the largest starch grains for life.
These plants will thrive well when they have complete exposure to the sun. The canna needs moderately watered, well-drained, and rich or sandy soil. The lilies grow from the perennial rhizomes, which is an underground stem and are also grown as annuals.
Canna Lily: An Overview
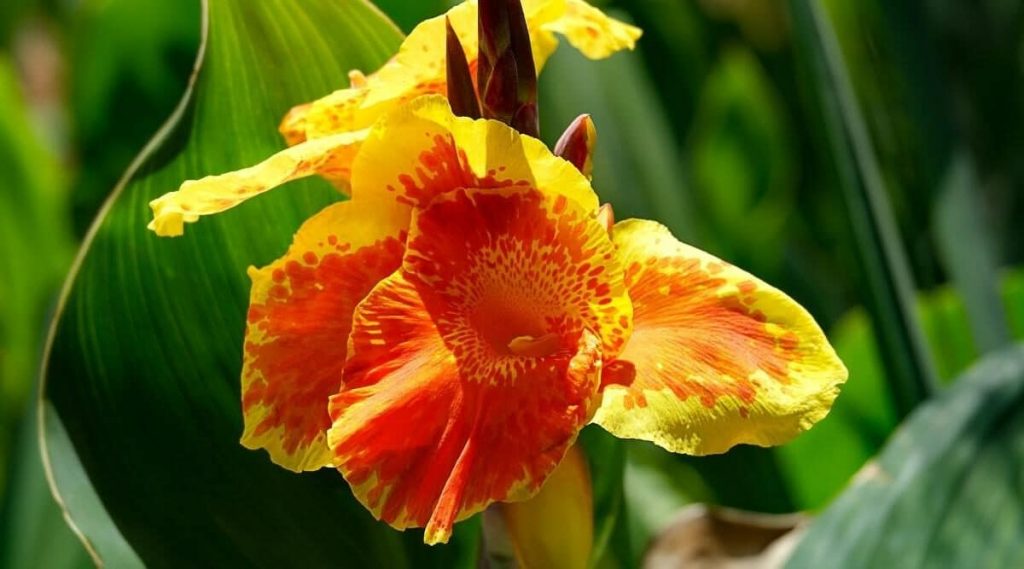
Canna lilies will give an exotic and tropical look if planted in the garden, and they are grown in temperate zones. They are grown in temperate zones because the rhizomes are sensitive to frosts. If the rhizomes are left in the open garden during freezing conditions, they will rot in no time.
Among canna, some species are grown as potted plants, and they are popular as garden plants. The seeds of these plants are used as beads in jewellery. In remote regions of India, they are used to produce alcohol by fermenting them. Canna lilies are mostly grown for their foliage.
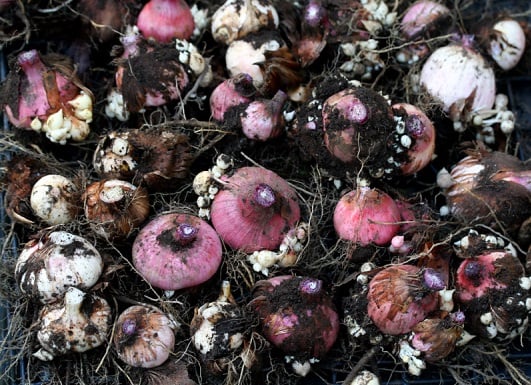
As we know, Canna lilies are grown from rhizomes which are also known as bulbs because they resemble one. They are perennials and are grown year after year. During winter, they are dug up and stored, so by overwintering cannas, they can be replanted after the winter.
How to Overwinter Canna Lilies
Canna lilies can survive winters in the zone with a hardiness of 7 to 10. They also increase in size from year to year. In cool areas, they are easy to lift and can be stored easily. They will also grow well in large containers so that they can be kept indoors during winter.
Overwintering cannas is easy as they are tropical plants, and they are convenient to plant during the summer. The large, colourful leaves and re-blooming in bright, happy colours add lush to the garden.
Equipment and Materials Needed for Overwintering Cannas
Steps for Overwintering Cannas

Canna lilies are the easiest plant to overwinter and do not require any greenhouse to grow. But overwintering cannas applies only to particular hardiness zones. The below 6 steps will give an insight into How to Overwinter Cannas?
Overwintering cannas is necessary because the rhizomes are sensitive to frost. The bulb will rot if left in the ground or open garden during winter.
Steps 1: Duration
If you are living in zone 3-7 when the temperature becomes frosty, it is best to start digging up the rhizomes. When the leaves turn yellow to black and foliage starts to fall on the ground, it is a sign that the plant is affected by frost. Let the plant experience one or two frosts as they will help them go dormant, which is much needed to store rhizome. Do not let them stay in the ground as they will die. If grown in containers, wait till the first frost. Once you notice the foliage turning yellow, start your overwintering process.
Move the pot to a cool and dry place till spring, so there will be no need to dig up the rhizome. Ensure the soil is dry. If it is moist, then germination initiates, and rhizomes will rot. Suppose the plant starts to sprout in winter. Keep them in a cooler area. Keep monitoring for the sprouts. If any sprouting notices, there is a high chance the plant can be saved.
Steps 2: How To Dig Them up
The rhizomes are delicate and fragile; they need to be handled with care. While digging them up, dig around the area with a garden fork or shovel. The rhizome will be coles to the surface of the soil. They are easy to lift as they have shallow roots. Once they are dug up, shake them well to remove excess soil. It needs to be rinsed off the soil because excess soil may cause disease, or the rhizome will rot. Remove dead foliage before digging up the rhizome. Check for insects or animal attacks after digging them up.
Discard the damage, and you can cut the rhizomes into small sizes as they vary in size. Cutting will not affect the rhizome, and remove excess dirt and store it in a dark tote bag or trash bag, and place them in a cool area. If planted in containers, leave them as such, do not dig up the rhizome. Be sure to remove the dead foliage and store them in the place you have allocated.
Step 3: Storing the Rhizomes
No need for a greenhouse or special equipment for overwintering cannas. Identify a cool place, and keep the rhizomes inside a black tote bag, as the tote bag will maintain humidity and not add extra moisture. After digging up, leave the rhizomes in a warm place for a few days. Keeping them at a warm temperature for a few days has benefits, as this will prevent molding and sprouting. Once cured, place them in the bag, do not close them tight, as they need air to breathe. Monitor rhizome once a month for rotting.
Remove the rotting parts from the rhizome, as it will affect other rhizomes. If rotting continuously, move them to a cooler and dryer spot. Try adding paper material like paper bags for storage as they absorb some moisture.
Step 4: Finding a Storage Space
Choose a place to store the rhizome as they don’t freeze. Identify a cool and dry place to keep rhizomes stored. You can store them in an unheated garage, unfinished basement, crawlspace, and cellar. Avoid outbuilding like sheds or barns. They are not insulated and will be below low-freezing temperatures. The temperature in storage shouldn’t be below 32 degrees Fahrenheit. If it is low, the rhizomes will die. The storage shouldn’t be above 30 degrees Fahrenheit during overwintering cannas.
If the storage has a warm temperature, there is a high chance of the rhizome germinating. If you do not notice the germination, there is a chance of them rotting.
Steps 5: Remove Dead Rhizomes
Spring is here, and time for replanting. How to know which rhizome is alive and which one is dead? Dead rhizomes will be thin and soft, and when squeezed in hand, it feels squishy. Sometimes it will be brittle, lightweight, and hollow,
Healthy ones will be heavy. If you still have doubt, place the rhizomes in a bucket of water. If the rhizome sinks, it is healthy. If they float, they are dead and discard them.
Steps 6: Replanting
When the temperature rises, and the risk for frost has passed, you can start planting the rhizomes. It is advisable to plant the rhizome when the soil temperature is 50 degrees Fahrenheit. Do not plant in cooler soil, as germination will not be initiated. One good rule, if you see tulip plants blooming, it is the best time to start planting. First, inspect for any mold or disease and remove all the bad rhizomes before planting. Rhizome eyes are the growing points of the plant; more eyes, more new shoots, and blooms.
Place the rhizome about 2-3 inches deep in the soil and space them 12 inches apart. The Canna Lilies will multiply during the growing season and will fill in a 12-inch gap.
When to Grow a Canna Lily
There are certain timelines for each plant to be planted or grown. Likewise, To grow Canna lilies, the best time to plant them is from April to May. It is best advised to start the planting with a container or pots.
They have strong roots called rhizomes, which is an underground stem, and these rhizomes are sold in bags in the dormant season. During summer, they are sold as potted plants. As we know, they grow from rhizomes, so the bulb needs to be preserved during frosts.
As they are sensitive to frosts, it is advised not to leave them on the ground. Dig up the bulb and save them for replanting after the winter. If suppose the bulb is left in the ground, it will rot in no time.
How to Develop a Canna Lily from Seed
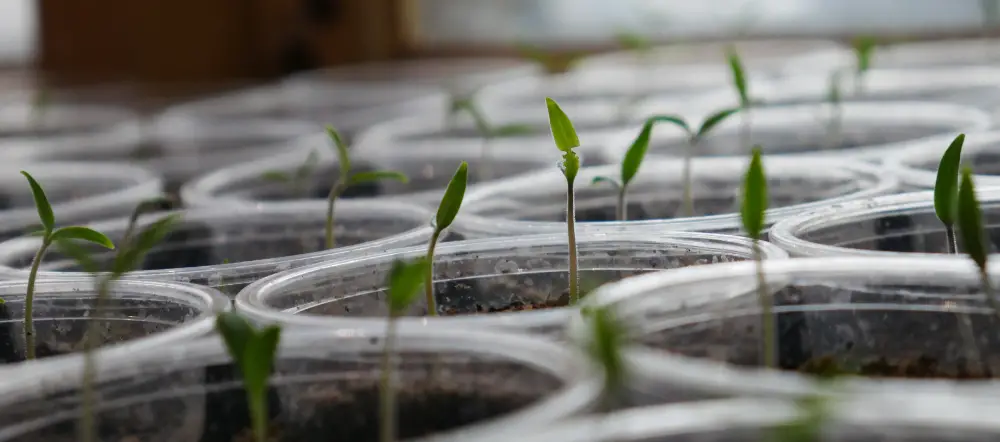
To develop a canna lily from seed, it is best to start by planting them in the pots. Use a large container that is about 20cm and choose a plastic pot. Make sure any shoots are above the surface. In the beginning, place them in the greenhouse, and water them well after planting. Wait for a few days for them to show some sign of growth.
In late May, during no frost conditions and when new shoots and roots are grown, plant them in the garden. Pick a spot that has complete exposure to the sun, as cannas need full sun for growth. If the cannas are brought in pots, it is best to plant them directly in the garden.
How to Care For Canna Lily
Canna lilies should be planted in the zone of hardiness of 8 and above. They will bloom throughout summer, and they will repeat bloom. You have three choices while growing, caring, and overwintering canna.
First, let them die off each fall and start planting again with a fresh rhizome. Second, pot them up and keep them indoors during winter. Third, Deadhead the bloom as they start to fade. The “eyes” in the rhizome will decide the width and amount of blooms in the plant.
There are factors to be considered while caring for Canna lilies.
1. Soil: Cannas will thrive well in rich and moist soil. The soil must be slightly acidic to neutral ph. The rhizomes should be dug deep in the soil. The plant needs loose soil and the capacity to retain moisture. Mixing some organic matter or well-rotted manure with grit will be a perfect soil condition to plant Canna lilies.
2. Light: To grow well, cannas need complete exposure to the sun. Thus, they need more water during hot and dry conditions. They also need heat for their growth. In the hottest areas, the shade will help them last longer.
3. Water: Canna lilies need consistent and regular watering of plants and evenly moist soil. Water the canna regularly, especially during hot climates. Insufficient water will make plant crack and wilt, and to an extreme, they may also die.
4. Temperature: The blooming of the plant depends on the temperature. In an area with a cool temperature, the plant will grow slowly. Keeping them indoors in pots before frost and moving them out when they have started growing will make them bloom earlier. They prefer humid air as they are tropical plants. The canna lilies can withstand dryness if properly watered.
5. Fertilizer: The cannas are hungry plants. They need to be fed in addition to water. The food is stored in their rhizomes. The best time to feed the plants is during spring and mid-summer with a balanced fertilizer.
Summing Up
All in all, Canna lilies are great tropical plants for the garden and do have some uses for us. The rhizomes, from which the plant grows, store starch which can be consumed by humans and animals. The seeds are used as beads in the jewellery.
Growing cannas is easy as they do not take any hard steps to grow and preserve them. As they are perennial plants, they will grow and bloom year after year. Overwintering cannas is also easy and necessary during winter, as the rhizomes are sensitive to frost. To save rhizomes from frost, dig them up during low temperatures, store them, and keep monitoring them for rotting. You can use a dark tote bag to store the rhizomes and keep them in a cool and dry place.
Thus, the growing and overwintering cannas are easy and need some simple attention. Plant some cannas in the garden and enjoy the tropical feel.