4 Easy Steps to Grow Vibrant Erysimum ‘Wallflower’ from Seeds

Table of Contents
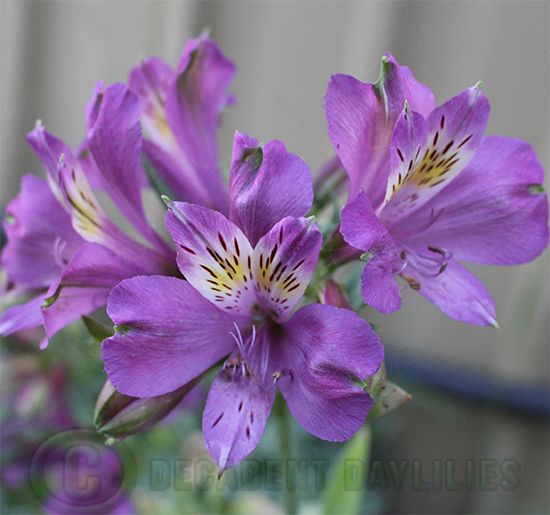
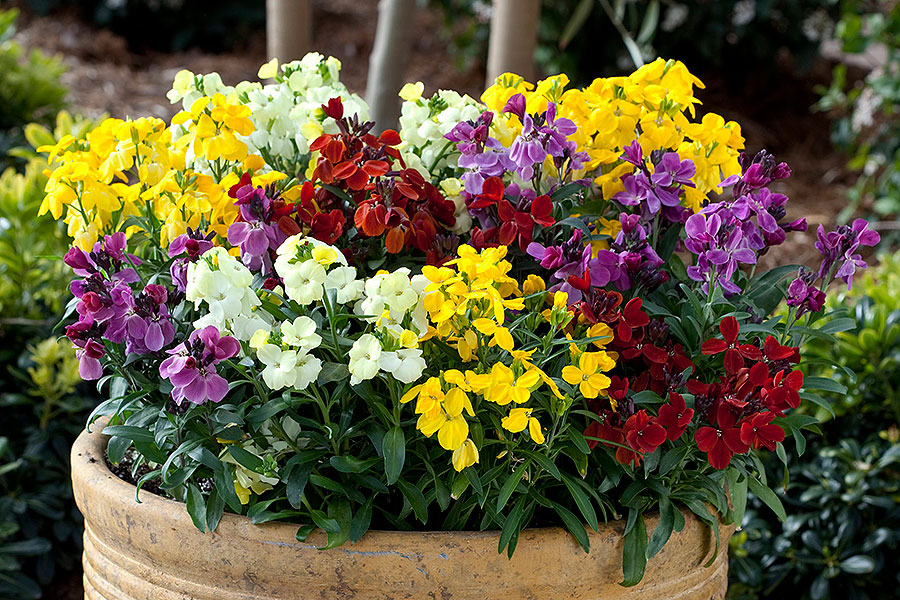
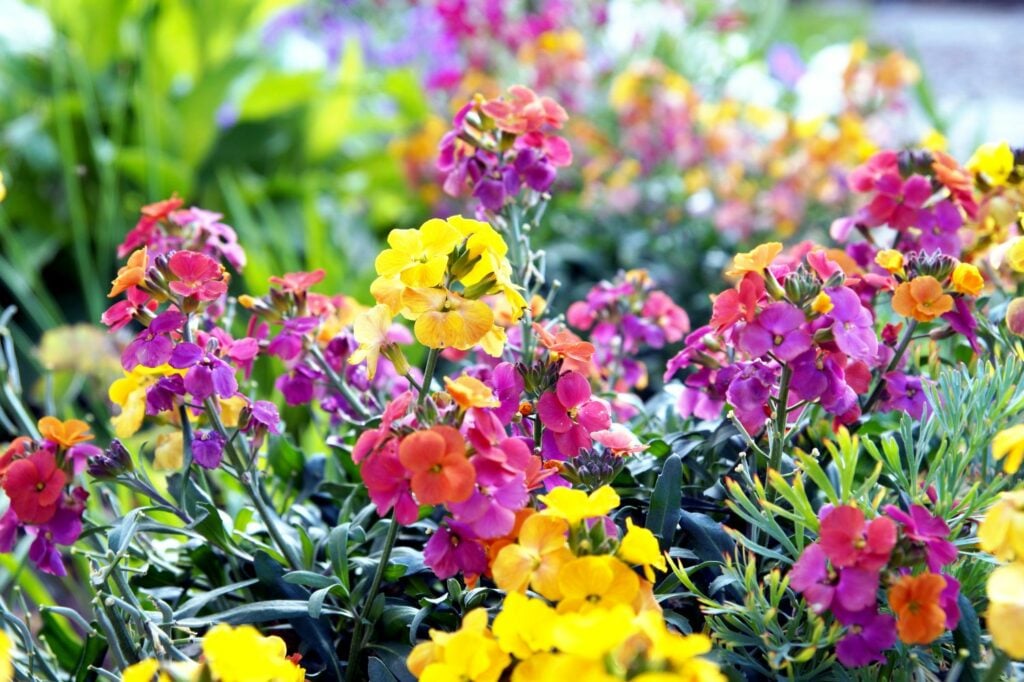
If you want to enhance the vibrancy and aroma of your garden, planting Erysimum’ Wallflower’ seeds is a fantastic way to accomplish this. Wallflowers are adaptable flora in various hues, such as yellow, orange, red, and purple. They are renowned for their delightful scent, particularly intense at night. In the United Kingdom, wallflowers are frequently sown in autumn to bloom the following spring.
Wallflowers are an outstanding selection as their vivid and perfumed blossoms bring allure to any outdoor area. With this handbook, you will understand when to sow wallflower seeds and how to maintain them to ensure they grow robust and healthy. Whether you are a novice or an experienced horticulturist, planting wallflower seeds is a straightforward procedure that anyone can learn.
So, let’s begin and master the art of planting wallflower seeds to appreciate their magnificence in your garden.
Step 1: Selecting the Appropriate Timing
It is essential to know when to sow wallflower seeds. Wallflowers are resilient plants and can be sown at various times of the year, depending on your location and the variety. Here are some factors to consider when determining the ideal time to sow wallflower seeds:
Weather And Area: The weather and location of your residence will significantly affect the timing of sowing wallflower seeds. Wallflowers are robust plants and can withstand cold temperatures but are not fond of extreme heat or humidity. Early spring or late summer is the best time to sow wallflower seeds in the United Kingdom. If you live in a warmer environment, you may need to sow your seeds in the autumn or winter months.
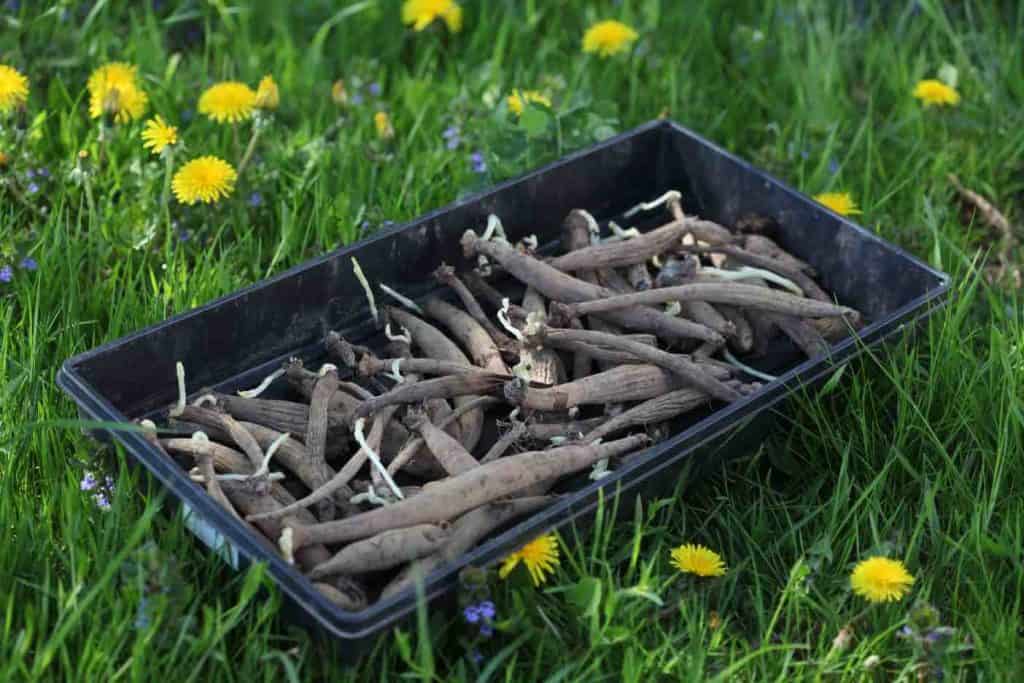
Assortment Of Wallflower: Wallflowers come in various assortments; each type has its ideal seeding time. Some assortments, like Erysimum cheiri, are biennial plants that require summer sowing and are overwintered before blooming the following year. Others, such as Erysimum linifolium, are perennial plants that can be seeded anytime throughout the year. Selecting the appropriate wallflower assortment that matches your requirements and seeding time is crucial.
Blooming Period: To ensure that your wallflowers blossom at a specific time of the year, you must plan your seeding time accordingly. Wallflowers ordinarily bloom in the spring or summer, depending on the type and seeding time. You should sow wallflower seeds in the late summer or early fall if you want them to bloom in the spring. You should sow them in the spring if you want them to blossom in the summer.
Temperature Of The Ground: Wallflower seeds need a base ground temperature of about 10°C to sprout. The seeds may not sprout, and your plants may not thrive if the soil is too cool. Check the soil’s temperature using a ground thermometer before planting your wallflower seeds. If the soil temperature is too low, use a propagation heat mat or place the seed tray or small pots on a windowsill to warm it up.
Step 2: Getting the Soil Ready
Preparing the soil is a vital step in sowing wallflower seeds. Wallflowers flourish in soil with good drainage and a pH range of 6.0 to 7.5. Here are the instructions to adhere to:
Choosing the Right Spot: Opt for an appropriate spot within your garden to plant your wallflowers. They thrive in a location that is bright and has well-draining soil. Ensure that the selected spot gets at least six hours of unobstructed sunlight daily.
Clean Up: Tidy up the area by removing any unwanted items or weeds. Extract any sizeable boulders or stones that may hinder the growth of your wallflowers.
Tilling the Area: A garden fork or tiller will moderate the soil to a depth of around 30cm. It will facilitate the roots of your wallflowers to infiltrate the soil and acquire nutrients and water quickly.
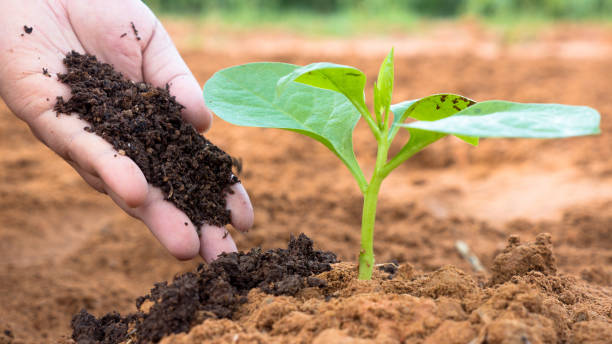
Incorporate Natural Matter: Incorporate natural matter into the earth, such as compost or well-rotted manure. It will enhance the earth’s fertility, structure, and water-holding capacity. Thoroughly mix the natural matter into the earth using a garden fork or tiller.
Assess The pH: Assess the soil’s pH using a soil test kit or dispatching an earth sample to a laboratory. Wallflowers favour slightly bare soil with a pH between 6.0 and 7.5. If the earth is too acidic, add lime to increase the pH. If the earth is too bare, add sulfur to decrease the pH.
Incorporate Fertilizer: Incorporate a well-balanced fertilizer into the soil, like a time-release granular fertilizer. It will give your wallflowers the vital nutrients they require for robust development. Adhere to the manufacturer’s guidelines for the recommended usage rate.
Make It Uniform: Till the soil generates a uniform, even surface. It will simplify the sowing of your wallflower seeds and guarantee they’re planted at the appropriate depth.
Moisten the Soil: Moisten the soil thoroughly to compact it and ensure the nutrients disperse uniformly. Allow the soil to settle for a few days before sowing your wallflower seeds.
Step 3: Planting the Wallflower Seeds
After preparing the seed tray or small pots, it is time to plant the wallflower seeds. Here are the steps to plant the seeds accurately:
Fill A Tiny Dish: Take a tiny dish and fill it with water. Add a drop of dishwashing liquid to the water to reduce surface tension and make it easier to moisten the seeds.
Moisten A Toothpick: Moisten the tip of a toothpick in soapy water and gently touch it to a wallflower seed. It helps the seed to absorb moisture and speed up germination.
Plant the Seed: Using your fingers or the toothpick, plant the seed on the compost surface without burying it too deep. You can put a lot of seeds on a tray or pot, but make sure to space them apart to avoid crowding.
Put A Layer of Compost: Place a layer of compost about 1 cm thick on the seeds. Ensure the compost layer is thick enough; thin layers can prevent seeds from germinating. To ensure the seeds are in contact with the soil, gently press down on the compost.
Moisten the Seeds: Moisten the seeds carefully using a watering can or spray bottle, not disturbing them. A light mist of water will assist in settling the seeds in the compost. Ensure that the seeds are uniformly moist but not saturated.
Mark the Seed Tray: Label the seed tray or small pots with the planting date and wallflower type. It will assist you in keeping track of the development of your wallflowers and identifying them once they have grown.
Shield the Seedling Container: Shield the seedling container or miniature pots with a transparent plastic cover or wrap. It will help to maintain moisture and establish a damp atmosphere for the seeds to sprout. Position the seedling container or miniature pots in a warm, illuminated location but not in direct sunlight. Approximately 18-21°C is optimal for wallflower seeds to germinate.
Monitor the Seeds Regularly: Regularly monitor the seedling container or miniature pots to ensure the soil remains damp. If the soil starts to dry out, water the seeds softly with a watering can or spray bottle. Ensure the water flows out of the drainage holes at the base of the seedling container or miniature pots. If moisture accumulates on the cover or plastic wrap, open it slightly to allow airflow.
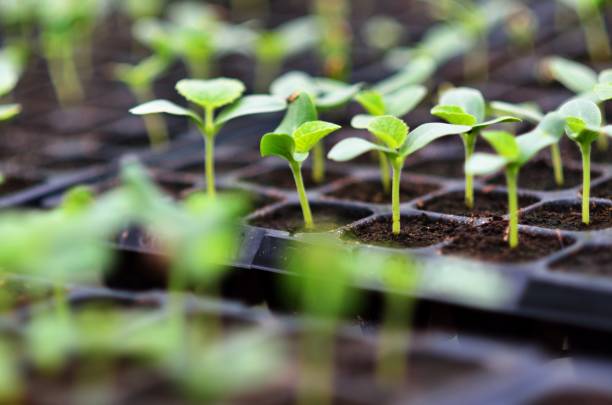
Await Germination: Wallflower seeds typically take 10-14 days to sprout, although the duration may vary depending on the temperature and humidity. After germination, uncover the lid or cling film and relocate the seed tray or small pots to a well-lit and sunny area. Keep watering the seedlings regularly, ensuring the soil stays damp but not overly saturated.
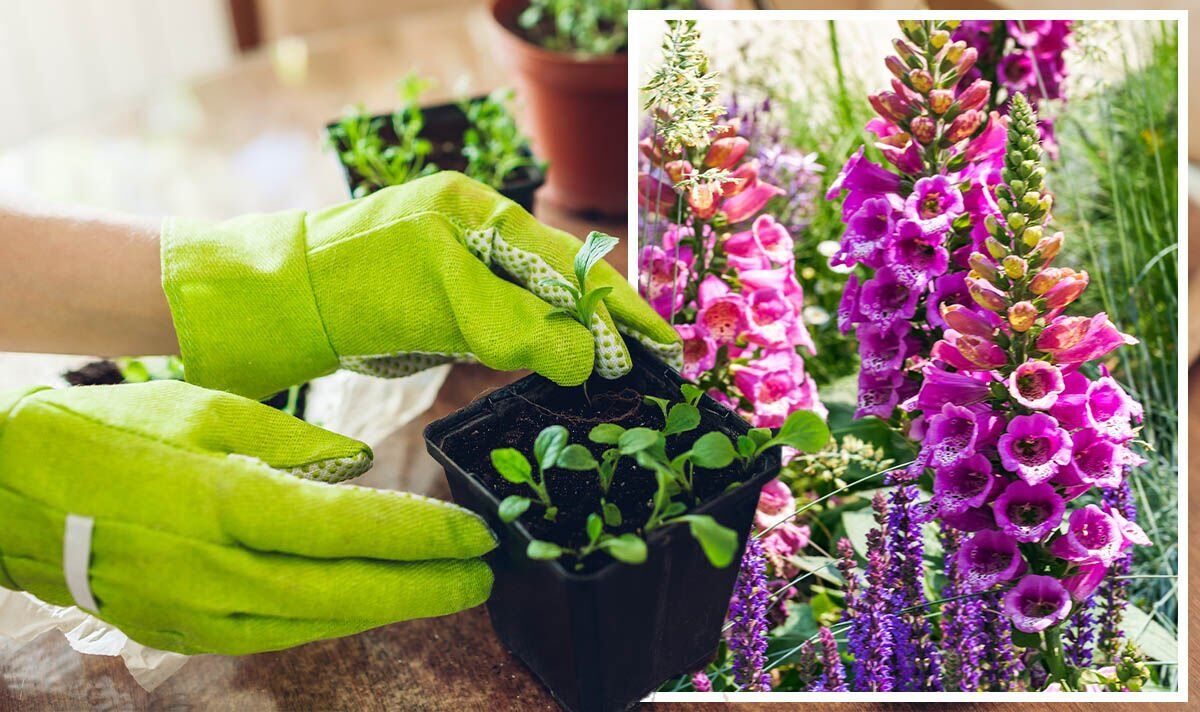
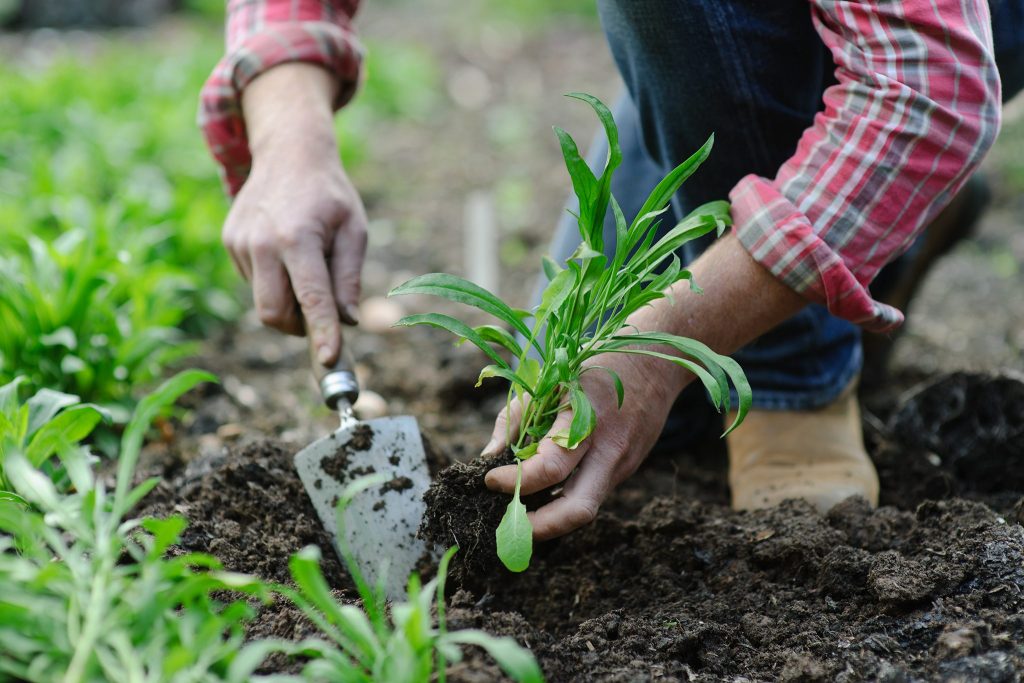
Step 4: Look After Your Wallflowers
Once your wallflower seedlings have sprouted and developed a few sets of genuine leaves, taking good care of them is essential. Adequate attention will guarantee that your wallflowers thrive into sturdy plants and bear stunning blossoms. Below are some guidelines for looking after your wallflowers:
Irrigation: Wallflowers thrive in soil that is moist but not saturated. Irrigate the soil when the upper layer feels arid to the touch. Refrain from excessive irrigation, as this can result in root decay and other ailments. Provide water in the morning or evening to prevent vaporization and guarantee proper absorption by the soil.
Feeding: Wallflowers do not need extensive feeding. A mild dose of a well-balanced fertilizer once per month during the growing phase is enough. Refrain from overfeeding, which can result in excessive growth and reduced flowering.
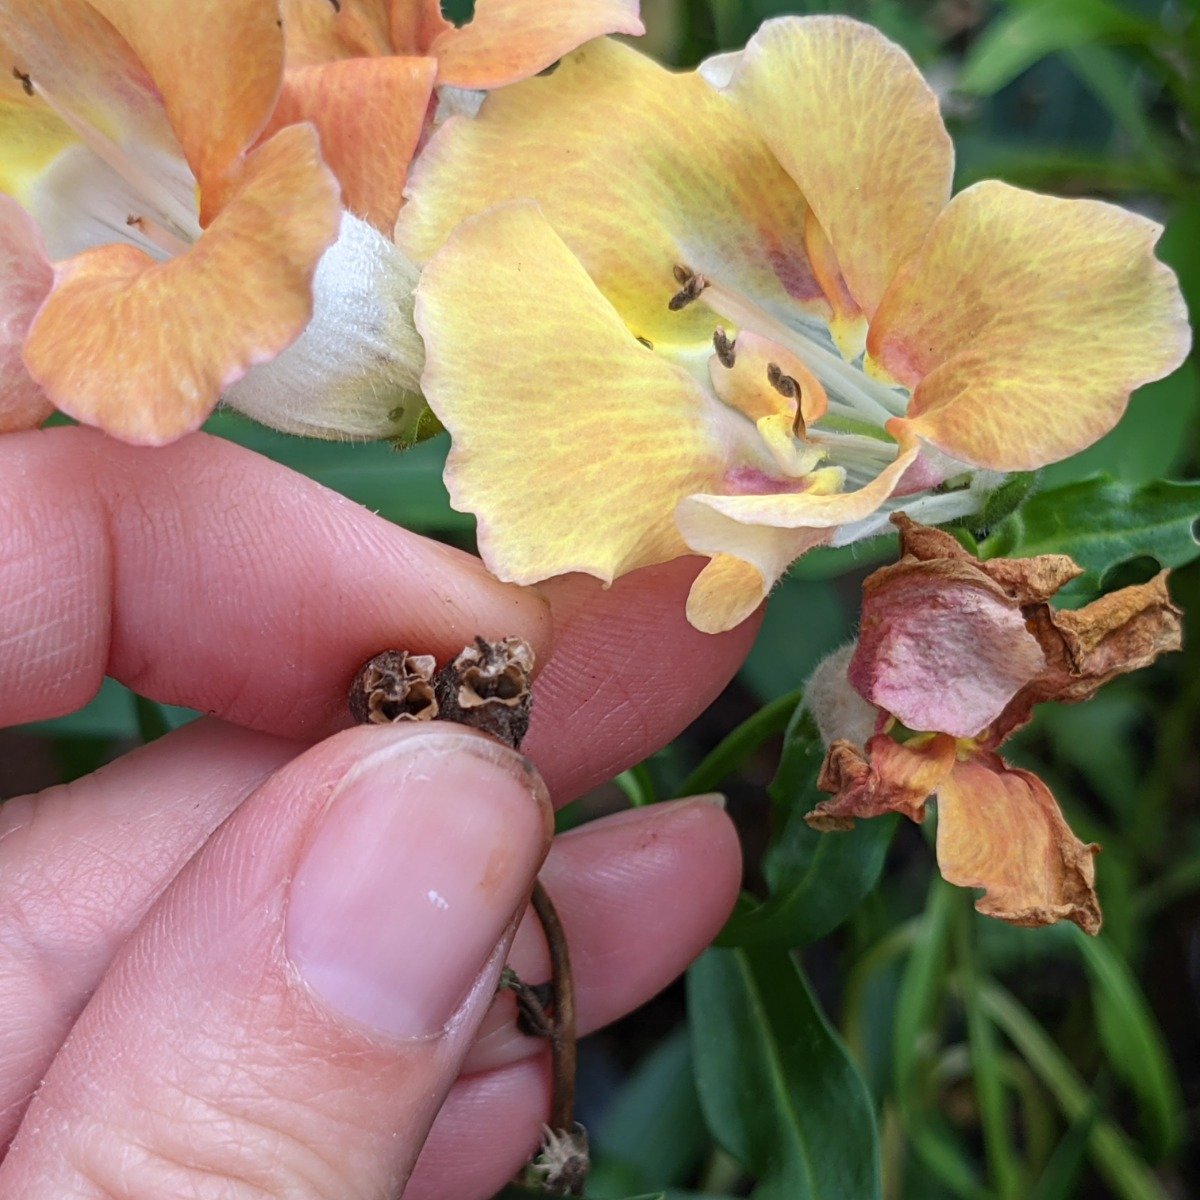
Trimming: Wallflowers don’t need extensive trimming. Nevertheless, trimming off withered blooms will prompt the plant to yield more flowers. Snip the withered blooms at the stem’s foundation, and fresh flowers will emerge from the remaining buds.
Infestations And Ailments: Wallflowers are typically immune to infestations and ailments. Nevertheless, aphids, slugs, and snails may occasionally invade the plants. Inspect your plants regularly and eliminate any pests manually or with water. Employ copper tape or eggshells around the plant’s base to avoid damage from slugs and snails.
Winter Maintenance: Wallflowers are tough plants and can endure frigid winters. Nevertheless, they might need some safeguarding during inclement winter weather. Shield the plants by laying down a coating of mulch or fleece to shield them from freezing temperatures and snow.
Equipment Needed for Planting Wallflower Seeds
It is crucial to collect all the required equipment before you start planting wallflower seeds. It will help you save time and simplify the procedure. Here are the items you will require to begin:
1. Seed Tray Or Tiny Containers
You will need a seed tray or small containers to plant your wallflower seeds. If you intend to sow several seeds, a seed tray may help, or you can use small containers for each seed. Ensure the seed tray or containers are spotless and have holes at the bottom for drainage. The drainage holes prevent water from accumulating and ensure the seeds receive sufficient moisture.
2. Compost For Germinating
Compost for germinating is designed for seedlings and has the right combination of nutrients and drainage. It is crucial to use compost to germinate, as regular compost may contain pathogens that can damage your seedlings. You can buy compost for germinating from a nearby gardening centre or online. Make sure the compost is damp before planting your wallflower seeds.
3. Watering Pot Or Sprayer
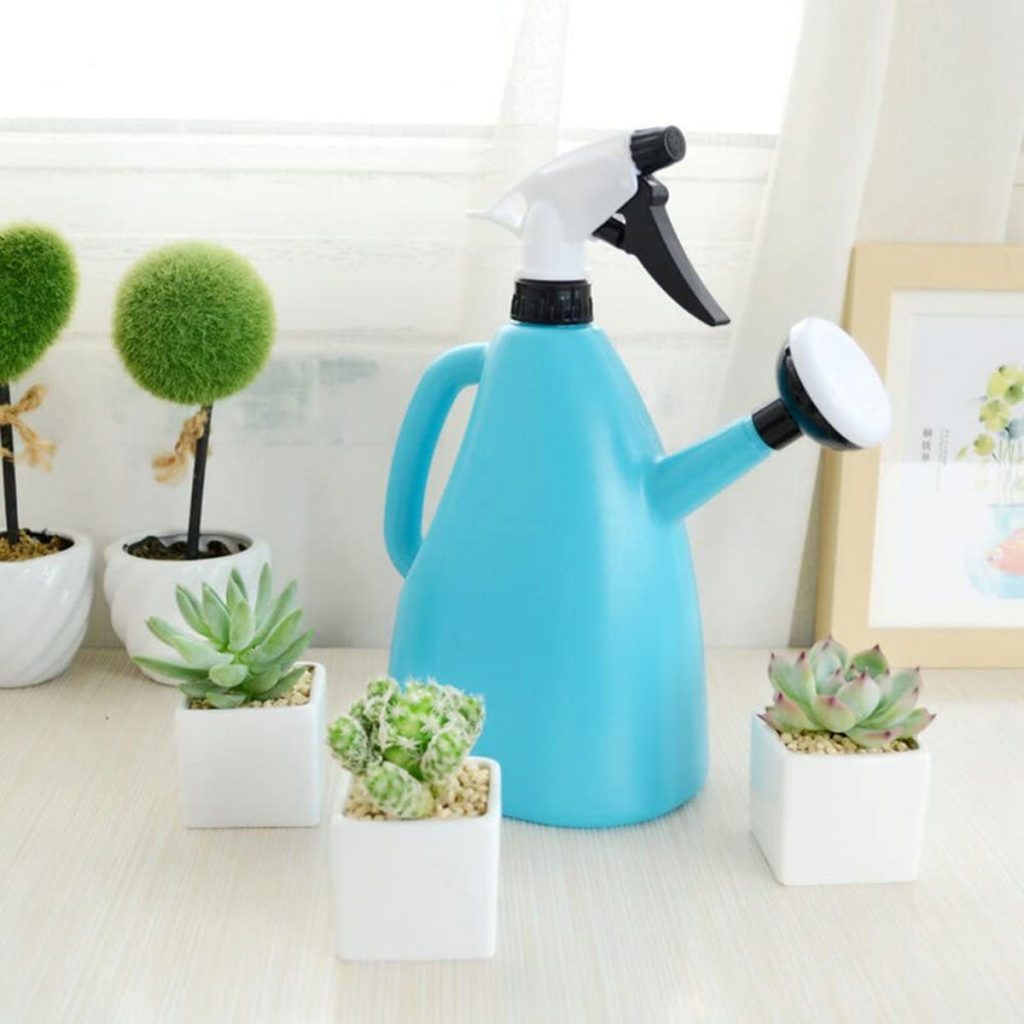
You will require a watering pot or sprayer to water your wallflower seeds. Ensure the watering pot or sprayer is clean and has a fine mist nozzle to avoid dislodging the seeds. A sprayer is especially beneficial for fragile seeds or seedlings.
4. Markers And Tags For Plants
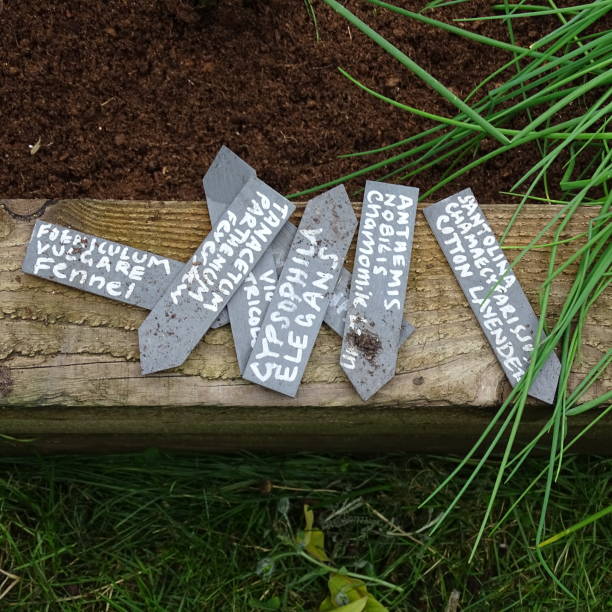
Markers and tags for plants are indispensable for monitoring the various species of wallflowers you have planted. They can also assist you in recalling the date of planting and other significant details about your plants. Numerous plant markers are obtainable, such as wooden or plastic tags and chalkboard labels.
5. Seeds For Wallflowers

At last, you will require seeds for wallflowers to plant in your seed tray or small pots. You can buy wallflower seeds from your nearby horticulture centre or the Internet. Confirm that the seeds are brand new and have not surpassed their expiration date. Selecting the appropriate type of wallflowers suitable for your garden is also significant.
Conclusion
Planting wallflower seeds can offer gardeners of all levels of expertise a fulfilling and satisfying experience. By adhering to the four steps elucidated in this piece, you can effectively plant and maintain your wallflowers. Remember when to sow wallflower seeds, gather the required equipment, and provide the necessary care for your wallflowers as they grow.
With a bit of forbearance and attentiveness, you’ll soon have a flourishing garden brimming with vibrant, aromatic wallflowers. For gardeners in the UK, autumn or early to mid-summer are the ideal periods to plant wallflower seeds for a magnificent exhibition in the subsequent spring.
Therefore, don’t hesitate to attempt planting wallflower seeds and incorporating these stunning plants into your garden.
Frequently Asked Questions
What Is the Ideal Time to Plant Wallflower Seeds in The UK?
The optimal moment to plant wallflower seeds in the UK is either during the autumn season for early blooming or at the beginning of the summer until mid-summer for the flowers to blossom in the following spring.
Which Equipment Is Necessary to Sow Wallflower Seeds?
To sow wallflower seeds, you’ll require a seed tray or small pots, seed compost, watering can or spray bottle, and wallflower seeds. Remember to follow the above steps to avoid any confusion and plant your wallflower in the right way!
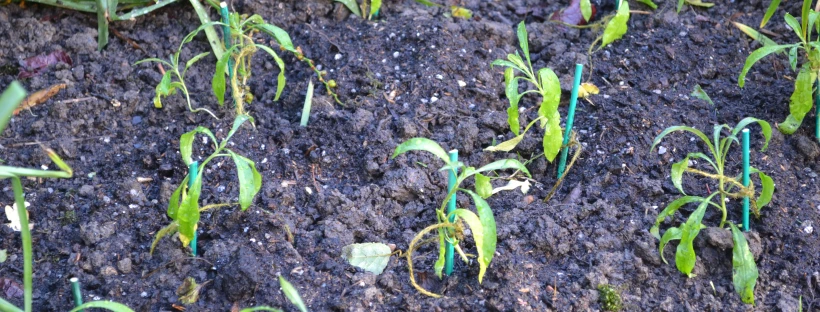
What Is the Procedure to Take Care of My Wallflowers After Sprouting?
To take care of your wallflowers, ensure the compost is moist but not waterlogged, transfer them to individual pots when they grow about 2-3cm tall, plant them in their final spot in the garden when they have developed a sturdy root system, water them regularly, and prune them regularly to encourage new growth and extend the blooming period.