Grow Beautiful Campanula From Seed: A Step-by-Step Guide
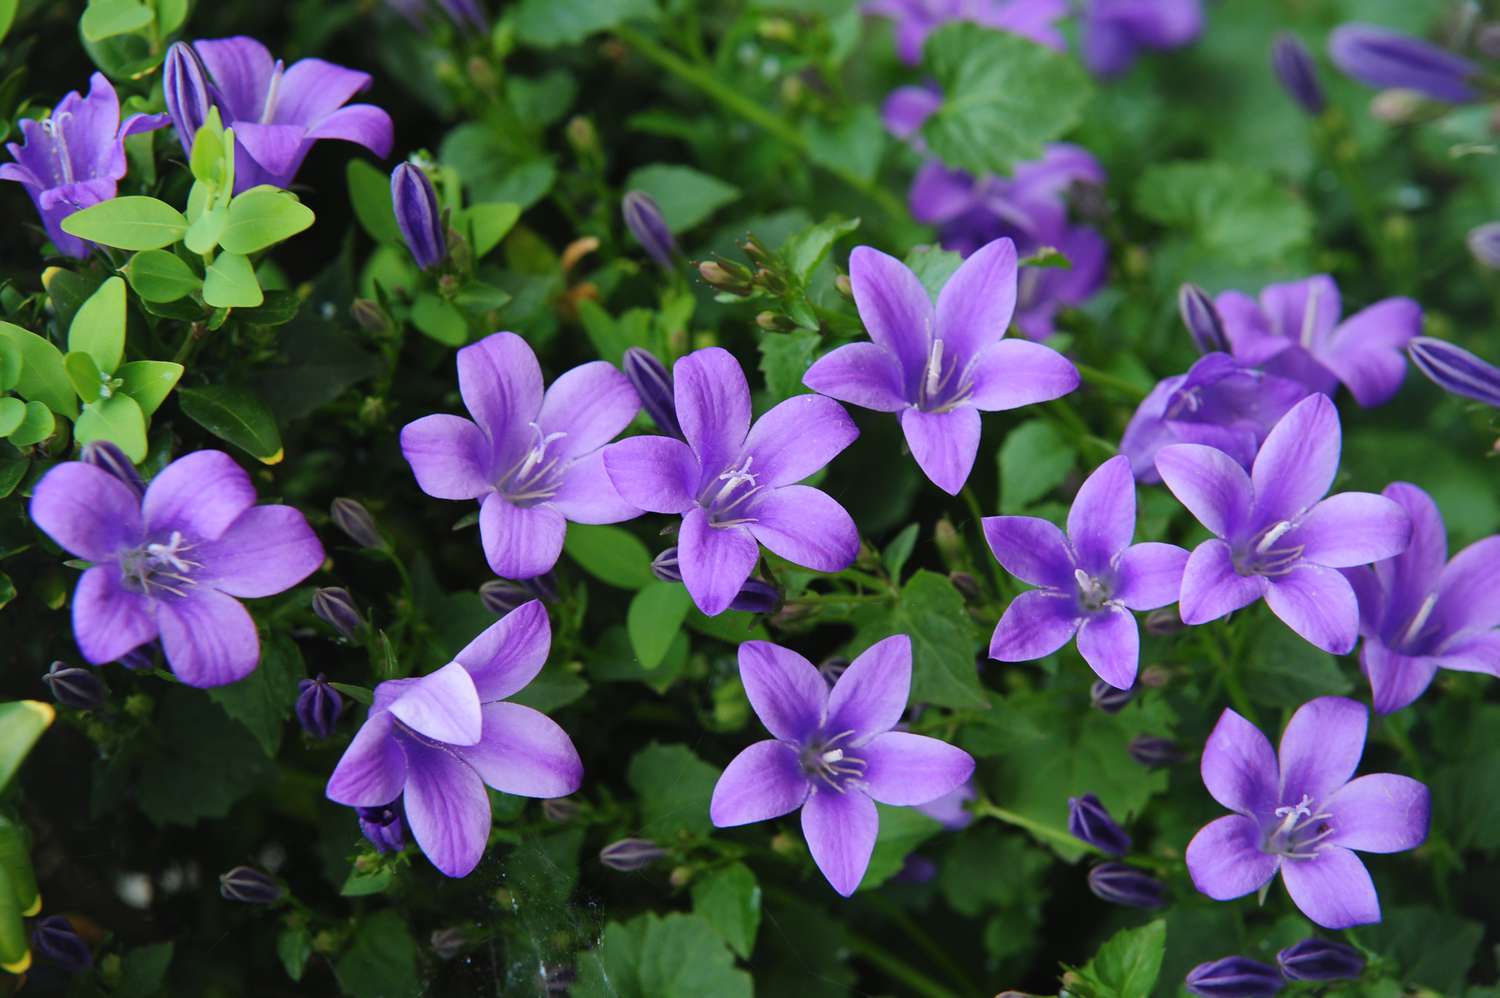
Table of Contents
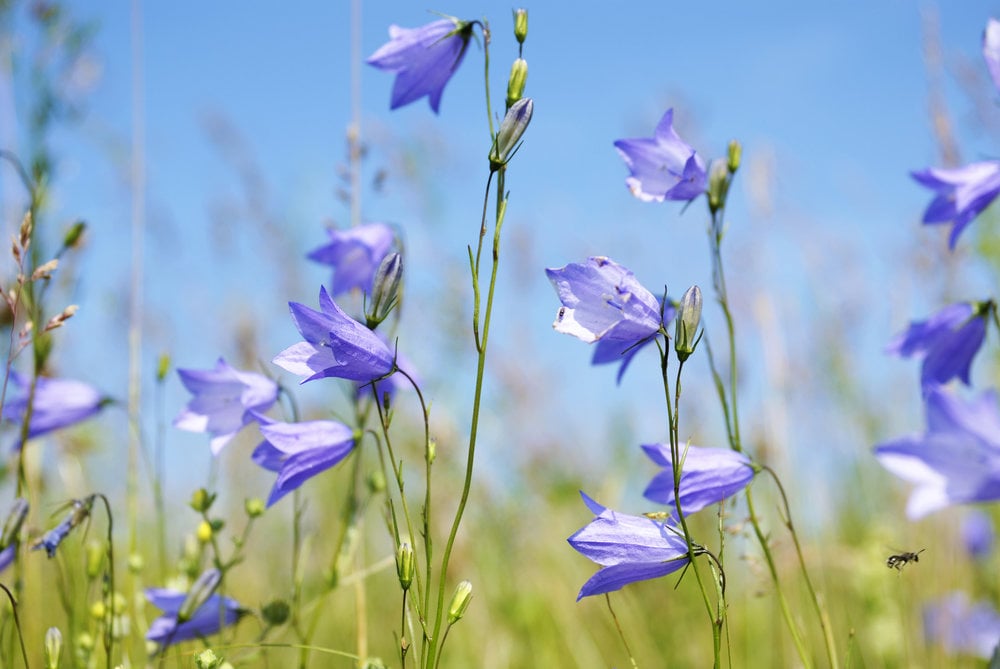
Last year we came across some bell-shaped flowers during our research, and we immediately decided that we needed them in our garden too. But buying readymade plants was not fun. So we decided to grow campanula from seeds on our own.
We dug deep into some books, dialled a few specialists and gathered some insights. We applied all that we gathered from that extensive research, made some errors, learnt a lot and filtered the key things that really work. The colour and shape of this plant give an aesthetic appeal to the garden. It helps attract pollinators like bees which helps the garden grow. It also helped us to keep our garden chemical-free. It was a long but rewarding process. And now, we want to share with you the step-by-step journey that we followed, from growing campanula to harvesting them that will save you plenty of time. So, let’s get started.
Preparation Before Sowing Campanula Seeds
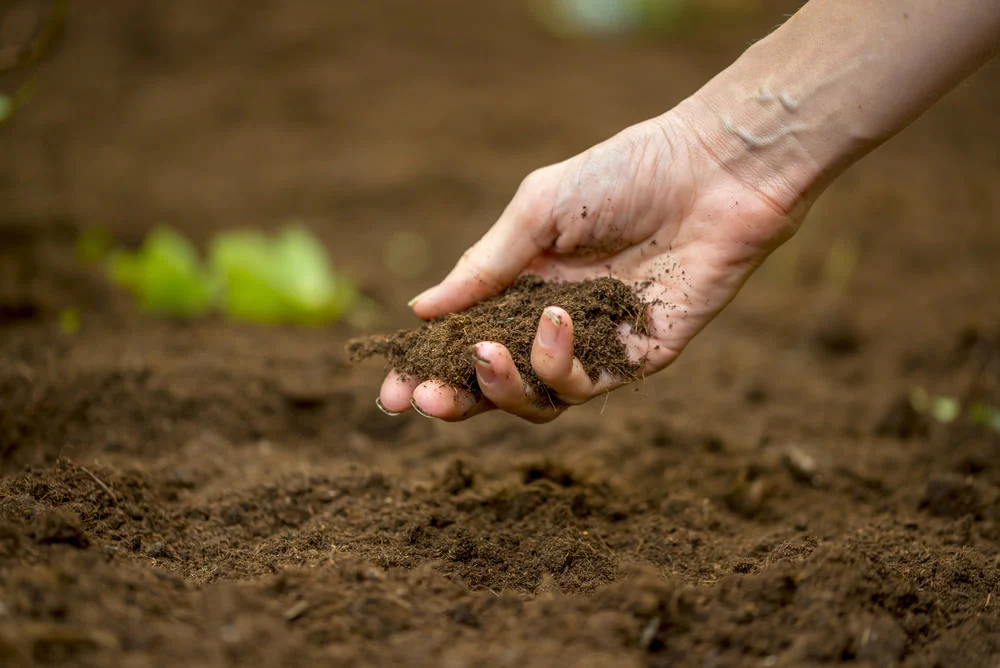
1. Soil Preparation
- Campanula seeds require well-draining soil that is rich in organic matter. If your soil doesn’t fulfil the requirements, add some organic manure or compost.
- Campanula plants are acid lovers. Hence, the pH of the soil also influences the growth and chances of survival of the plant. If the pH is more than required, you can increase the acidity of the soil by adding peat moss or sulphur. The optimum pH for growth is between 5.5 to 6.
2. Where to Plant Campanula Seeds
- Campanula plants prefer a shaded place. Over-exposure to direct sunlight can harm the plant.
- These are self-seeding plants. They’ll be growing by themselves in the coming seasons near the pre-established plant. Hence, choose a place where you have wanted these plants for a long time.
- Prefer sowing the seeds indoors before placing them in your outdoor garden, as the climate of places like the UK can be harsh for them. Growing indoors will give your plants to be accustomed to the harsh environment.
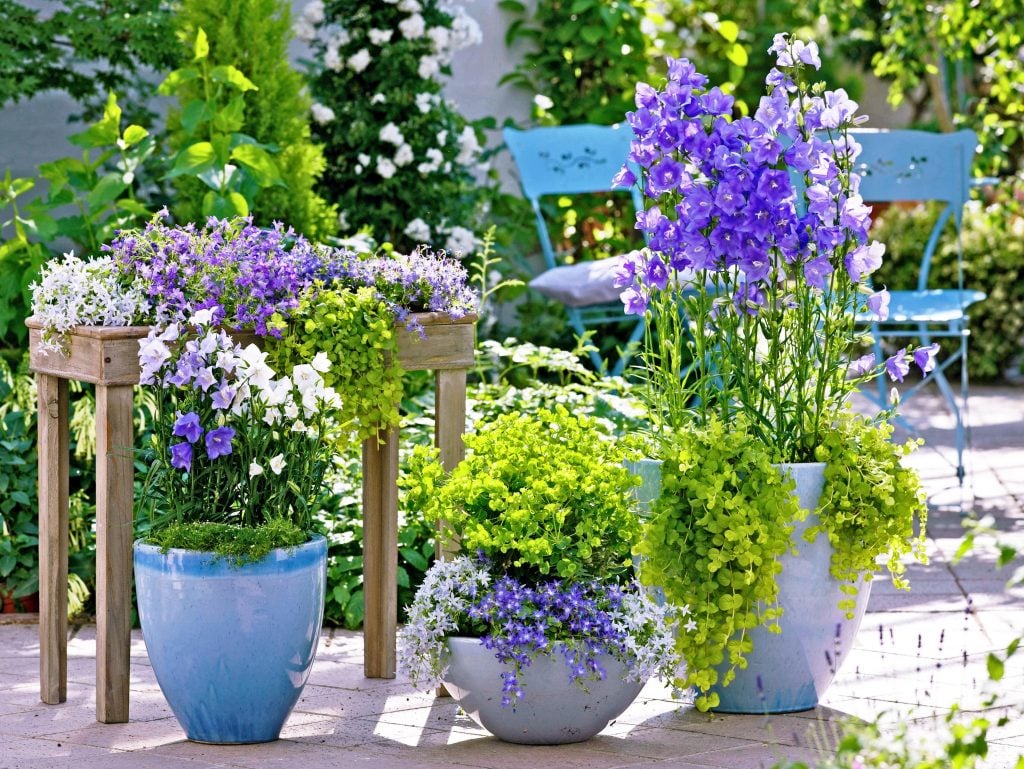
- If opting for containers, prefer at least 10 kg container with optimum potting mix.
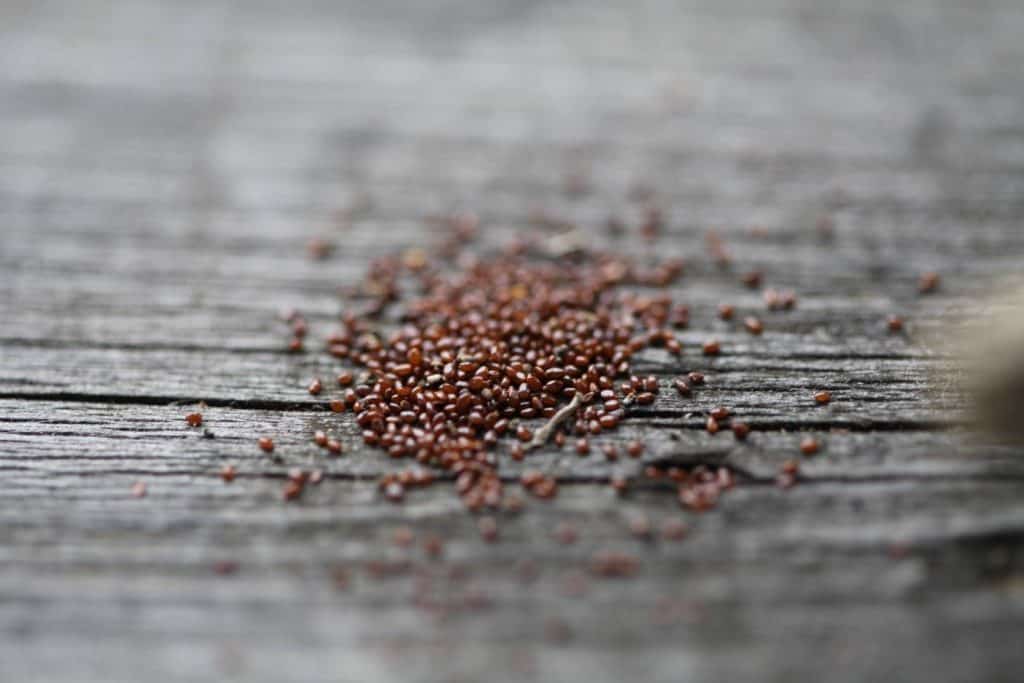
3. Sow Seeds with Care
- Campanula seeds are very small in size, making space for the possibility of being washed or blown away. So, proper care is necessary while sowing the seeds.
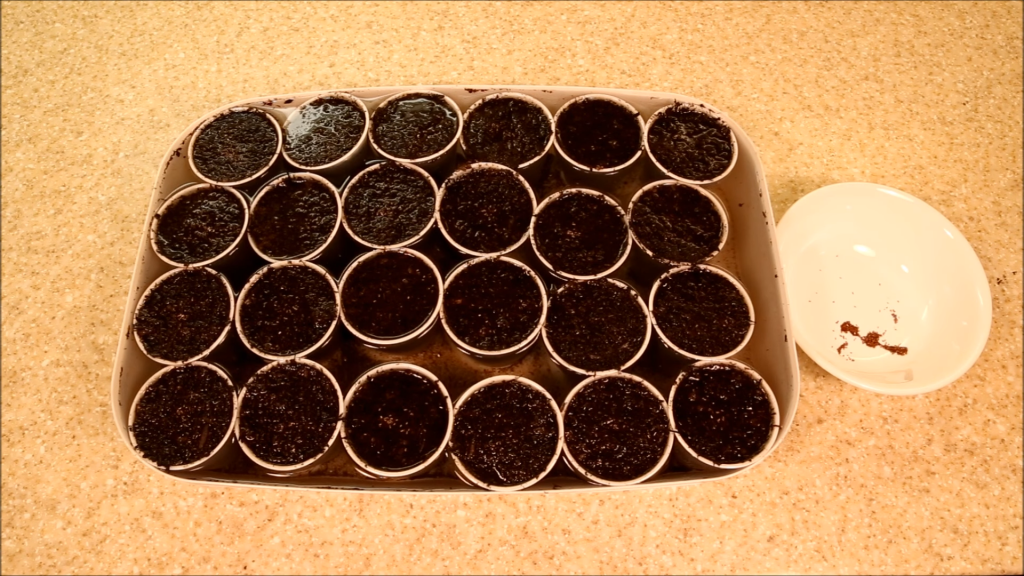
- Plant these seeds indoors in the seeding trays. Ensure to place the tray in a warm space that gets enough sunlight in the day, i.e., next to the window.
How to Sow Campanula Seeds
- Fill the seeding trays with optimum soil mixture for healthy growth of seeds.
- Plant the seeds 3 mm deep in the soil. Keep a 30-35 cm gap among the seeds unless they are in seeding trays.
- It takes 2-3 weeks for the seeds to germinate.
- Keep the soil moderately wet.
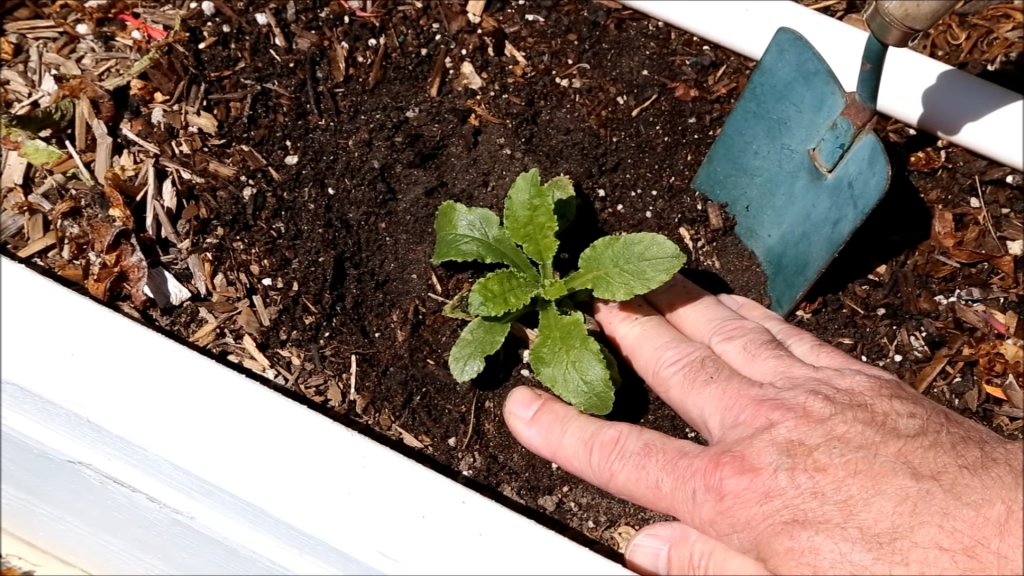
How to Grow Campanula from Seeds?
- Soften the ground of your garden using a spade.
- The optimum temperature for the germination of campanula seeds is around 68℉.
- Check for optimum moisture, water content and organic matter.
- Dig pits at least 30 cm apart.
- Transplant the seedlings gently into the pits.
- Campanula plants can grow up to 2.5 feet high, hence supports can be provided to increase stability in case of windy periods.
Campanula can be propagated to increase the blooms. Just lift the clump out of the ground, bisect them gently using scissors and grow them back into 8-inch pits.
When to Sow and Plant Campanula Seeds Outdoors?
The indoor plants can be sown anytime, while outdoor plants should be sown in the spring right after the winter.
How to Care for Campanula?
- Campanula plants need watering. Water the ground up to 5 cm below the surface. Consider watering the plants either in the morning or evening. Avoid wetting the leaves, as it can cause fungus to spread.
- The plant should flower within 150-170 days. It might take longer in cold regions up to next year.
- If the soil was prepared well before the plantation, then you don’t need fertilizers. If this is not the case then you should definitely opt for a slow-release fertilizer once the plant exceeds 5 cm in height.
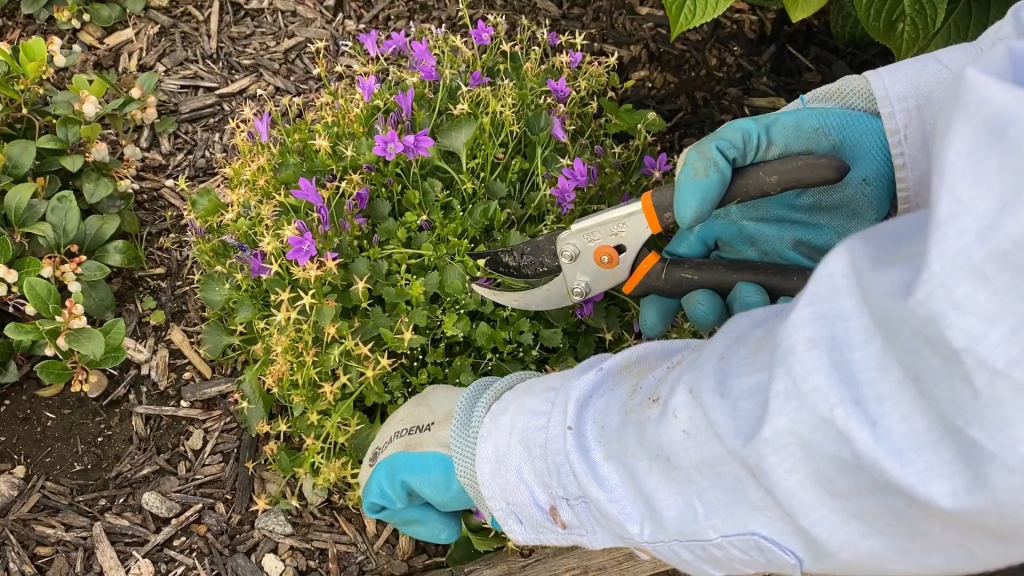
- Cut the old flowers regularly using scissors to increase the growth of new ones.
Choose the Right Campanula to Grow
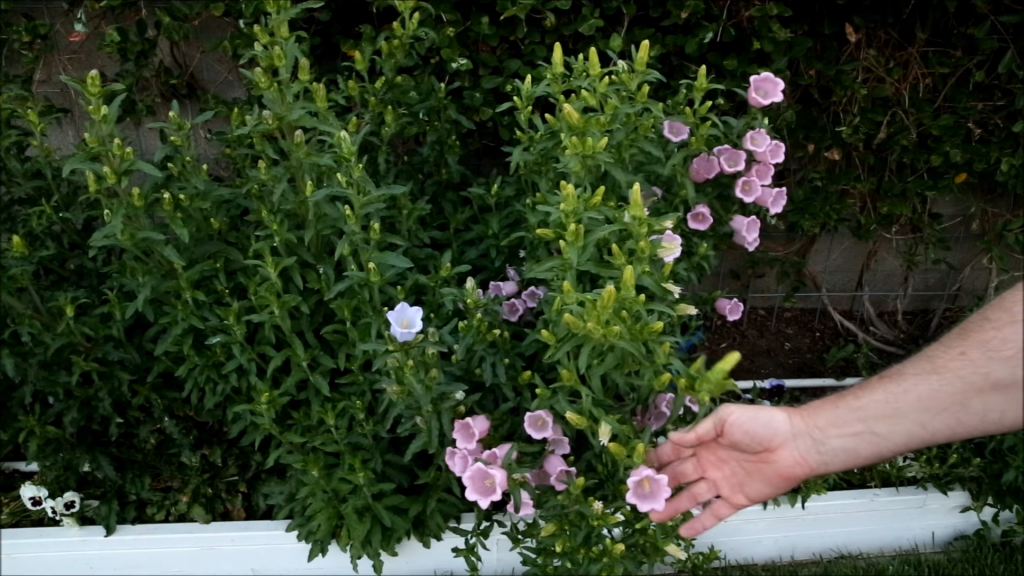
1. American Campanula
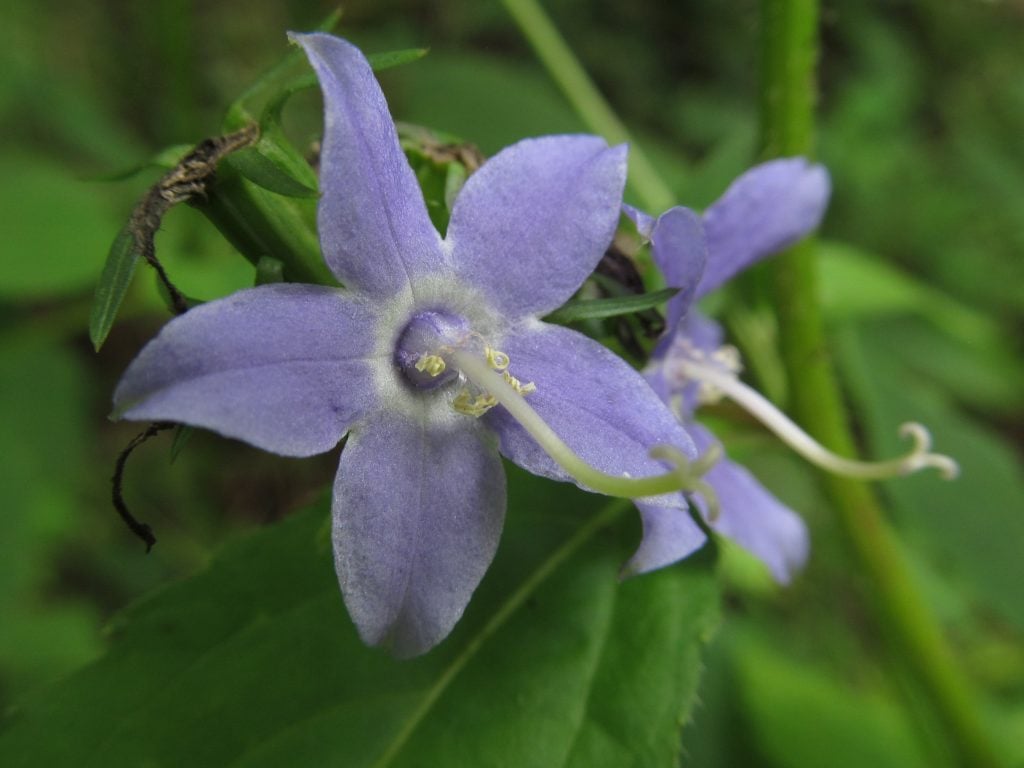
This is a member of the Campanulaceae family and is also known as the Tall Bellflower because of its bell-shaped flower and longer length. It can grow more than 2.5 feet in height. It has a beautiful blue colour. It also attracts pollinators that increase the health of the garden naturally.
2. Carpathian Harebell
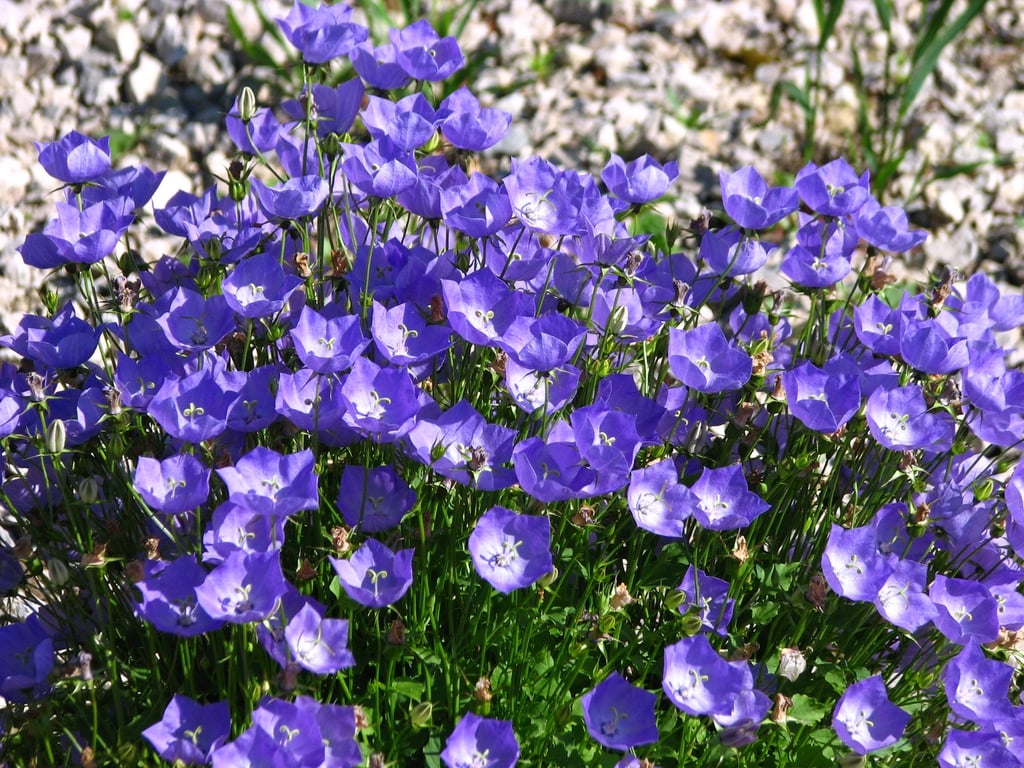
Carpathian Harebell is said to have healing properties that help in treating respiratory problems. These plants produce beautiful blue-white flowers and can grow from 10 to 12 inches.
3. Dwarf Campanula
As the name suggests, Dwarf Camanula are smaller in size compared to their other family members. They can only grow up to 3 inches which makes them perfect for indoor plantation.
4. Scotch Bluebell/ Harebell
Scotch has a history that relates to magic and witches. It is considered bad luck to pick its flowers. If you want a plant which has a sharable back story, this could be the perfect match for your requirements. This requires well-draining soil and partial shade to prosper. It can grow up to 12 inches.
Common Problems/ Diseases Affecting Campanula
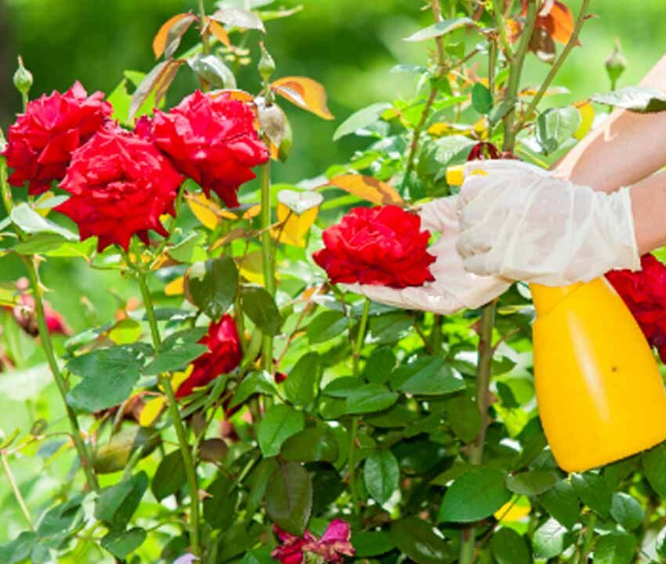
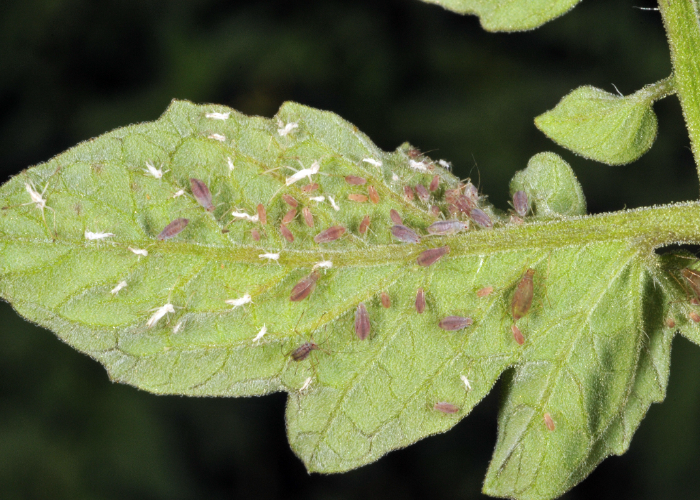
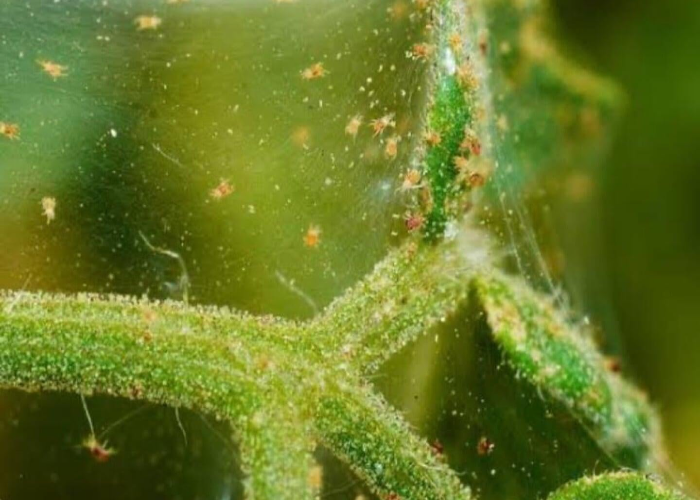
1. Aphids
Aphids are the most common pest that affects campanula plants. It can be harmful if they are present in large quantities. Aphids release a sweet liquid called honeydew which attracts insects and obstructs photosynthesis. These are small creatures found at the bottom side of leaves. To deal with these, insecticidal soap with water can be used.
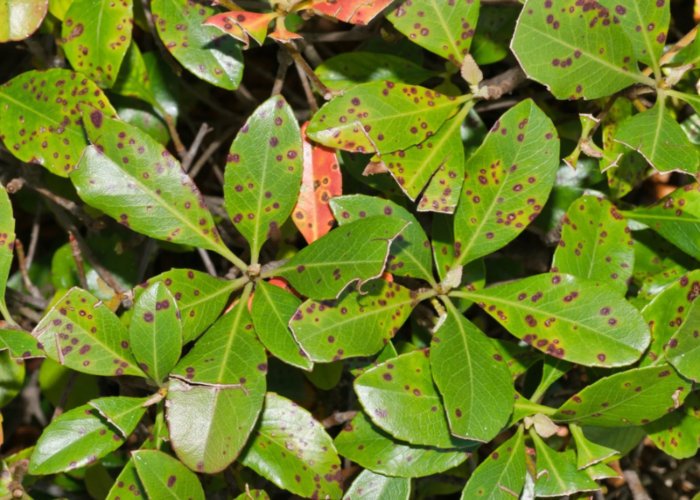
2. Bacterial Leaf Spot
Lead spots are small brown spots on the leaves that hampers the process of photosynthesis, resulting in the weakening of the plant. To prevent infection, prune the plants regularly to increase air ventilation and access to sunlight. Fungicides can be used if the situation gets out of control and there are almost no leaves left on the plant.
3. Grey Mould
Grey mould is a fungus-caused condition in which the tissues of the plants start to decompose, leaving a greyish powder-like substance behind. To avoid this disease, prune out the dead leaves and flowers regularly, maintain air ventilation and reduce humidity, as there are no treatments available for this disease.

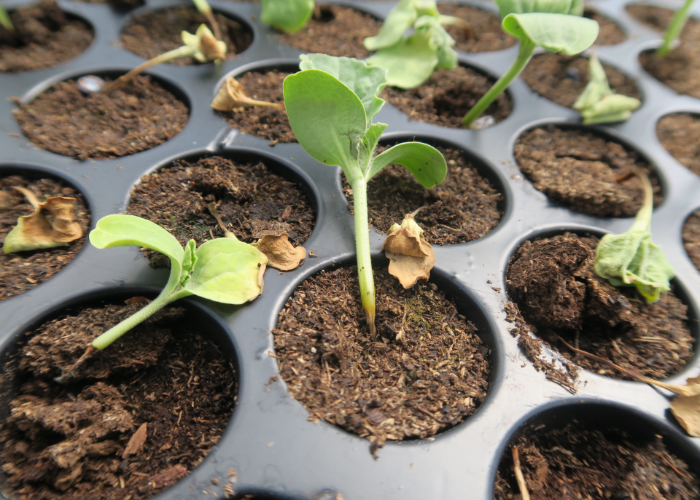
4. Damping Off
This affects the newly developed plants/ seedlings. This disease is caused by a fungus that harms the news developed roots and leaves. After a certain period of time, the plant gets mature to resist this disease. Until then, care has to be taken. You can prevent this by keeping the pot in hot water. You can also use a 30 per cent bleaching mix. Avoid using pre-used soil mix for growing seedlings and prefer the new one.
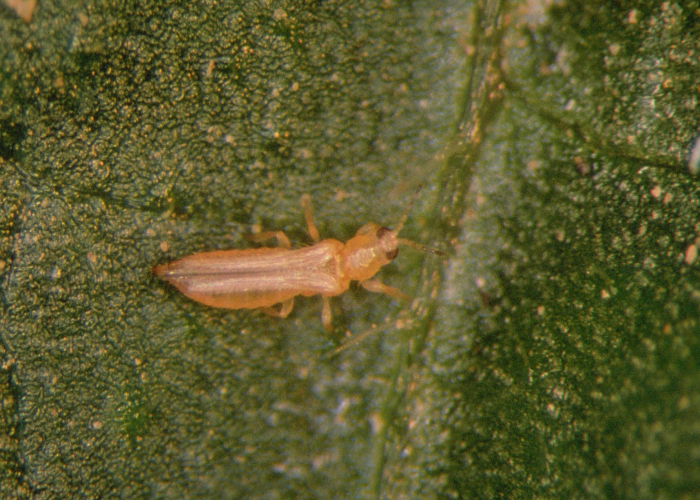
5. Western Flower Thrips
WFTs are caused by an insect that lays eggs on the plant leaves and leaves scars on them as well. If you see your plants get attacked by WFTs, you can choose several methods. WFTs are attracted to blue colour, so you can set a sticky trap in blue colour to trap them. You can also prefer biological control using bugs and predatory mites.
6. Spider Mites
Spider mites are found at the bottom side of the leaves. They feed on plant leaves and hence are injurious to plant health. A repeated spray of Neem Oil mixed with water helps in removing these mites. Predatory mites can also be used as a countermeasure, as they feed on adult spider mites as well as the eggs they lay.
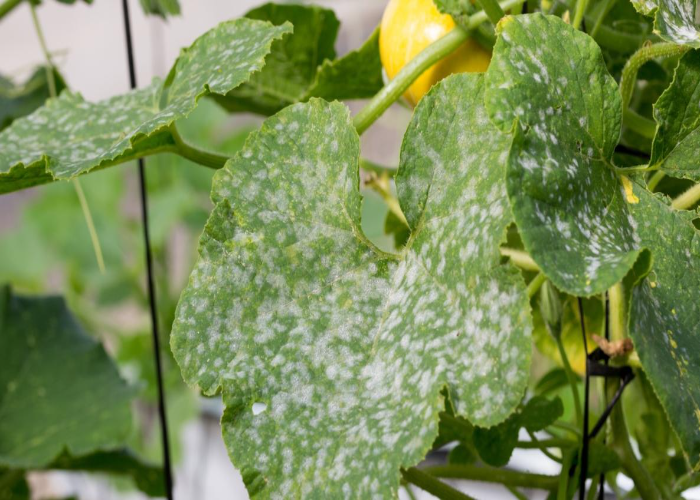
7. Powdery Mildew
White powdery spots on the leaves are an indication of this disease. This falls under the category of fungal infections. As with all other fungal diseases, this can also be avoided using some simple caring steps like pruning and checking for sunlight and ventilation. You can spray Neem oil or mixed with water to remove these from your garden.
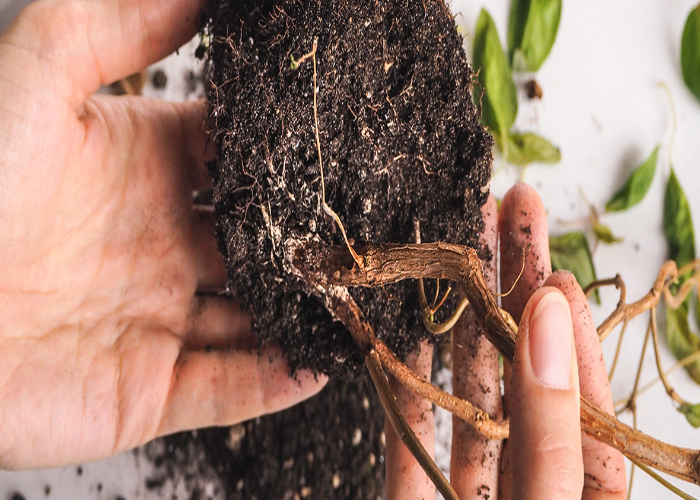
8. Root Rot
Lack of air around the roots can lead them to rot. This condition can be caused by the over-watering of plants. As it doesn’t leave any space for the air to stay. The use of hydroponic methods can also lead to root rot if we don’t provide enough aeration to it.
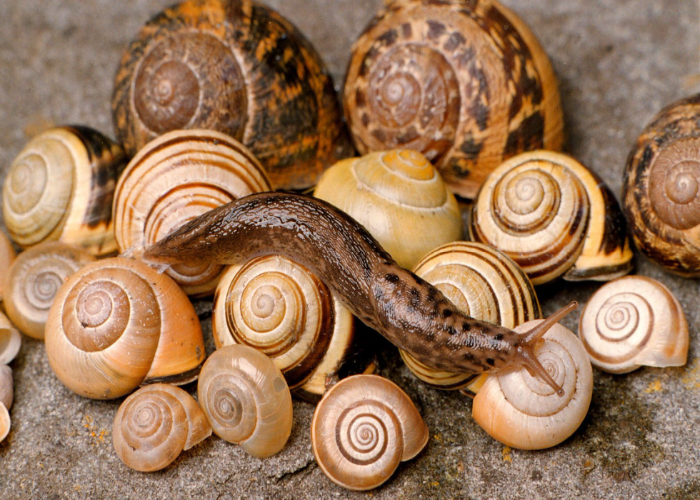
9. Slugs & Snails
Pest slugs and snails cause harm to the garden as they can eat from seedlings, leaves, and flowers to fruits. To avoid these slugs and snails, some preventive measures can be taken. We prefer keeping a hen or duck as they feed on slugs and snails.
Summing Up!
Finally, we’re here. We covered everything from preparing the soil, sowing campanula from seeds to taking care of them. Make sure you choose the best variety of campanula based on your needs. We also covered some common pests and diseases that affect campanula and how to deal with them. We hope this will be helpful for you in your gardening journey.
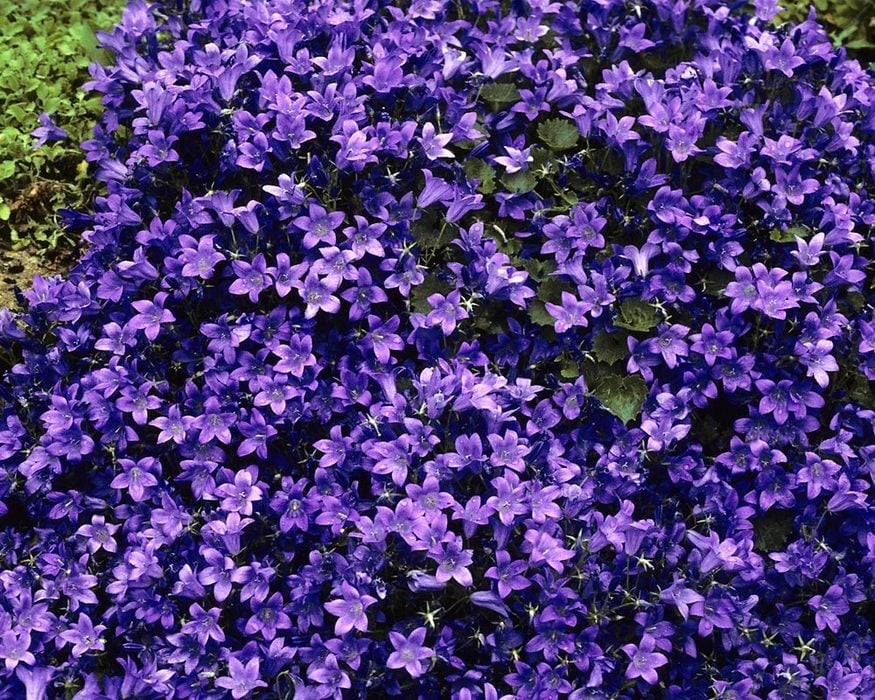
Growing campanula from seeds can be a tough and time taking process, but it also comes with the joy of watching beautiful blossoms in your garden that people can’t help but notice. These gorgeous, blue-white, bell-shaped flowers add an aesthetic appeal to your garden. This was it from us, and now it’s your time to take action.
All you need right now is to buy some seeds, pick up a shovel, get your hands dirty and garden bloom by growing your own campanula from seed.
Frequently Asked Questions
When Should You Sow Campanula Seeds?
You should sow campanula seeds between Autumn and Spring (September and February) for outdoor plants. If you want to grow them outdoors, directly in the garden, Sow the seeds in the Spring after the winter has just passed. While for indoors, you can sow any time of the year.
How to Collect Campanula Seeds?
Campanula seeds can be collected from the capsules developed on the plant. These capsules can be obtained from the pollinated plants at the end of the Summer. You can collect these seeds in a piece of cloth or paper bag and store them to sow later.
Does Campanula Come Year After Year?
Yes, campanula can come year after year if grown once. There are a lot of varieties of campanula. Out of which, many are perennial and biennial. These plants drop seeds near themselves, which come out of the ground as plants next year or even 6 months.
Do Campanula Plants Spread?
Yes, campanula plants spread if enough space and nutrition are available. These plants fall under the category of self-seeding plants. When the summer starts to fall, they drop seeds and can spread very rapidly in well-draining optimum soil if moderate sunlight is provided in a shaded space.