How Deep to Plant Crocosmia Bulbs
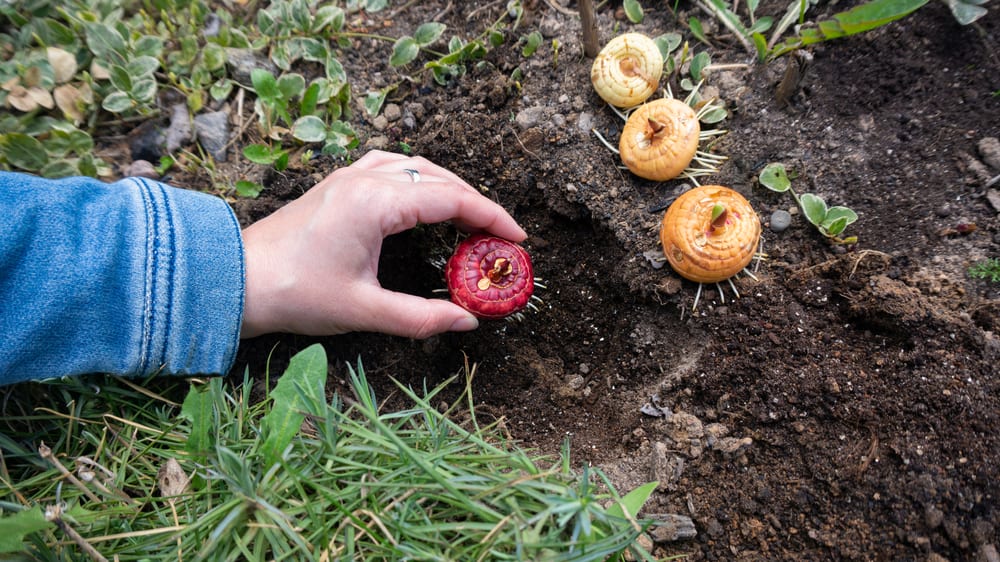
Table of Contents
Planting Crocosmia bulbs is a simple yet important task to ensure these beautiful flowers flourish in your garden. Crocosmia, or montbretia, brings colorful blooms to your outdoor space. To help your Crocosmia bulbs grow well, it’s important to know how deep to plant them. Here, we’ll show you the easy steps for planting Crocosmia bulbs at the correct depth.
Planting Crocosmia bulbs at deepness gives them the support they need to develop strong roots and tall, sturdy stems. Plant them too shallow, and they may struggle; plant them too deep, and they might have trouble emerging.
By following the simple instructions, you’ll be ready to plant your Crocosmia bulbs at the perfect depth. Ensure a lively addition to your garden that will bloom year after year.
Let’s begin planting your Crocosmia bulbs!
What are Crocosmia Bulbs?
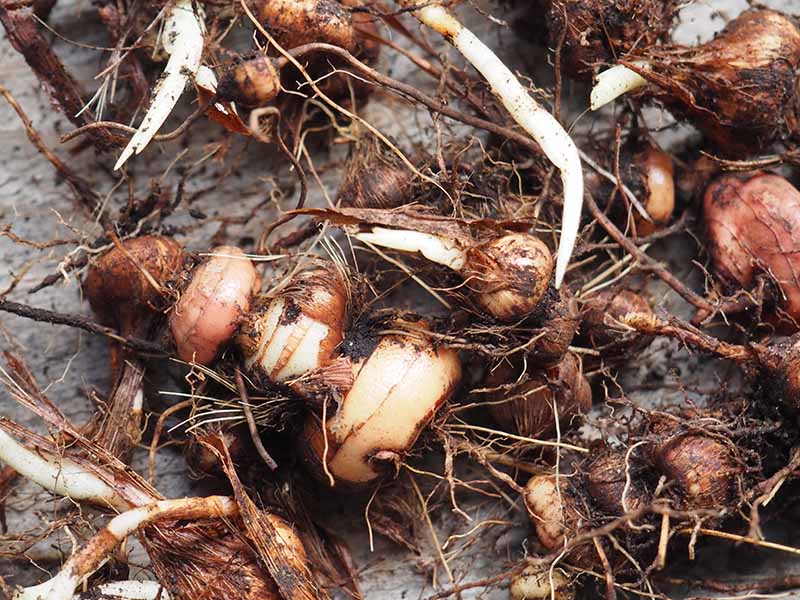
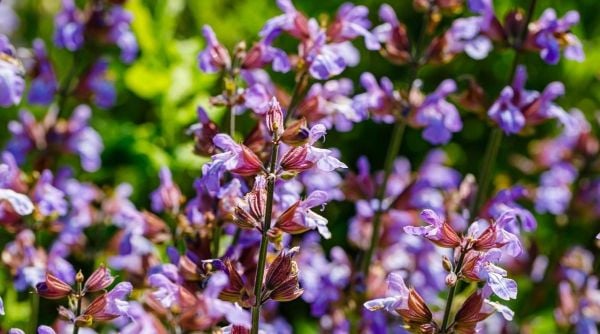
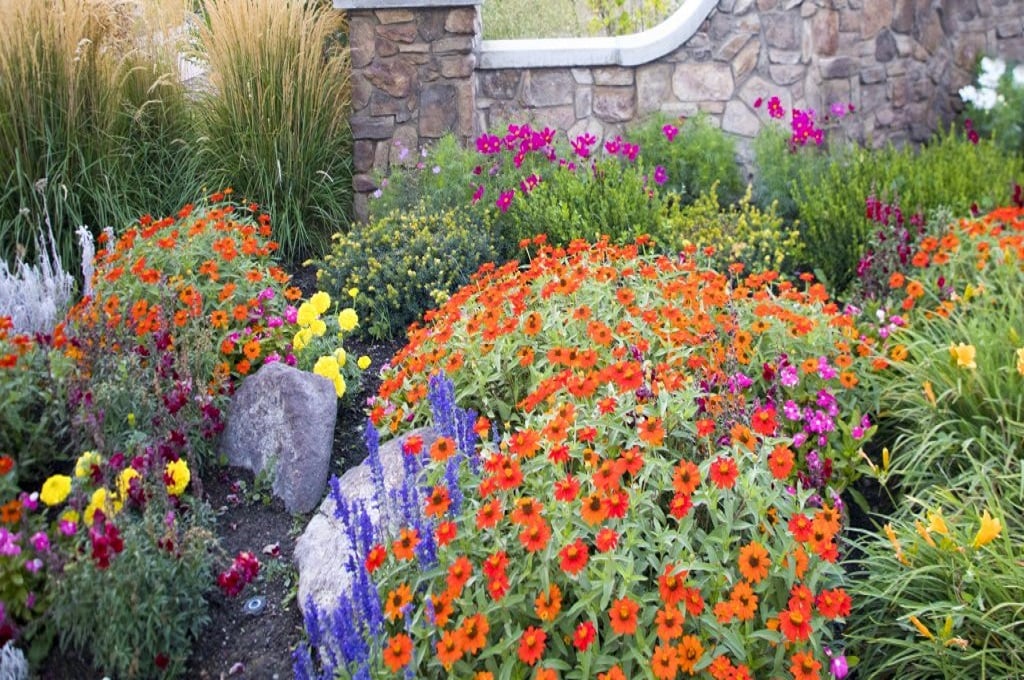
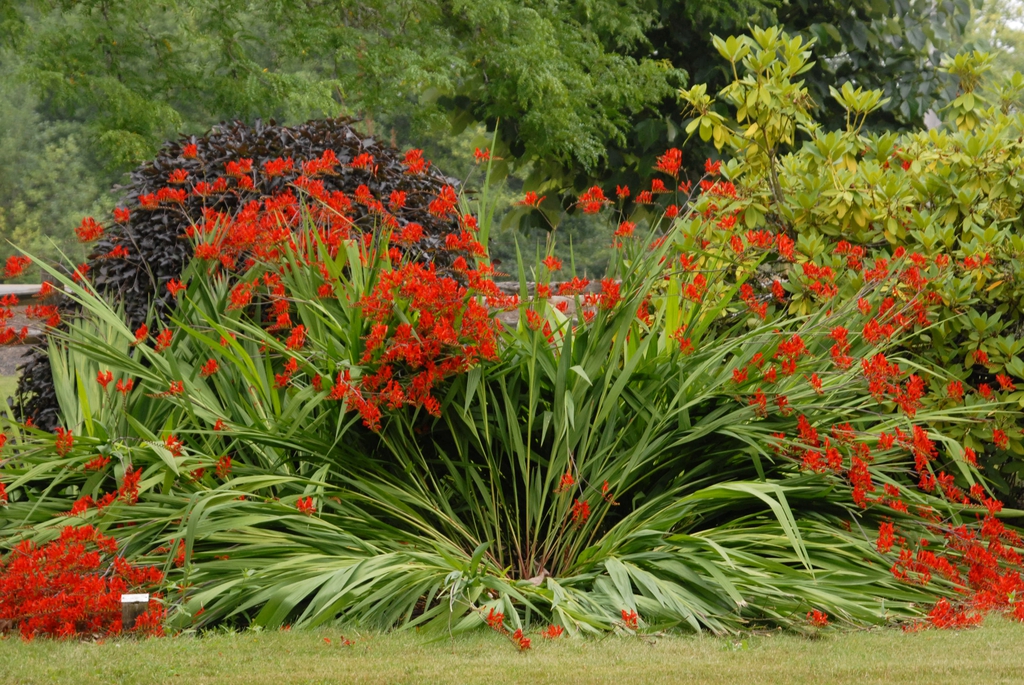
Crocosmia bulbs, or Montbretia, are special plants loved for their bright, funnel-shaped flowers and sword-like leaves. These bulbs come from South Africa and are part of the Iris family. People really like them because they bring a touch of exotic beauty to gardens with their attractive colors, such as fiery reds, oranges, softer yellows, and even whites.
These bulbs grow in clumps of tall, curving leaves resembling swords, adding a unique touch to gardens. But what really steals the show are their amazing tube-shaped flowers. These flowers ensure they grow and solve the crocosmia, not the flowering problem. Their skinny stems make a stunning display in the middle of summer, attracting bees and butterflies.
How to Plant Crocosmia
Crocosmia, also called Montbretia, is a gorgeous flowering plant that adds lively colors to gardens. Whether you want to grow them in pots or your garden, it’s important to know how deep to plant them for them to grow well and look beautiful. We will show you the right way to plant crocosmia bulbs to make sure they do really well in your garden.
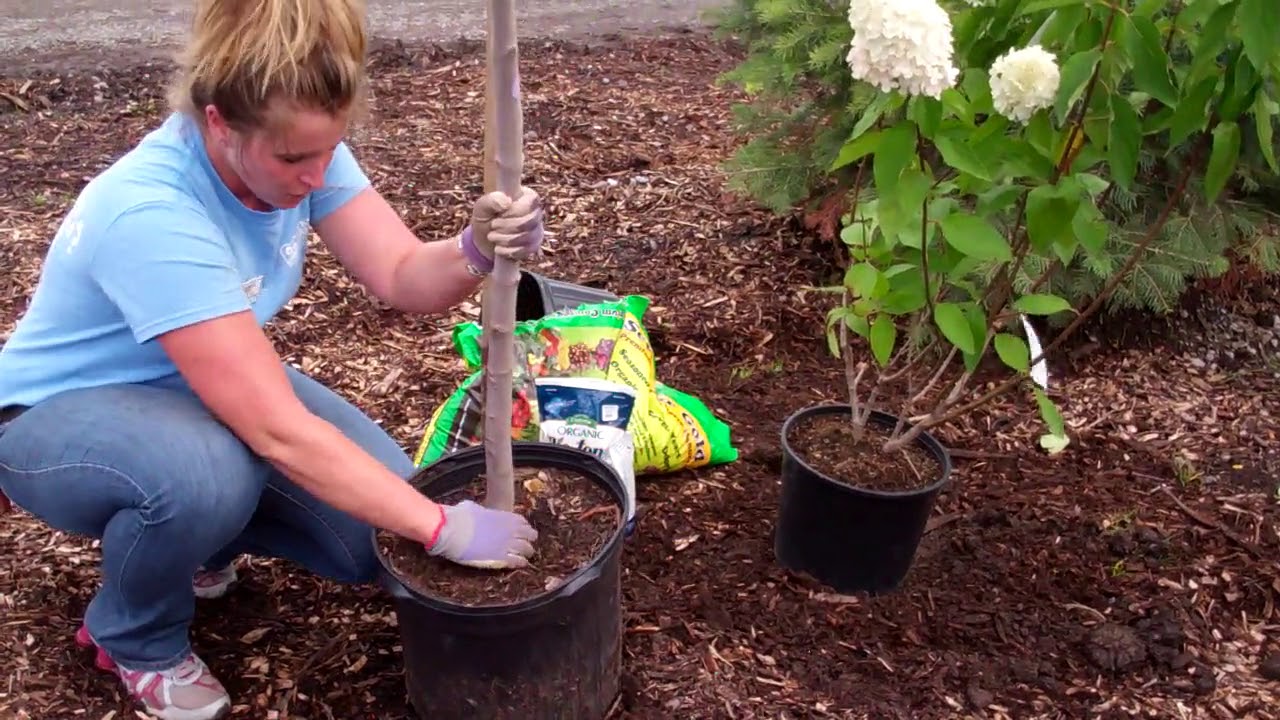
1. For Container Planting

When you want to plant crocosmia bulbs in pots, make sure to pick a good-sized pot. Go for a container that’s at least 12 inches deep. This way, there’s enough space for the bulbs to grow and spread their roots.
How?
Dig a hole in the container soil that’s 8 to 10 inches deep because Crocosmia bulbs are quite small. Put the bulbs in the hole with the pointy end up. Make sure the bulbs are about 2 inches below the top of the container, and then cover them with soil. After planting, water the container a lot to help the soil settle and make the roots start growing.
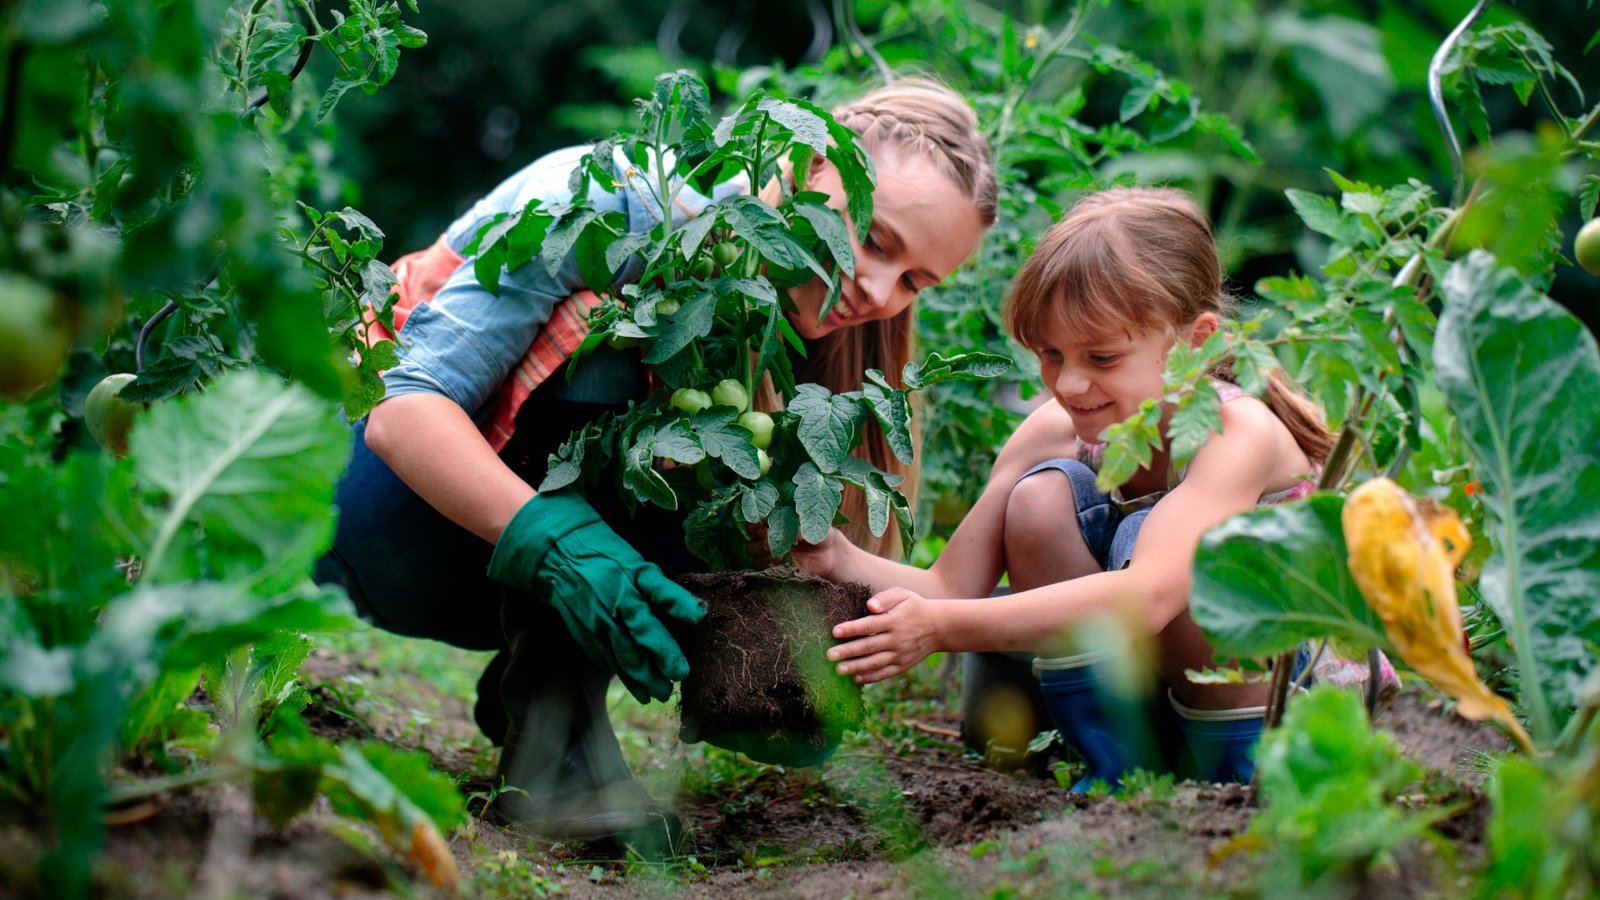
2. For Outdoor Landscape Planting
Adding colors to your garden is easy with crocosmia plants. To plant them properly in your outdoor garden beds, follow this for the right planting deepness.
How?
Select a spot with good soil drainage and where the crocosmia bulbs can get some sunlight. Dig holes that are about 4 to 6 inches deep, keeping them roughly 6 inches apart. When placing the bulbs in the holes, make sure the pointy end is facing upwards. Cover them with soil so they’re at the right deepness. Once all the bulbs are in place, give the area a good watering to settle the soil and give the bulbs the moisture they need.
3. Dig Holes and Plant
Whether you’re planting in pots or your garden, how you dig holes and plant crocosmia bulbs is the same. To make them grow well, it’s important to get the right distance between each bulb and dig the holes to the correct deepness.
How?
Dig holes that are 6 to 8 inches deep, depending on the planting guidelines for your chosen spot, whether it’s in a container or outdoors. Put each crocosmia bulb into a hole with the pointy end facing upward. Carefully cover the bulbs with soil, making sure they’re at the right deepness. Give the newly planted bulbs a good watering to help the soil settle and promote root growth.
4. Water Thoroughly After Planting
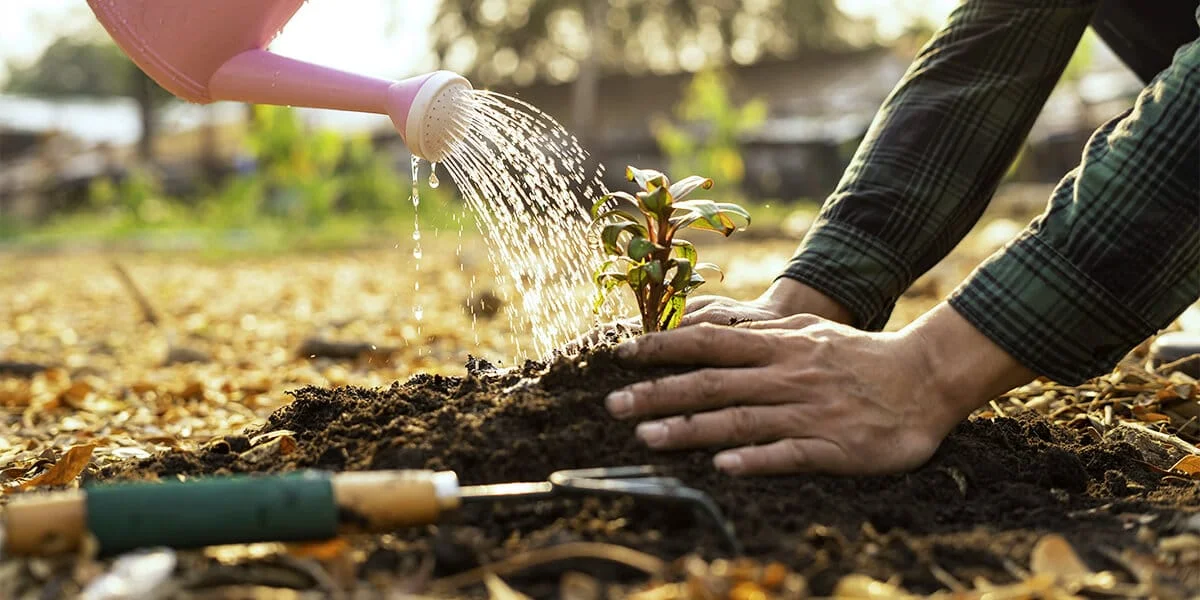
Watering is a critical step in the planting process, as it helps the bulbs settle in and begin their growth.
How?
After you’ve planted crocosmia bulbs, give the area a good soak with water. This helps ensure the soil is nice and wet and gives the roots a great start. During the growing season, ensure the soil stays moist but not too soft and wet. As the crocosmia plants grow and settle, they might not need as much water, but it’s still important to check the soil regularly.
Where to Grow Crocosmia
Crocosmia bulbs are versatile and can be grown in various garden settings.
- Garden Beds: Plant crocosmia bulbs in garden beds to create a colorful border, or mix them with other perennials for a lively display.
- Containers: They also thrive in containers, making them an excellent choice for patios and balconies. Ensure the pots have good drainage.
- Naturalized Areas: In suitable climates, crocosmia can create attractive drifts of color in open areas of your garden.
Conclusion
As we’ve seen, successfully planting Crocosmia bulbs involves finding the right balance. Plant them not too deep, about 4 to 6 inches below the soil surface, and ensure they have about 6 inches of space for their roots to stretch comfortably.
Remember to place them with the pointy side up and the flat side down. It’s important to select well-draining soil and a sunny spot in your garden to promote healthy growth. After planting, water them.
Crocosmia bulbs may take some time to display their beautiful flowers. With proper care and attention, your garden will be decorated with their colors and grace.