How to Break up Clay Soil: A Complete Guide
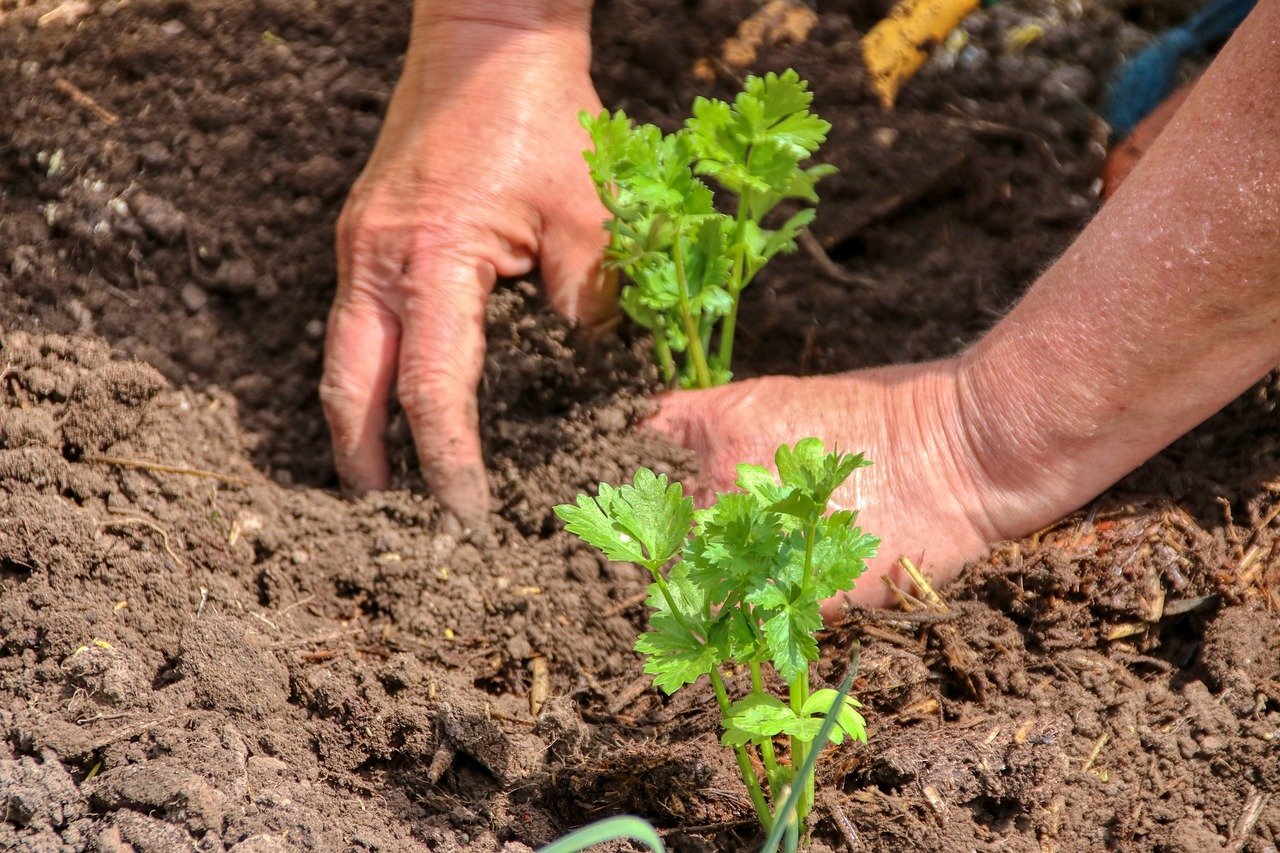
Table of Contents
The soil in your garden is broadly made up of organic matter and three essential components – silt, sand, and clay. Of these, sand is the most significant component, albeit the most porous, while clay is the smallest yet retains the most moisture.
But wouldn’t moisture be good for your garden? Yes, in the right quantities. Imagine water-logged soil, which is dense and soggy while wet, and forms a thick crust when it dries out. Sounds a lot like cement, right? That’s what clayey soil brings to a garden.
In the right quantities, silt, sand, and clay combine to form the ideal soil for your garden. When clay is predominant, you tend to have a garden where most plants and vegetables struggle to grow because their roots can’t pierce through the clay crust or get the air they need because of the high moisture content.
How to Identify Clay Soil
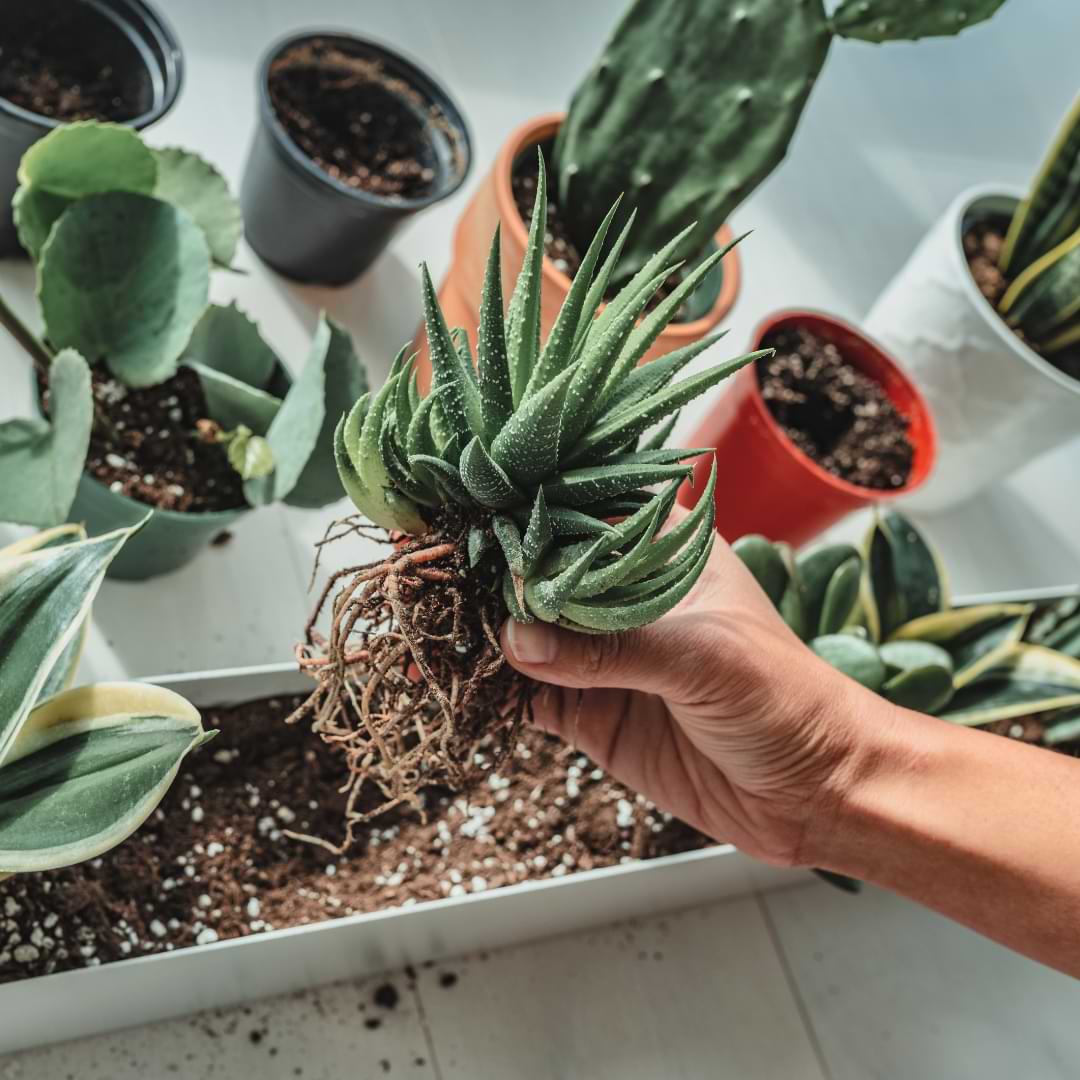
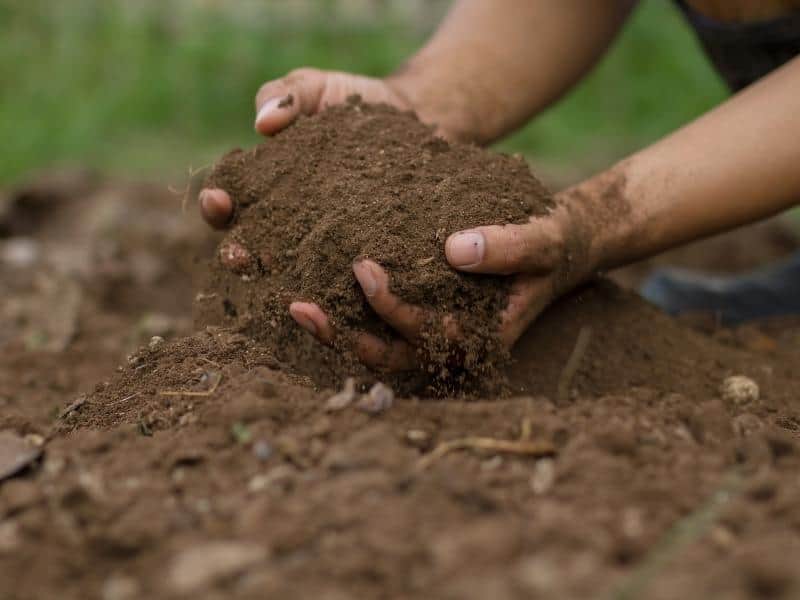
A simple test works to tell you if you have clay soil in your garden. When the soil is mildly damp, gather some in your hands and see if you can press it together to form a ball. If the soil doesn’t stick together and tends to crumble apart, you don’t have to worry about having clay soil.
If it readily binds to form a ball, and you’ve had trouble getting your garden started, it’s clay soil that’s been plaguing you. Don’t worry; here are simple steps to help you break up clay soil, amend it, or work around it to turn your garden into a verdant space.
How to Break up Clay Soil
1. Aerating/ Airing It Out
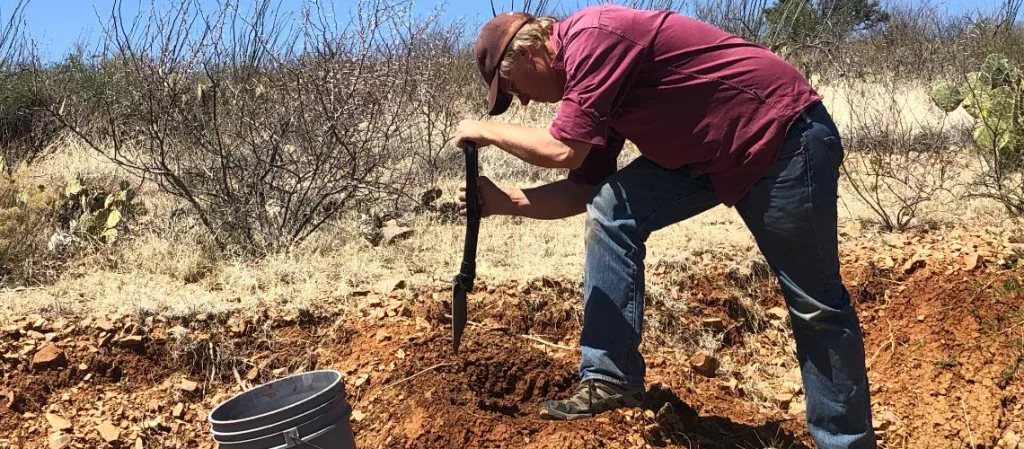
The first step to helping transform clay soil is to aerate it. This means creating holes in the thick outer crust (that forms when clay soil dries) to allow air to circulate through the soil, thus drying it out further. Typically, you should be looking at airing out the clay soil in your space in summer and autumn.
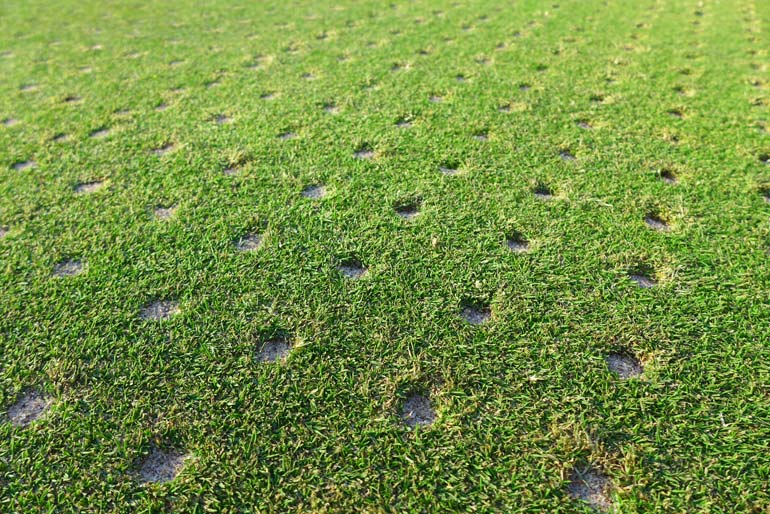
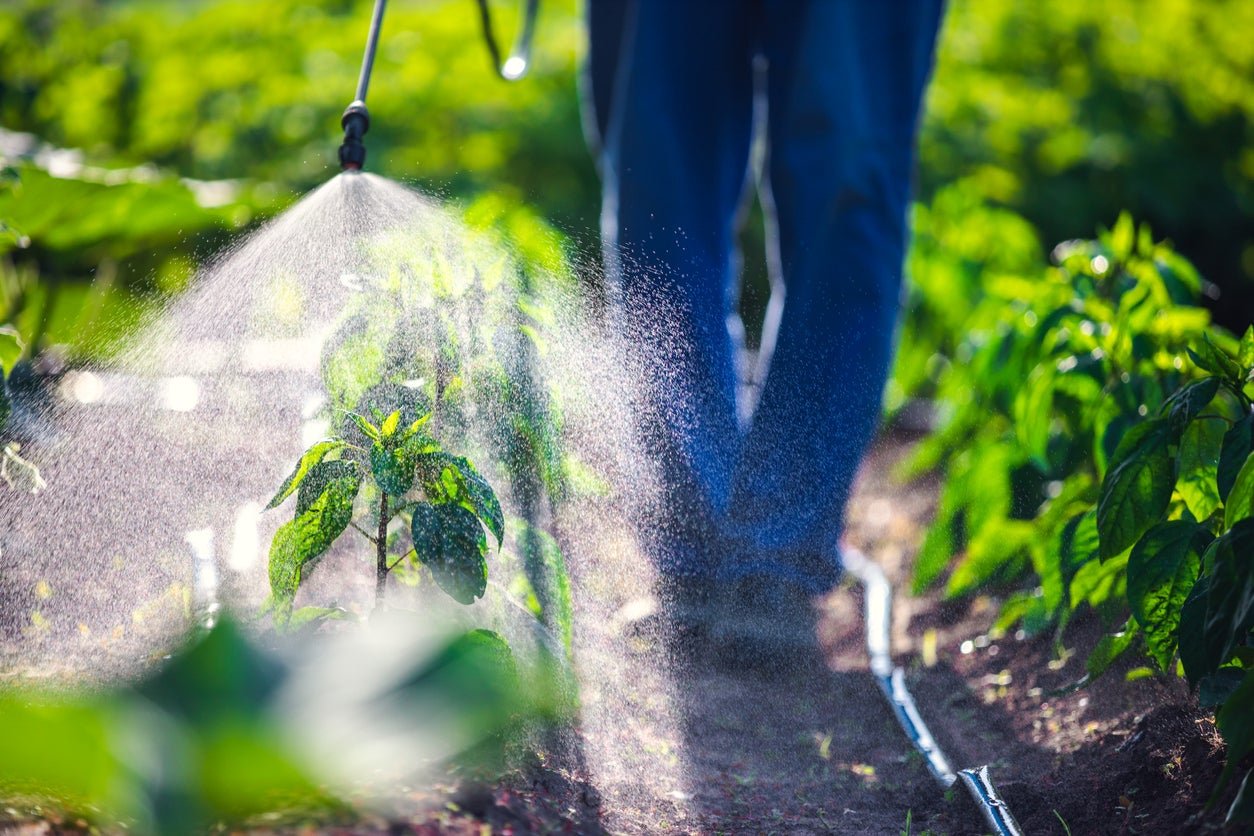
Spike or core aeration works for mild to moderate clay soil. You can use a simple spike aerator, stomp across your lawn or garden with spike aeration shoes, or if you don’t have too much clay, use a basic gardening fork. For more stubborn clay soil, try liquid aeration late in autumn. By creating a solution using water and a clay-breaking concentrate and pouring it through holes that you make with a garden fork, you ensure the liquid penetrates deep into the soil. While this takes longer to work, you can look forward to a healthy 5 or more inches of soil for planting when spring comes around.
2. Turning It/ Digging
When weather conditions promise to be dry for more extended periods of time – typically mid-to-late autumn, you have the ideal conditions to turn over clay soil. This works like churning ice cream to break down ice crystals and create a more creamy, rich texture, and it should always be the prequel to adding amendments to the soil (more on that below!).
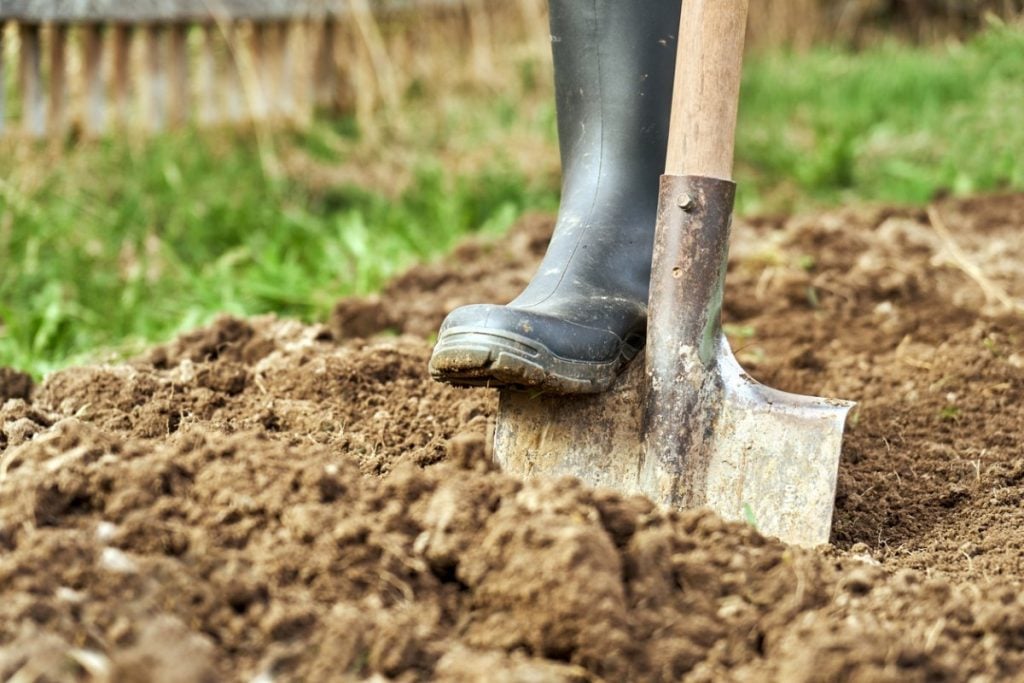
Use a trowel for small patches, a shovel for when you have more ground to cover, or a soil cultivator if your garden is more clay soil than not. Churn the top 5 inches of soil across the space you intend to use. There are two things you need to remember before you do this. Firstly, do this when the weather promises to be dry for at least a week. Secondly, follow this step by amending the soil using any, or a combination, of the methods given below. Merely churning the soil might air it out a bit, but it will not actually help you break up the clay soil without a little more work on it.
3. Rock Removal
While you aerate your clay soil and turn it over, you will encounter large stones or rocks. Whenever you find anything that’s over 4 inches or so in diameter, remove it from the soil. While this might seem time-consuming and tedious, it is vital. The presence of larger rocks in clay soil reinforces the compaction of the soil (thereby rendering all the aeration work pointless) and acts as barriers to air and water flow in the soil.
If you’d like to have a reward for all the rocks you have to dig out of the ground, you could set them aside rather than just tossing them. Then, when you have the time or the creative inclination, you could use them aesthetically – to create path borders, a mini rockery, or even a little garden decoration!
How to Improve Clayey Soil
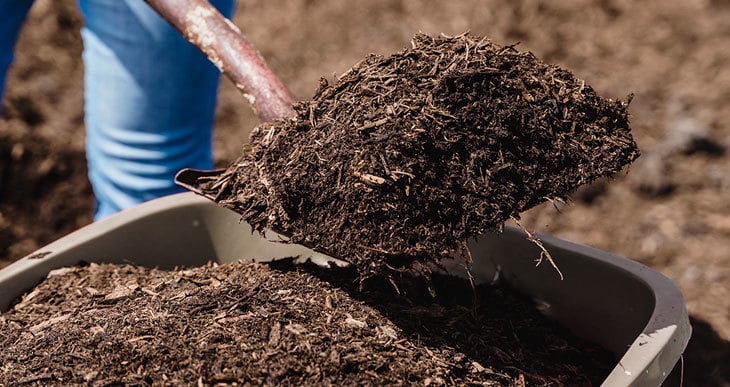
1. Organic Additions for Clay Soil
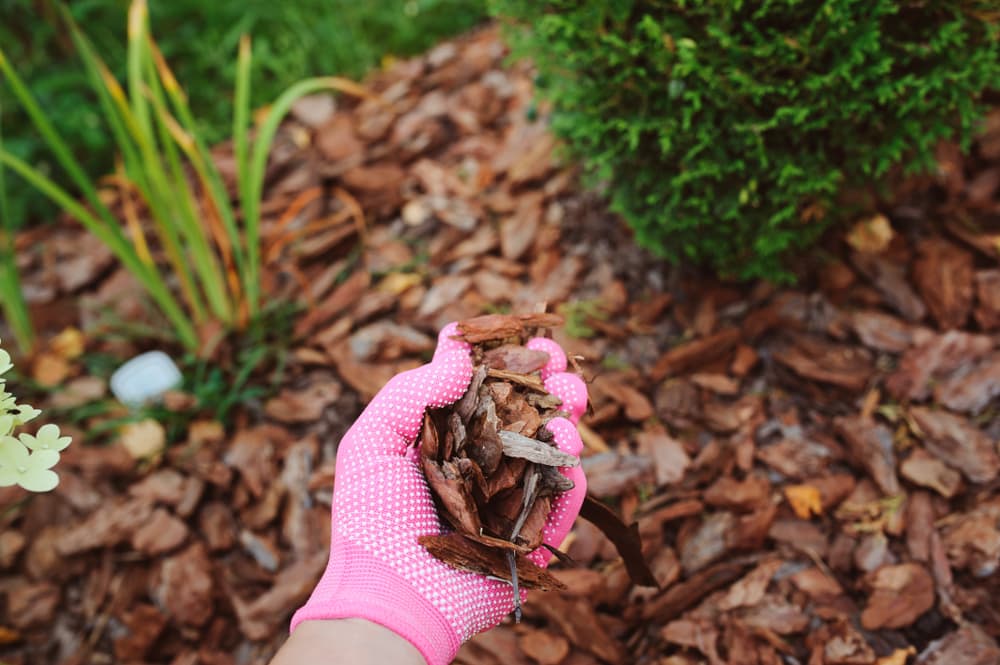
The simplest amendments or additions to clay soil are organic and readily available. From any leaves and tree bark that you might have gathered in your garden to manure and compost, create a layer over freshly turned clay soil.
This has so many benefits for your garden; there’s no reason for you not to do this. The organic nutrients from decaying plant matter and manure will work to improve soil nutrition; the layer you create will slow evaporation and allow water to seep through steadily, while the decaying organic matter helps break up stubborn clay particles in the soil.
2. Chemical Alterations for Clayey Soil
You might have particularly stubborn clay soil in your space. In this case, organic amendments might only be able to create a small dent in your mission to break up the clay. That’s where soil conditioners can come in handy for you.
Depending on the problem you need to solve in your space, you could pick up conditioners to improve the nutrient uptake of the soil or more heavy-duty conditioners that help break up clay soil and improve aeration. Earlier, gypsum was a popular addition to clay soil to help break it down. However, it adds calcium to the soil so rapidly that it leaches the soil of other vital nutrients like potassium and magnesium. This is bad news when you need to grow other plants in your garden, so if that’s what you are breaking up clay soil for, don’t use gypsum!
3. Nature-Assisted Amendments for Clay Soil
Throughout the growing season and in winter, you can also add mulch to your garden in the form of clipped grass, leaves or straw. Not only will this help reduce the compaction of clay soil, but it creates a layer for organisms like earthworms to thrive. These organisms, in turn, keep turning the soil over, ensuring constant soil aeration. Over time, this helps break down clay soil naturally. Apart from this, biochar – obtained from decayed plant matter and ashes, can be added to the soil. It works wonders to promote soil aeration, reduce soil density, discourage compaction, and alter the soil’s properties.
Working with Clay Soil
1. Layering Topsoil
Sometimes, even carrying out all the above steps could leave your plants struggling to grow. In these cases, try to add a layer of nutrient-rich topsoil to the clay soil in your garden. Rather than risk a complete topsoil runoff at the first rain, mix it well with the top layer of well-turned clay soil.
Once this mixture of topsoil and turned clay soil is prepared, add manure or fertilizer, and start planting. Even if the first crop is not an immediate success, you’ve altered the composition of the soil, which will improve future generations.
2. Smart Crop Selection
If you have a flower garden in mind, then working with clay soil won’t be too much of a problem. From black-eyed Susans to goldenrod, from bearded iris to hydrangeas, you’ll be able to grow them all.
Even if you thought wistfully of a vegetable garden, you don’t have to give up on your dreams just yet. Veggies with narrow tap roots, like carrots and some varieties of turnips, thrive in clay soil and help break it up.
Other plants with relatively shallow roots, like broccoli, sweet corn, and cabbage, also do well in clay soil. Pumpkins and squash are popular to plant late in the season and yield a fair bounty even in clay soil!
In between seasons, plant cover crops like alfalfa, clover, or barley to help keep the soil dry, introduce a variety of nutrients, and avoid water stagnation and soil compaction.
3. Raised Beds
In the event that no plants take to the clay soil in your garden despite your best efforts, don’t despair. Haul in wooden crates or splash out on some ready-to-use garden beds and grow all the plants that you have in mind for your dream garden!
This is the perfect solution for those of you who are too busy to find the time to deal with the vagaries of clay soil or aren’t able to put in the physical labour of breaking down clay soil. Just put down the raised beds over the clay soil, add the fertile topsoil needed to grow the plants you want, and you are all set.
Rounding Up: Breaking Up Clay Soil – A Quick Checklist
Clearly, having a garden or land with clay soil is a tricky proposition. There’s so much you can do with it. If you can’t deal with it, use raised planters. If you have limited time and resources, grow what works best for that soil type.
But if you do have the time and inclination to return your garden to its full glory, go right ahead and break up clay soil. Not only will you be increasing the fertility of your entire space, but you’ll also create the ideal conditions for plants, crops, and flowers of most types to survive and thrive. Before you get started on your mission, keep your checklist handy.
Once you have this ready, hit the garden and transform it completely. Do you have any tips for working with clay soil?
We’d love to hear them in the comments below, so let us know!