How to Divide Daylily in 4 Easy Steps + Caring Tips
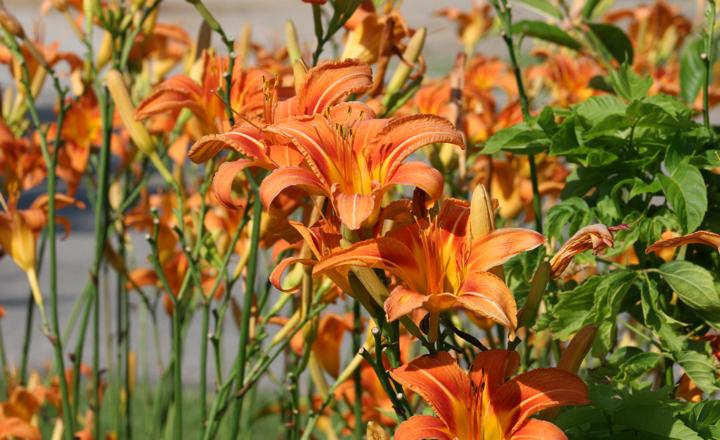
Table of Contents
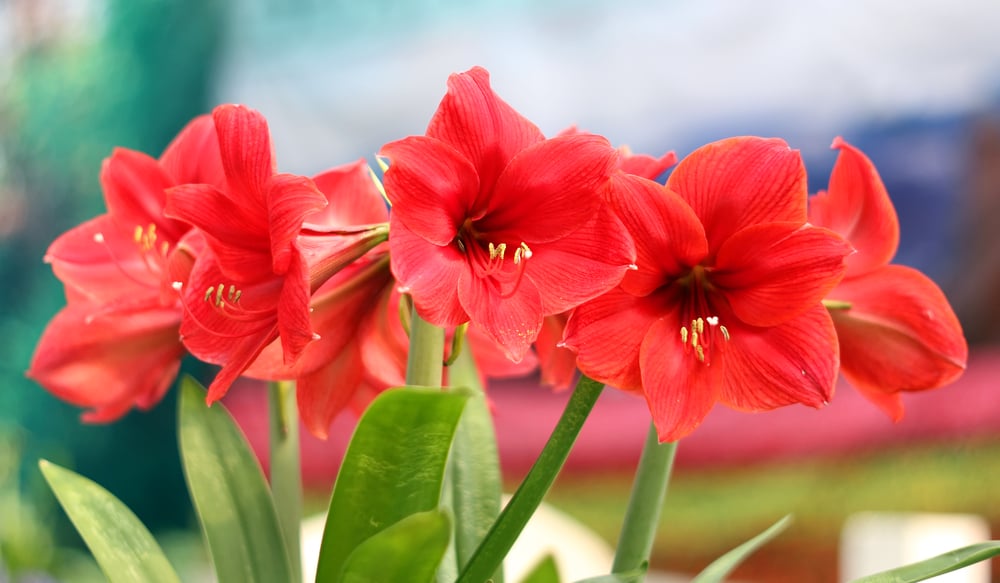
Do you wish to grow an adaptable, rugged, and vigorous perennial in your garden that can survive for years without much care? Then you must consider growing or planting Daylilies. A daylily is a perennial flowering plant that belongs to the family Asphodelaceae.
It’s a plant in the genus Hemerocallis. This plant has a unique root system that branches out underground. The roots of this plant are fleshy, and the leaves are sword-shaped.
The family Asphodelaceae consists of around 15 species of perennial herbs that are spread across Central Europe to East Asia. The plants produce scores of beautiful and colourful flowers during summer.
Daylilies are prolific bloomers and are relatively pest-free. They are drought-resistant and flood-resistant and immune to heat stress. Because of these reasons, daylilies have become the favourite plants of many gardeners. They are used to border a landscape or in perennial beds because of their vibrant colours.
When To Divide Daylilies
The daylily plant is one of the easiest perennials to divide. When you start noticing clumps of flowers getting crowded, and in case the plant is not growing vigorously, dividing the plant can help it grow again.
It is recommended to divide your daylilies every three to five years to keep them healthy and uncrowded. The division is usually done after flowering; however, plants will tolerate division through the entire growing season.
If you don’t divide them, the plant will not grow fully, and there will be smaller or fewer flowers every year. The ideal time to divide daylilies is during early spring or late summer, or autumn.
In case you plan to do the division by the end of the growing season, it is recommended to wait a bit until the temperatures drop a little. By the time winter arrives, the new plants will be well-established.
How To Divide Daylilies
Let’s take a look at the ways to divide daylilies into 4 simple steps.
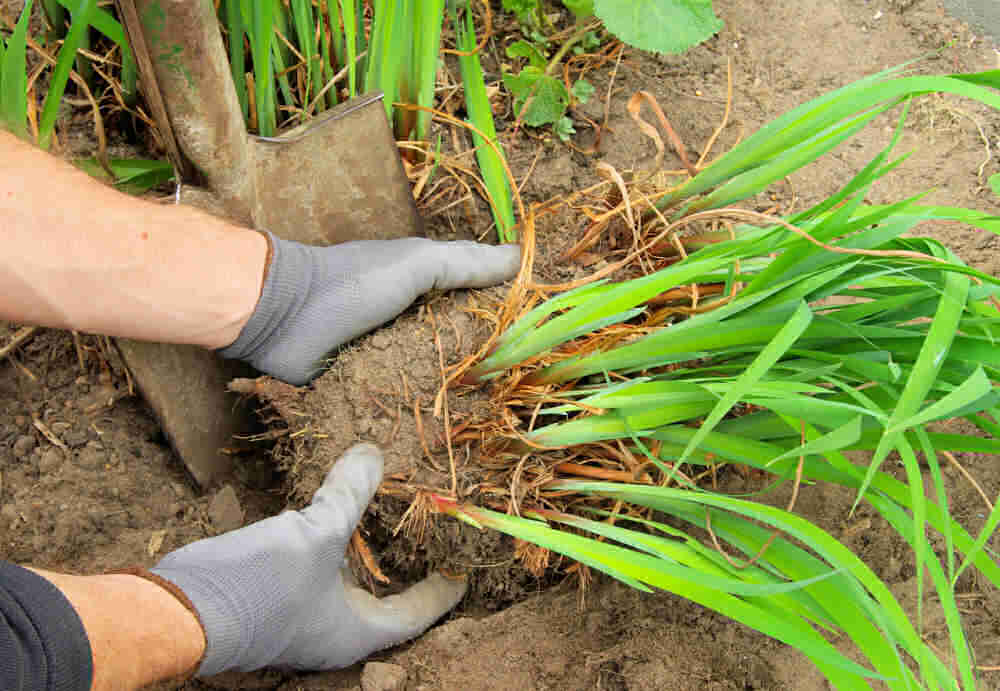
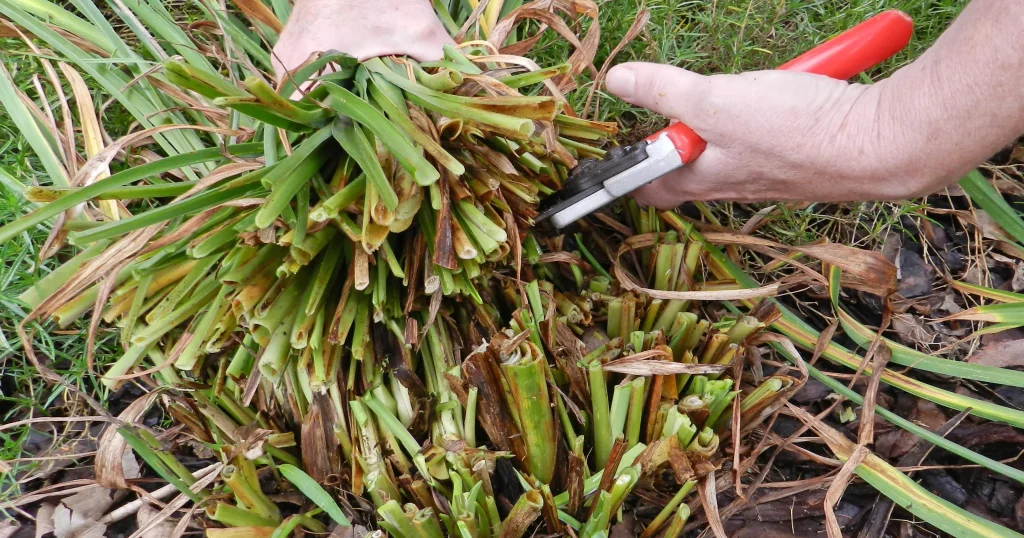
Step 1- Dig Up The Root System
To divide daylilies, the first thing that you need to do is dig up the whole root system. Once the clump is free, brush off or rinse all the dirt from the roots so that you can clearly see them.
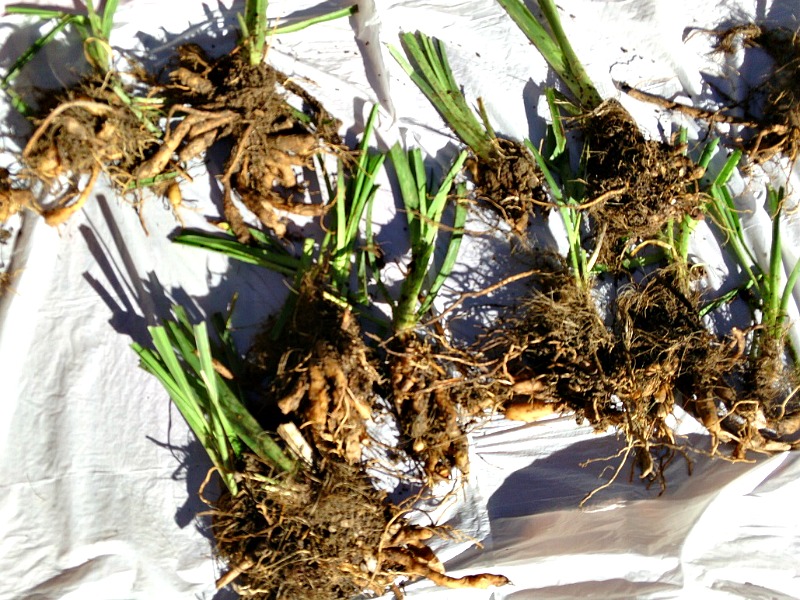
Step 2- Group the Healthy Roots and Stems
Then, you can work the roots of individual fans apart. It is also a good time to check for any rotten or damaged roots. They can be cut off and discarded. You can group three stems and a healthy amount of roots together. In all, you can create two, three, or more different groups. The roots of this plant are pretty resilient. Do not worry in case you break or tear a few roots. If you have sufficient time, leave each fan to air dry for about 24 hours. This will prevent any diseases.
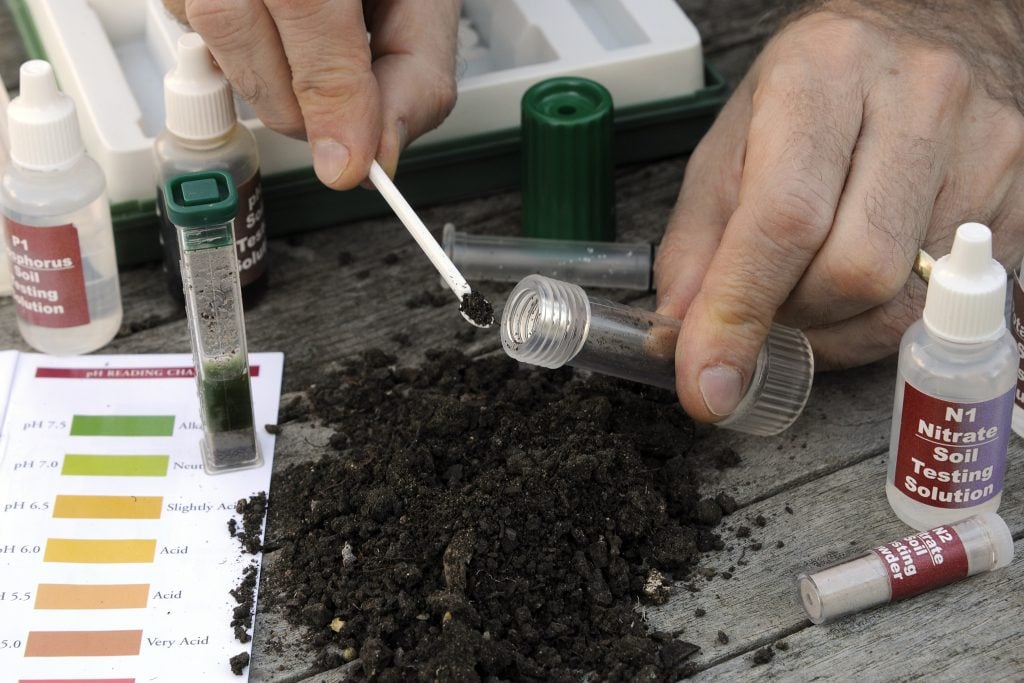
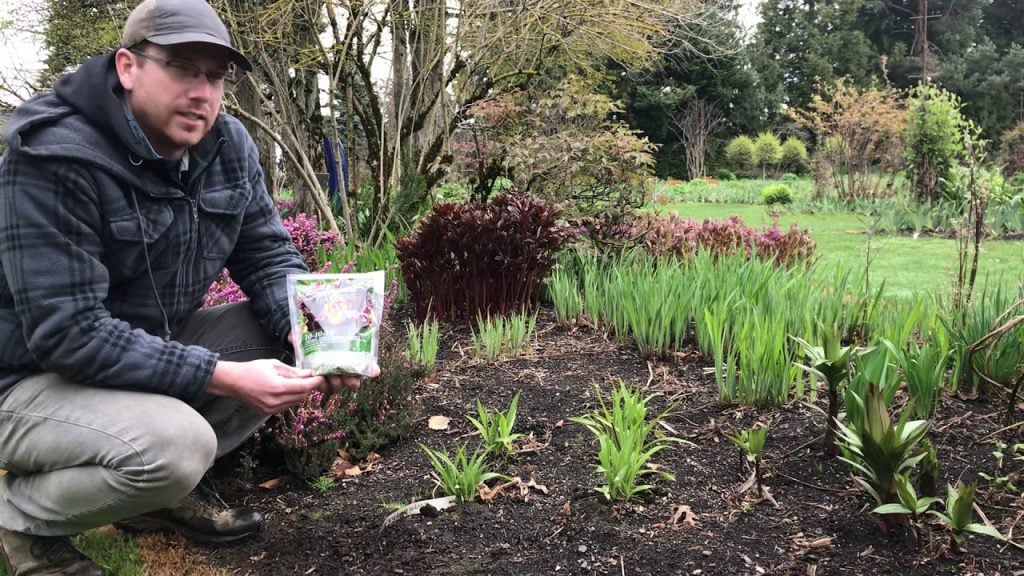
Step 3- Check the PH of The Soil
While replanting the daylily, ensure that the new location must have well-draining soil. Check the pH of the soil and ensure that the spot is receiving enough sunlight. You can add a little compost later. However, daylily plants can mostly tolerate all kinds of garden soil.
Step 4- Dig Up a Hole and Plant the Daylilies
Dig up a hole using a garden shovel in the designated spot. Create a small mound in the middle of the hole. The mound should reach 1 inch below the top of the hole. If you plan on replanting multiple groups of daylilies, leave a gap of 12-18 inches between every hole. This is because these plants need space to grow. Rest the fan crowns on top of the mound and allow the roots to drape down around that mound. Now, start pushing all the soil back inside until it reaches the top of the hole. Ensure that the junction between the shoot and root, i.e., the crown is almost an inch under the surface. Then press lightly around it to make the soil firm. Water the plant generously immediately after replanting.
Once the replanting is done, add some mulch so that the plant grows healthily. Spread the mulch evenly around every daylily plant. You can use pine straw or ground bark to get the best outcome. The mulch will allow the daylily plant to thrive well and also prevent any weed growth.
Characteristics of Daylilies
- Daylilies have 3 petals and 3 sepals and come in various forms like single, double, star-shaped, and spider.
- The daylily plants are classified on the basis of the size of the flowers they bear, ranging from 3 inches to 15 inches.
- Daylilies bloom on stems that are leafless. They rise above narrow long grass-like foliage. Mature plants possess multiple scapes, every scape bearing several flowers.
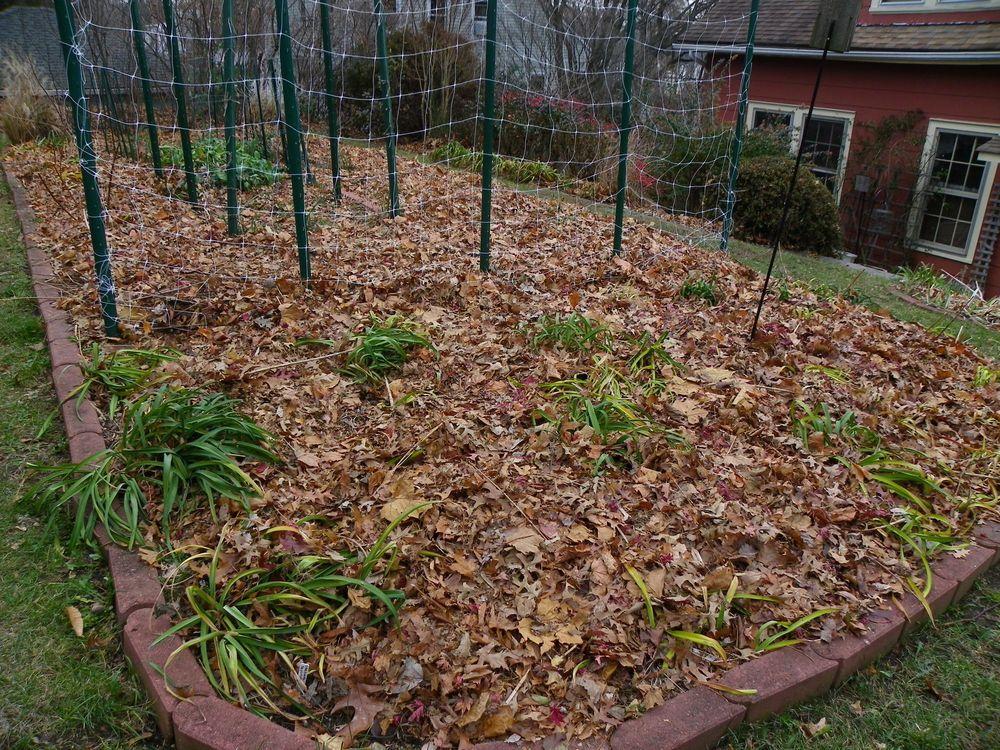
- Some daylily types are evergreen, and some varieties become dormant during winter. The evergreen types are better for warmer climates, and the ones that go dormant are good for cold weather conditions.
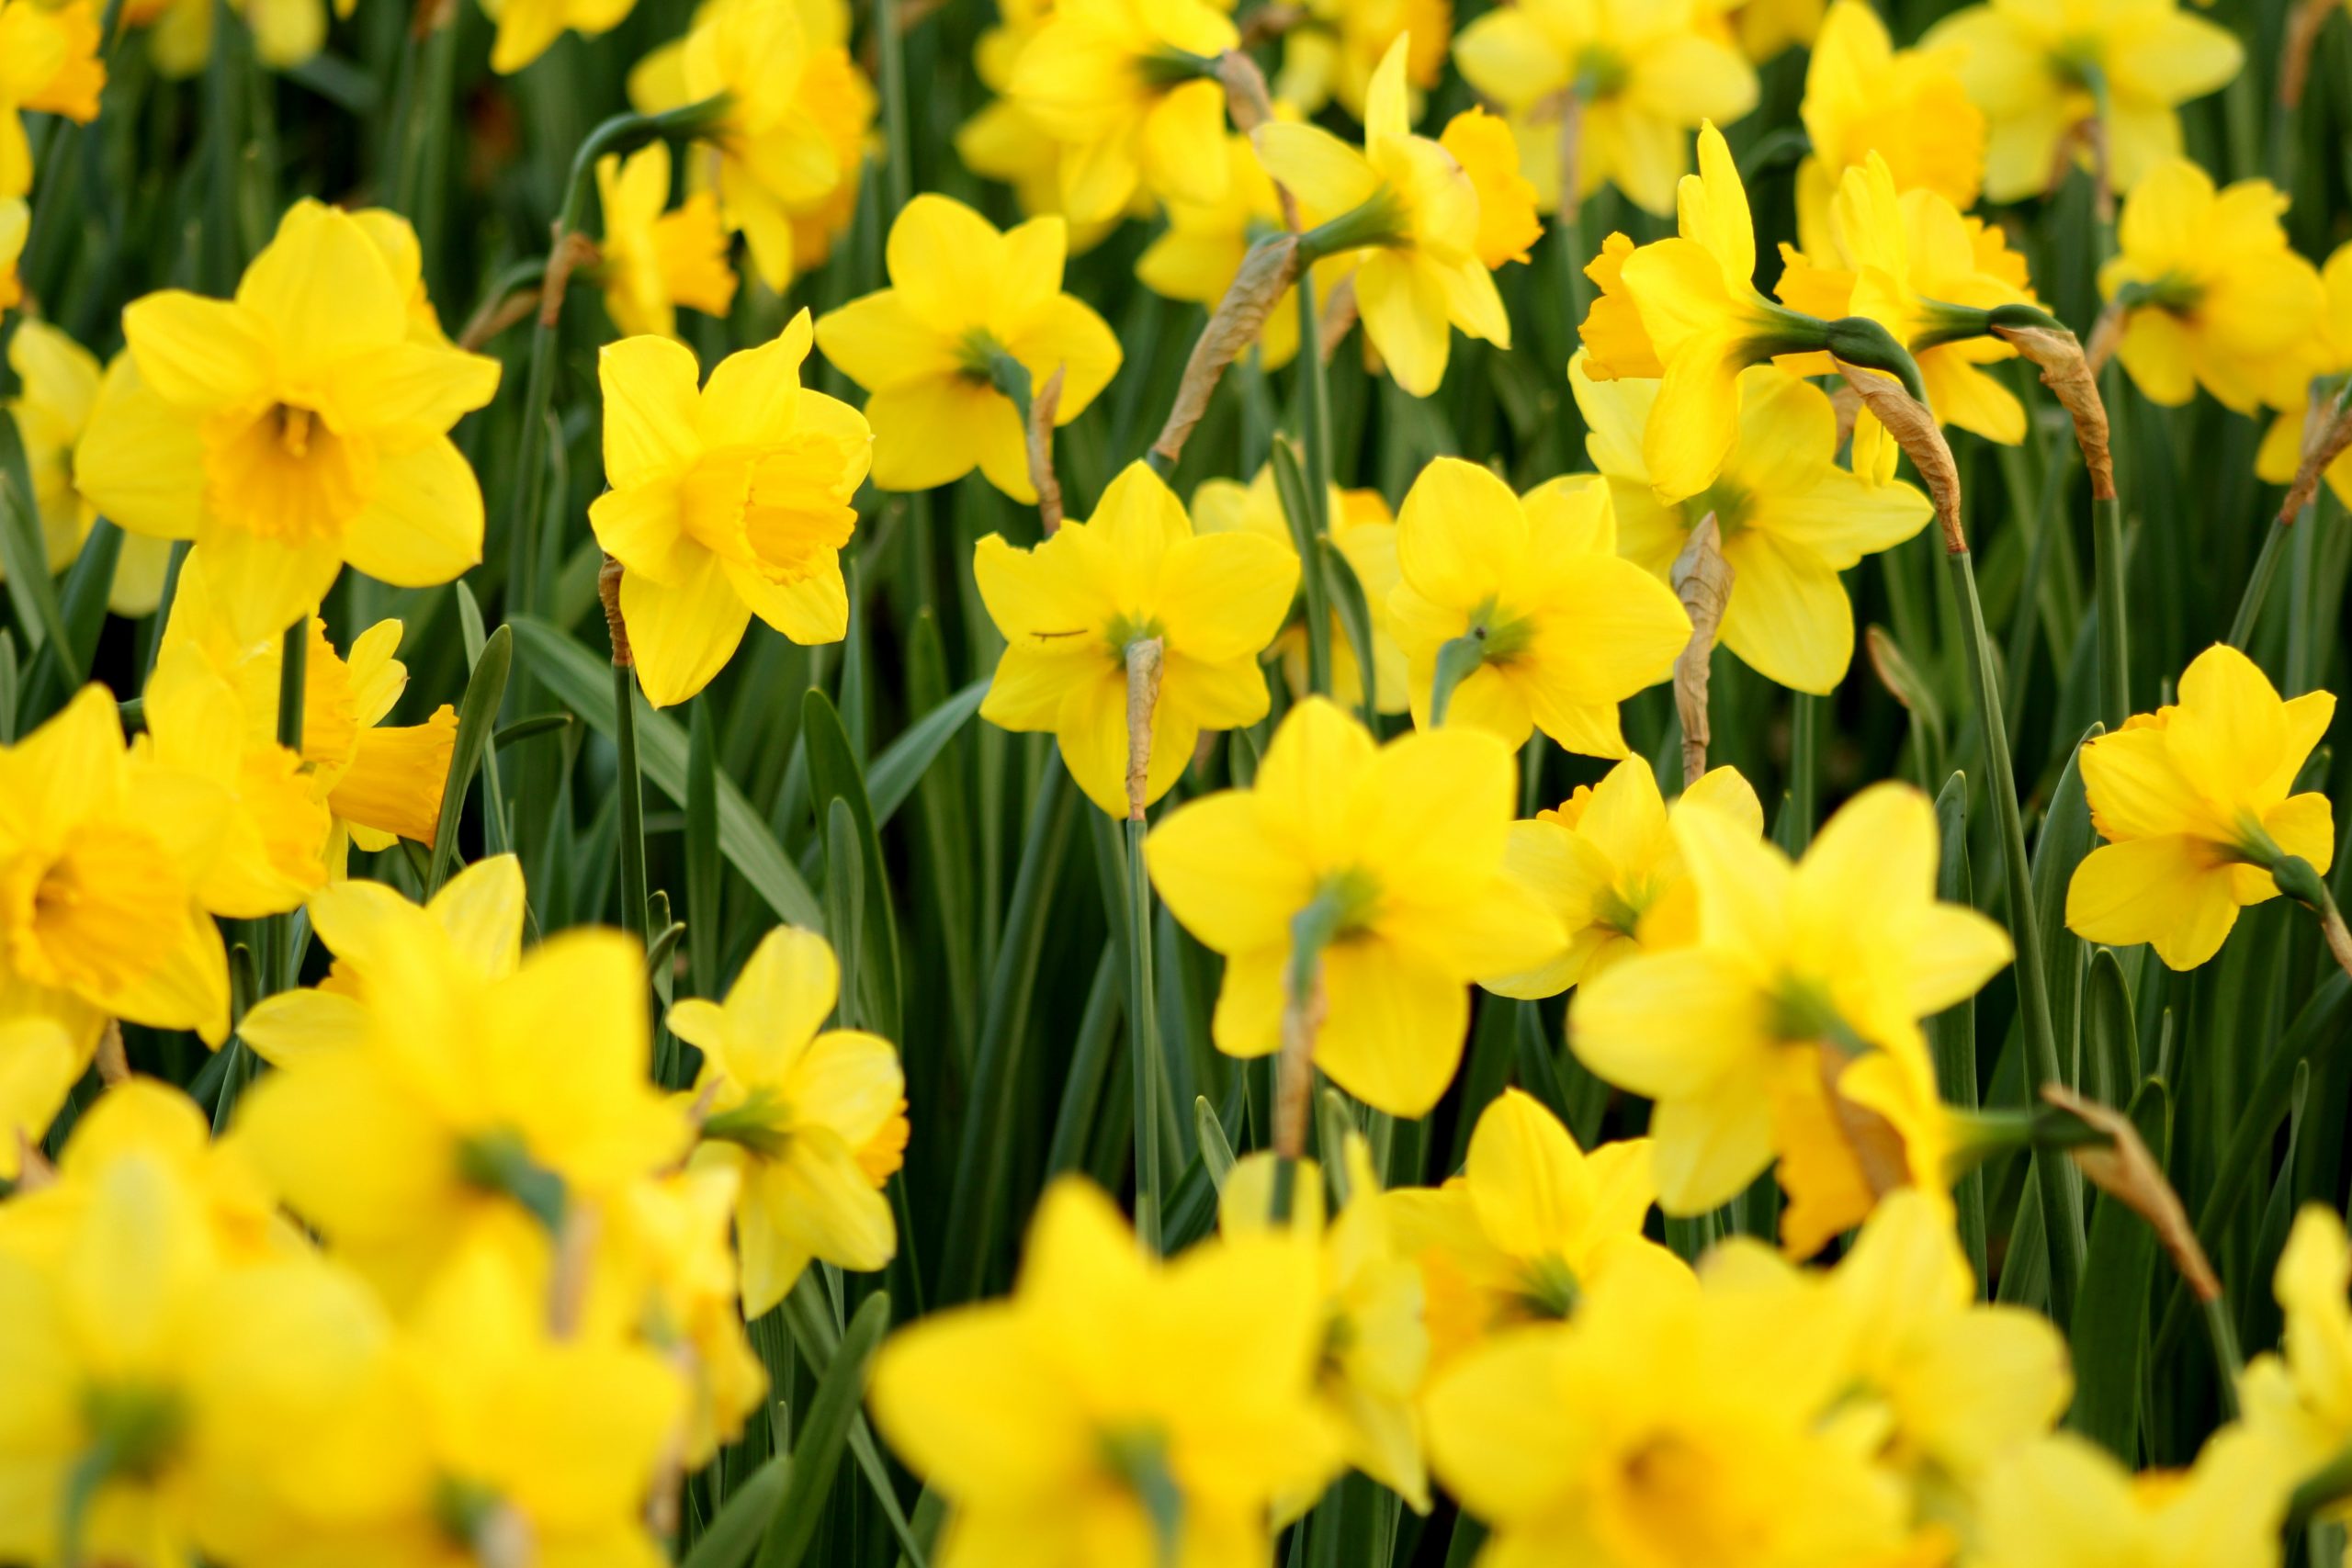
- Hybrids come in several colours, including tones of orange, red, purple, pink, yellow, pale cream, etc.
How to Care for Daylilies
Daylilies need little care to thrive. Here are a few things to consider while looking after this plant.
1. Sunlight

Daylilies require a minimum of six hours of direct sunlight every day to grow vigorously and to their full potential. If you reside in a hotter region, offer them a little afternoon shade to keep the flowers looking their best. Darker-coloured varieties must be protected from strong afternoon sunlight as it might cause the colour of the flowers to fade away.
2. Watering
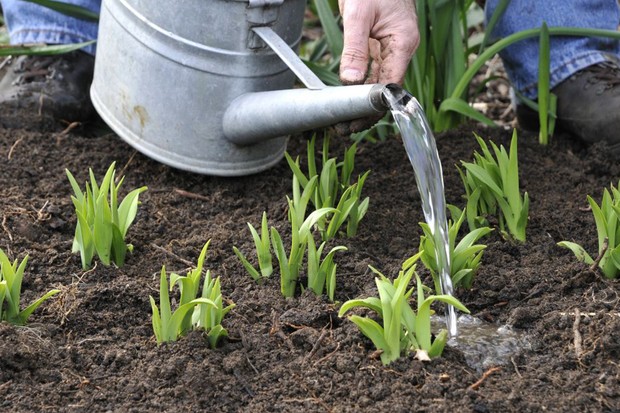
Established Daylily plants are hardy; hence they can tolerate dry weather conditions. As per experts, daylilies produce full blooms when the soil is moist and not soggy. Daylilies thrive well with about one inch of water every week. This water can come through rain or irrigation. If the soil is mulched, these plants need less water. On the other hand, when temperatures soar or if the soil is fast-draining or sandy, they need more water.
3. Soil
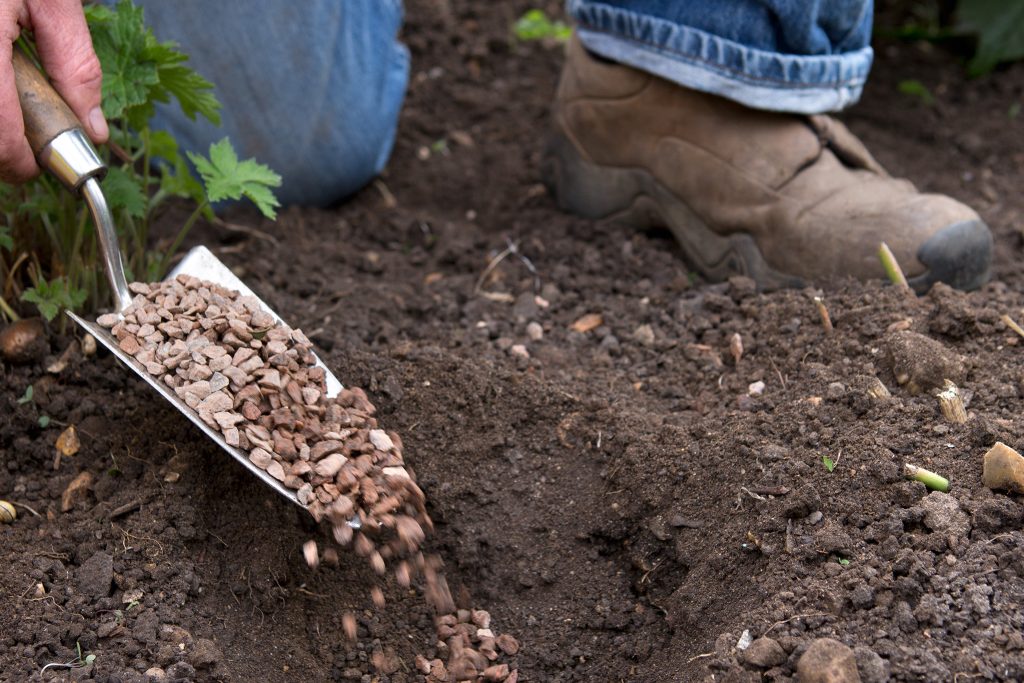
Daylilies need moderately moist and well-draining soils to grow to their full potential. It is recommended to mulch the soil with evergreen needles, shredded leaves, or any other organic matter to conserve some amount of moisture, suppress the weeds and enhance the overall soil condition. It is also recommended to dress the top layer of the soil with an inch or two of compost each year to help promote better plant growth. These plants prefer slightly acidic soil with a pH of 6-6.5. These plants are, however, very tolerant and grow well in almost any kind of soil except poorly draining solid.
4. Pruning
It is imperative to remove blooms and dead foliage from the daylily plant regularly. Otherwise, the growth of the plant will be stunted. If you notice totally brown leaves at the base of the plant, remove them to ensure that the foliage remains green and healthy.
5. Fertilizing
Usually, daylilies grow adequately without any fertilizer. However, adding a little fertilizer can help the plants grow best. They prefer a moderate amount of nitrogen and higher phosphorus and potassium content. The best fertilizers for these plants would be slow-release fertilizers. You can use some fertilizer during early spring and when you start noticing new growth. Ensure that the soil is moist while adding the fertilizer.
Problems with Daylilies
Daylilies are low-maintenance plants and are usually not affected by diseases. However, a few problems might arise if not given the right care. There are some foliar problems that you must be aware of. These problems do not kill the plant usually, but they might cause the plants to lose their appeal.
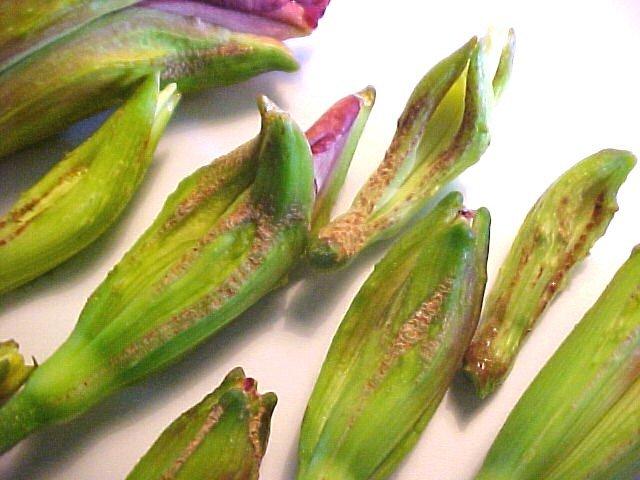
The first one is the leaf scorch. Leaf scorch is not a disease. It is an environmental condition that usually occurs during extremely hot and dry weather. This condition is seen after a few cool and cloudy days followed by clear, sunny days. In this condition, leaf tissues start dying because the water from the leaf surface evaporates at a quicker rate, and the roots do not have enough time to replace the lost water content. A few things that can cause this condition include calcium deficiency and an excess amount of fluoride present in the soil. When the calcium is unable to reach the leaves of the plant due to high levels of humidity, the rate of transpiration slows down. Lower levels of calcium can lead to tip burn and cause leaf scorch. An excess amount of fluoride in the soil is also not good for the plant and can cause leaf scorch. Fluoride is a component of the superphosphate, which is present in perlite and sometimes even in tap water. Leaf scorch is only a cosmetic plant problem and does not pose a threat to the health of the plant.
How to Recognize Leaf Scorch?

If you notice tanned or bleached areas on the leaves of the daylily plants, especially near the tips of the leaves, there is a high chance that it is caused by leaf scorch.
Management of Daylilies
- Ensure that you water the plants well, especially during hot and dry weather.
- Prune away any affected leaves to make way for new growth from the base. You can cut back the plant to the base, if needed, right after flowering to enable a second round of healthy flowers.
- Prevent overcrowding by making sure that there is a good amount of air circulation. This will help increase the rate of transpiration and also enable the transport of calcium from the roots of the plant to the tips of the leaves.
- If the tap water you’re using to water the plant contains fluoride, water your plants using rainwater. Make sure that the plant is not receiving fluoride through any source, such as perlite or superphosphate.
A few other diseases that daylilies can suffer from include daylily leaf streakanddaylily rust. Both these diseases are fungal diseases that can be managed with a few measures.
Conclusion
Daylilies are easy-to-grow and vibrant perennial plants that you can grow in your garden. In order to keep the daylily plants healthy, it is important to pay attention to the weather conditions, soil conditions, and the amount of water and sunlight the plant is receiving. Dividing the daylilies in time will give you new vigorous growth and provide even more colour and ornamental value to your garden.
We hope this article will help you take better care of your daylily plants and yield the desired growth out of them.
Frequently Asked Questions
How Do You Divide Daylilies?
Most daylily plants must be divided every three to five years. To divide daylilies, you will need to dig up the roots, divide them into sections and replant them carefully in well-draining soil. They should receive an adequate amount of sunlight and water.
What Is the Best Way to Propagate Daylilies?
Daylilies can be easily propagated during spring or autumn. This will keep the growth of lilies intact, and you can create new plants by replanting at the same time or giving them away.
Is Daylily a Lily?
Daylilies are not true lilies. They are quite different from lilies. True lilies grow on tall stems, and the plant bears flowers at the top. On the other hand, daylily stems are much shorter and grow out from grass-like foliage at the surface level.
How Do You Keep Daylilies Blooming?
If you cut off the old flower stalks, foliage, and spent blooms from the base, you will get even more blossoms. This is not necessary, but it will give you better growth and flowers.
Are Daylilies Easy to Maintain?
Daylilies are easy-to-grow and low-maintenance perennial plants that bear beautiful and vibrant flowers, adding to the ornamental appeal of your garden. These plants are tough and neglect-tolerant. They bloom profusely, although individual blooms do not last for more than a day.