How to Grow Osteospermum Flowers with Seed: A Step-by-Step Guide
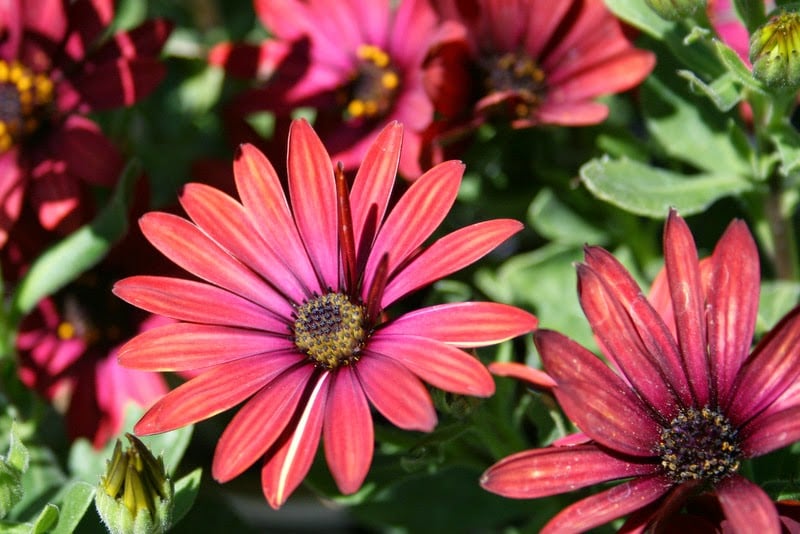
Table of Contents
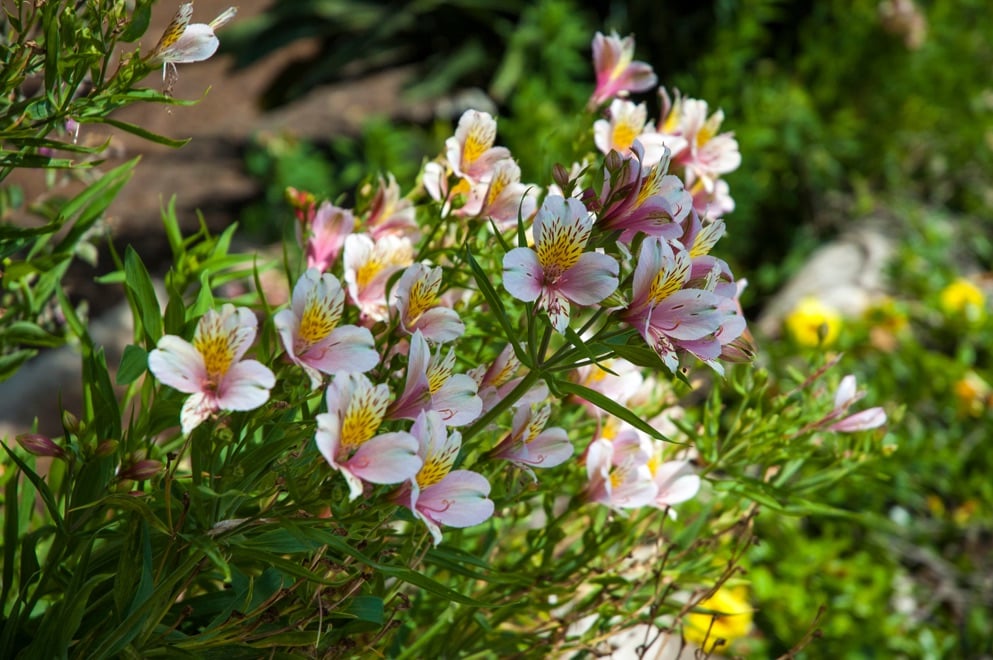
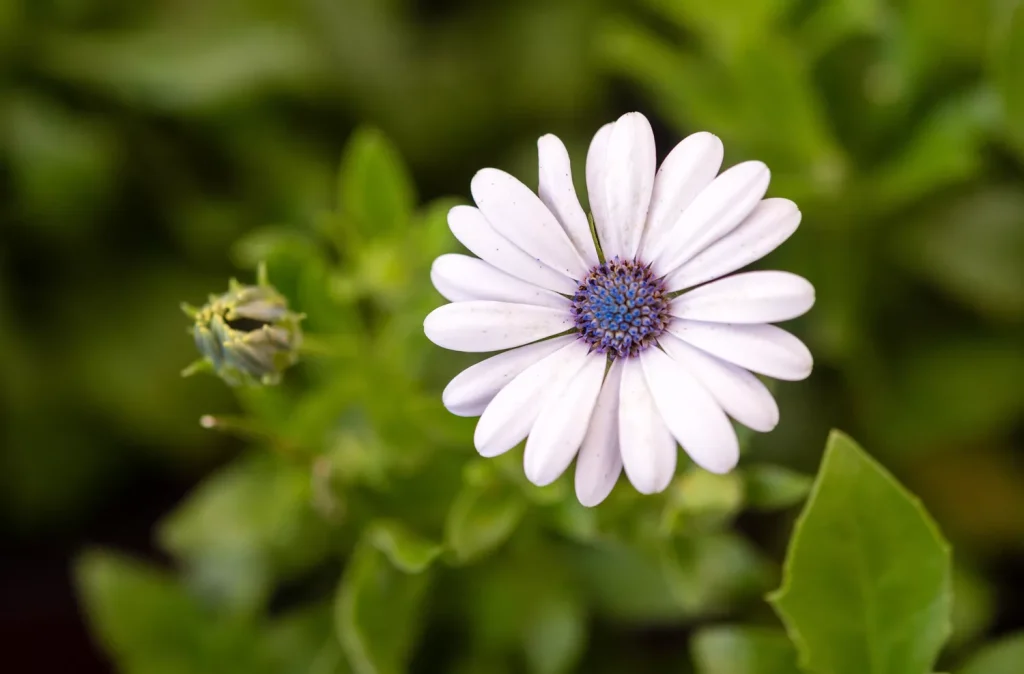
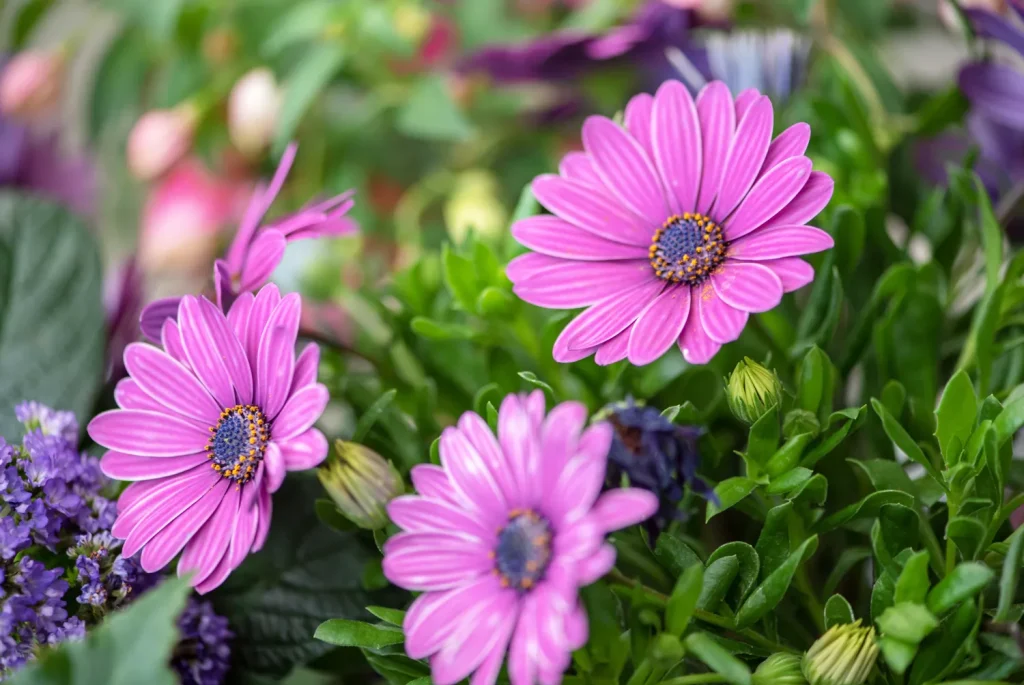
African daisies, also known as osteospermum, are wonderful blooming plants noted for their vivid colours and capacity to flourish in a range of growing environments. Growing Osteospermum from seeds may be a satisfying and enjoyable experience whether you’re an enthusiastic gardener or just have a green thumb.
You may see these lovely plants grow from tiny seeds to breathtaking flowers by taking care of them from the very beginning. We’ll walk you through the step-by-step process of cultivating Osteospermum from seed in this guide to make sure you have all the information and cultivation advice you need.
Get ready to start on a botanical adventure and produce a colourful display of African daisies in your own backyard, whether you are a newbie gardener or an experienced lover.
But before we begin with the step-by-step guide to growing Osteospermum, let’s know a few facts and information about it.
|
Name |
Details |
|
Botanical Name |
Osteospermum |
|
Popular / Common Name |
African Daisies |
|
Zones |
9 – 11 USDA Zones |
|
Height |
Can reach up to 1 to 3 feet tall |
|
Width |
Can spread up to 1 to 2 feet wide |
|
Exposure |
Requires Direct Sunlight |
|
Bloom time |
Late Spring to Frost |
|
Colour |
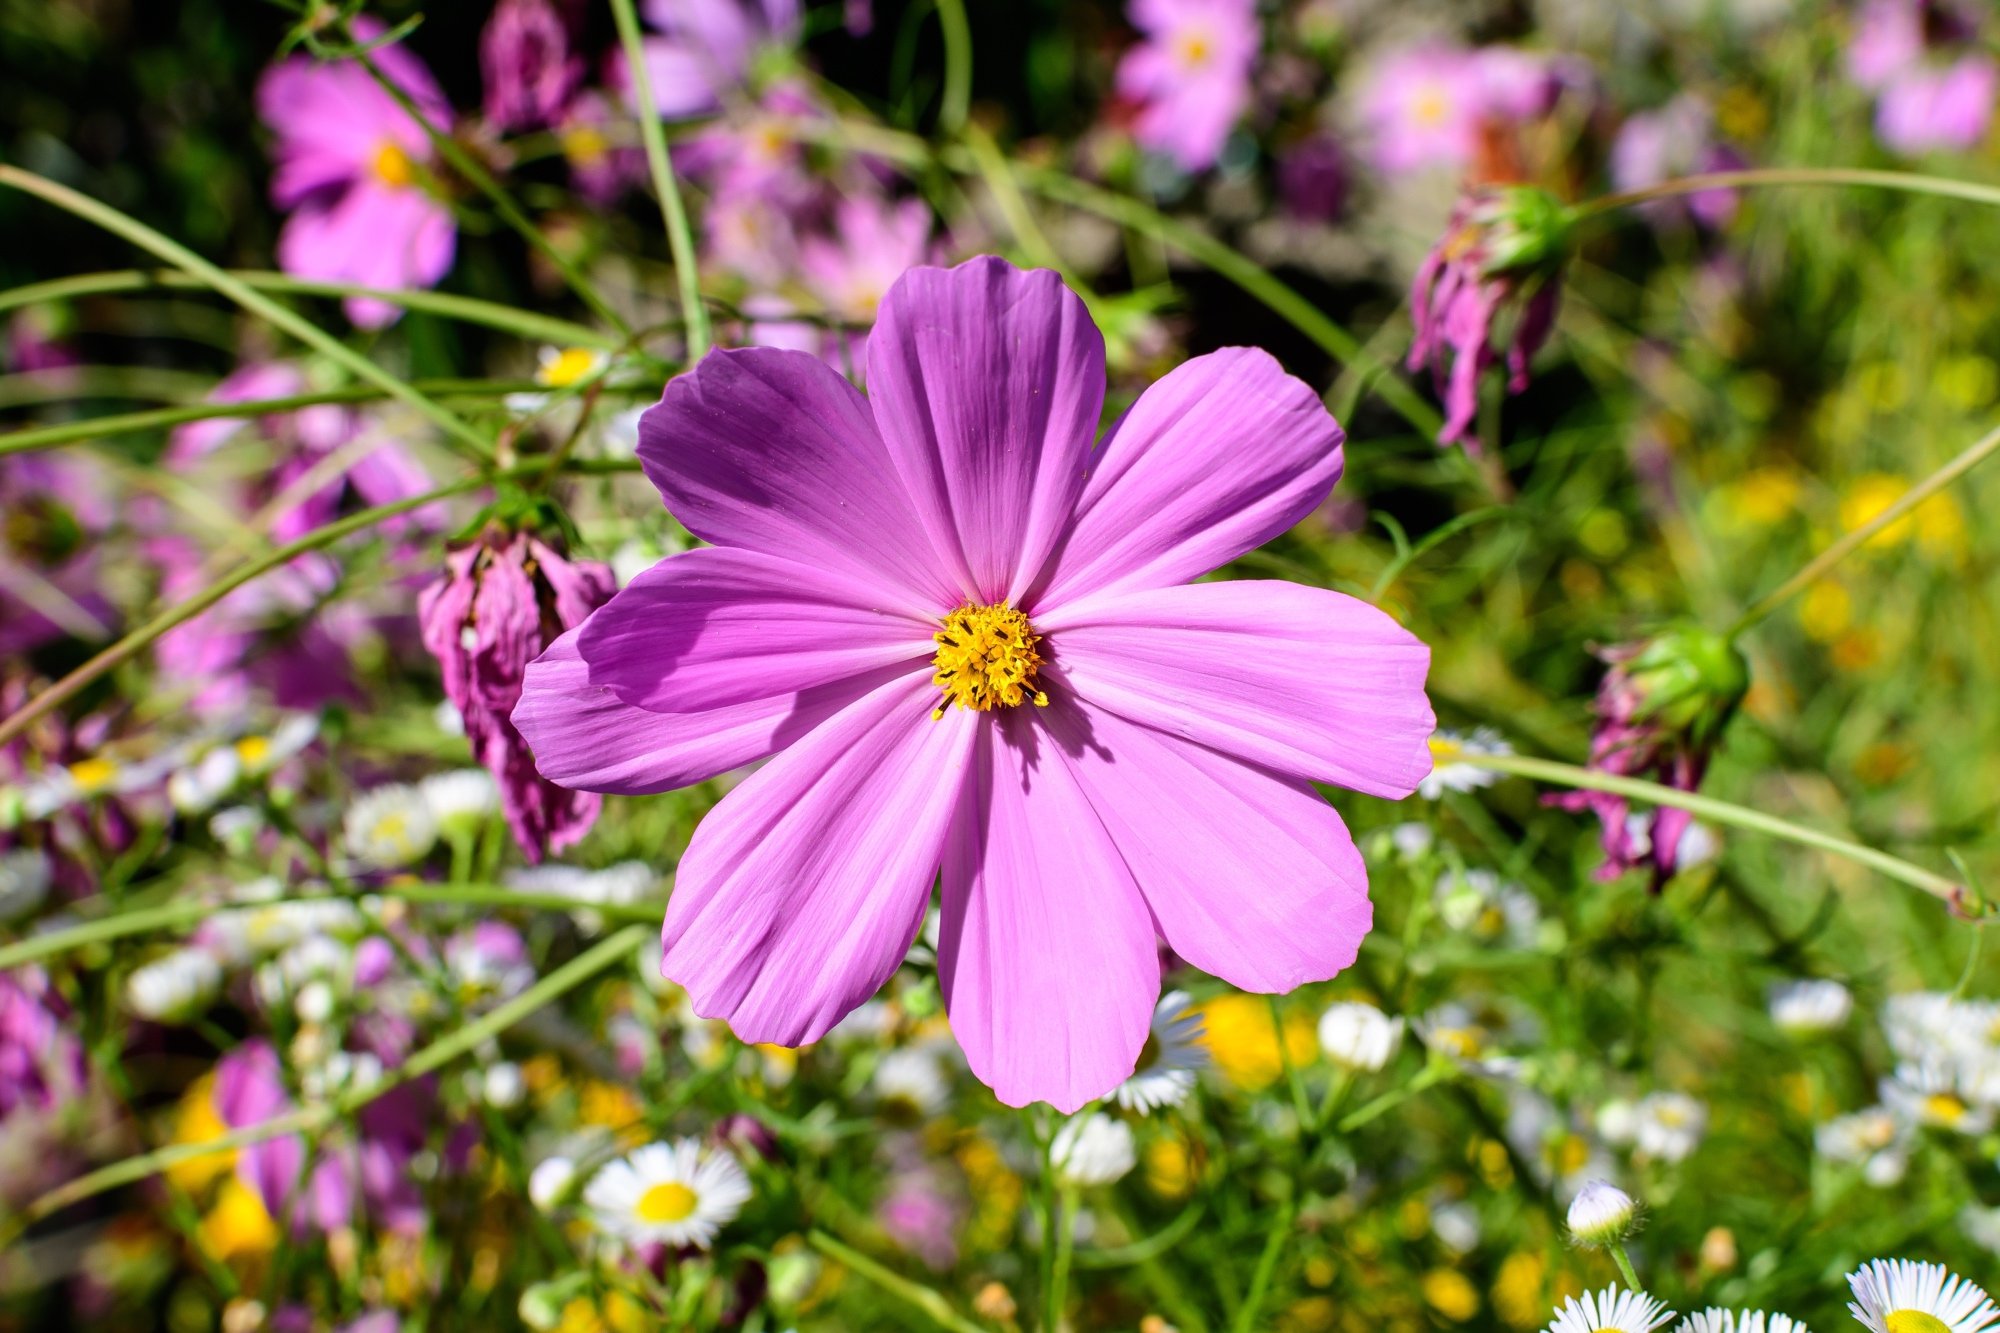
It can come in a single colour or bi-colours or in multiple shades of white, yellow, orange, red, etc. |
|
When to Sow |
April |
|
When to plant out |
June |
|
Difficulty |
Easy |
|
Types of equipment required |
Individual pots along with universal potting soil and trowel, etc. |
Since we are aware of some important facts and information regarding African Daisies, which are scientifically known as Osteospermum, it is important to know when we should plant them and where we should plant them.
When to Plant Osteospermum?
In cooler areas, osteospermum, a delicate perennial, is sometimes cultivated as an annual. It thrives in hot weather and direct sunlight. About 8 to 10 weeks before the latest day of frost in your area, start the seeds indoors. By doing this, the plants will have plenty of time to grow before being moved outside after the threat of frost has gone. To give you the statistics in months, start sowing the seeds indoors around mid-April. By late May or early June, they’ll be ready to be transplanted.
Where to Plant the Osteospermum?
Osteospermum can be grown in a container on a sunny patio or windowsill or in a protected location in full sun with well-drained soil. Make sure to cultivate it in a landscape or container where it will get direct sunlight. The finest flower blooming occurs when a plant is exposed to full, direct sunlight.
Growing the African Daisies (Osteospermum)
Now to grow Osteospermum, commonly known as African daisies, from seeds, you can follow the following step-by-step guide:
Step 1: Selecting the Correct Seeds
Making the correct seed selection is the first step in cultivating osteospermum from seed. Osteospermum seeds are available from reliable seed vendors, or you can harvest them from your own osteospermum plants. If you are gathering the seeds yourself, be careful to choose the plants with the healthiest, most colourful blossoms.
Step 2: Preparing the soil
Osteospermum flourishes in organically rich, well-draining soil. Prepare the soil by incorporating some compost or well-rotted manure before sowing the seeds. To promote effective drainage, the soil should be adaptable and loose.
Step 3: Sowing the Seeds
Osteospermum seeds can be planted outdoors straight in the ground or inside in trays or pots. Wait until there is no longer any risk of frost and the earth has warmed up before putting seeds straight into the ground. Put a thin layer of dirt over the seeds after thinly sowing them. Sow the seeds in trays or pots filled with seed compost if you’re beginning them indoors. After lightly watering the seeds, cover them with a thin layer of compost.
Step 4: Getting the Seeds Ready to Grow – Germination
When stored at a temperature of 65-75°F (18-24°C), osteospermum seeds typically germinate after 10 to 14 days. Keep the soil wet throughout the germination phase without allowing it to get soggy. Remove the covers after the seeds have begun to sprout, and make sure there is adequate air to prevent damping off.
Important Fact – Make sure that before you transplant, increase the garden’s soil fertility, drainage, and moisture retention qualities. You can do these by adding organic matter such as compost.
Step 5: Planting the Young Plants – Transplantation of the Seedlings
The seedlings can be transferred into individual pots or right into the garden once they are about 2 inches (5 cm) tall. Handle the seedlings delicately while transplanting to protect the very thin roots. After transplanting, give the plants plenty of water.
Step 6: Watering and Maintenance
To keep the soil wet but not waterlogged, thoroughly water the transplanted seedlings before continuing to water them on a regular basis. Once established, osteospermum plants often prefer somewhat drier circumstances. Keep an eye out for pests or illnesses, and take the necessary measures if found.
Step 7: Taking care of the Plants
Plants that grow osteospermum prefer full light and soil that drains well. Regular watering is necessary for the plants; however, over-watering might result in root rot. During the growth season, fertilize the plants every two weeks with a balanced fertilizer. To promote bushy growth and more blossoms, pinch back the plant tips.
Step 8: Protecting them from pests and diseases
Osteospermum plants often have a high level of pest and disease resistance. They could, however, be vulnerable to whiteflies, spider mites, and aphids. If you see any bugs, get rid of them by hand or use a mild pesticide to spray them. Another thing to be aware of is that osteospermum plants may possibly develop powdery mildew or grey mould. Avoid overwatering and ensure proper air circulation around the plants to prevent these illnesses.
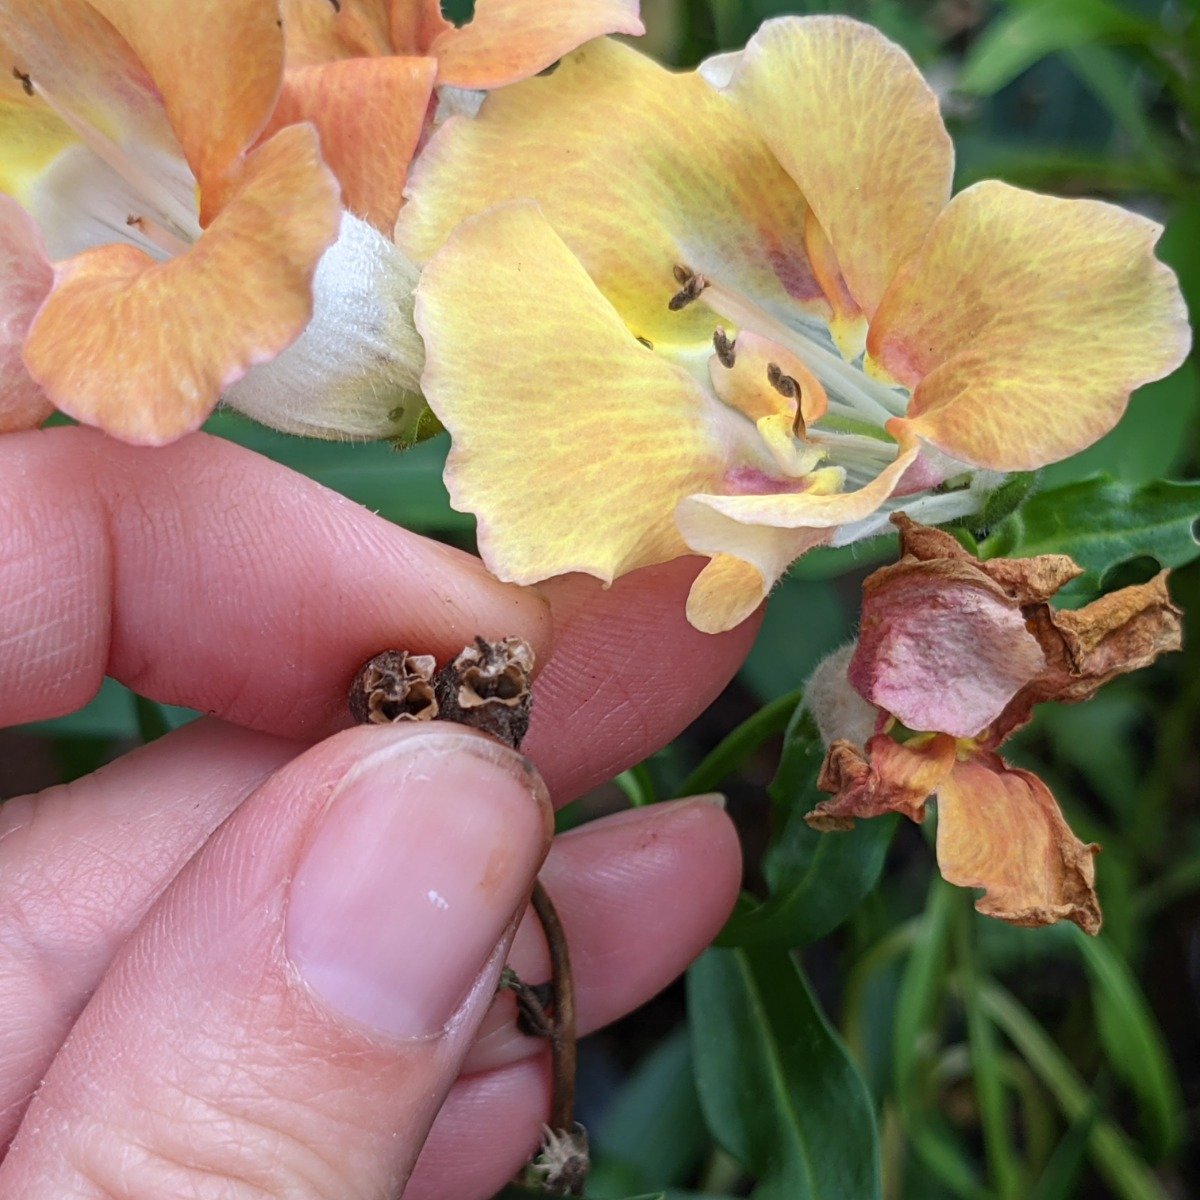
Step 9: Harvesting the seeds
Allow the blossoms on your osteospermum plants to develop and dry up before collecting the seeds. Remove the seed heads and put them in a paper bag when the blooms have dried. Before placing the seeds in an airtight container, give the seed heads ample time to dry fully.
Conclusion
Osteospermum seedlings provide a satisfying gardening experience. You may enjoy the brilliant blooms of these African daisies in your yard by following the instructions provided, which include using high-quality seeds, providing ideal circumstances for germination, carefully transplanting, and keeping correct care and maintenance. Recall to pick the right site, water properly, keep an eye out for pests and illnesses, and welcome the learning process.
Keep in mind that gardening is a trip, and every stop along the road offers a chance for growth. Be patient and mindful, noting what functions greatest for your particular growing circumstances. With further practice, you may experiment with other species and methods to broaden your expertise and build a really distinctive Osteospermum garden.
Enjoy your garden!