How to Properly Deadhead Lilies After Flowering
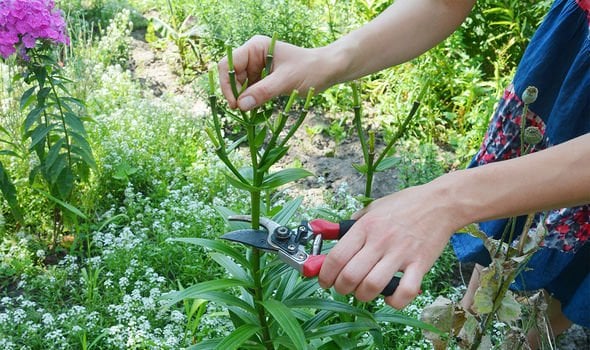
Table of Contents
Deadheading is a gardening technique that involves removing spent flowers from plants. This process is particularly important for lilies grown in pots after flowering. Lilies grown in pots or containers can be susceptible to various problems, such as overcrowding, root rot, and poor drainage.
Deadheading provides numerous benefits for lilies grown in pots after flowering. Firstly, it promotes new growth and rejuvenation of the plant. Once the lilies have finished blooming, they start to focus their energy on seed production rather than producing new flowers. Deadheading redirects the plant’s energy back into the roots and helps to promote the growth of new stems and foliage. This not only improves the appearance of the plant but also ensures it stays healthy and robust.
If you want to learn how to deadhead lilies, then follow this article.
How to Deadhead Lilies
Deadheading lilies is an important task that can help promote healthy growth and flowering in your plants. It helps to redirect the plant’s energy toward producing new growth and flowers. Here, we will explain how to deadhead lilies and provide a step-by-step guide to help you get started.
1. Wait for The Right Time
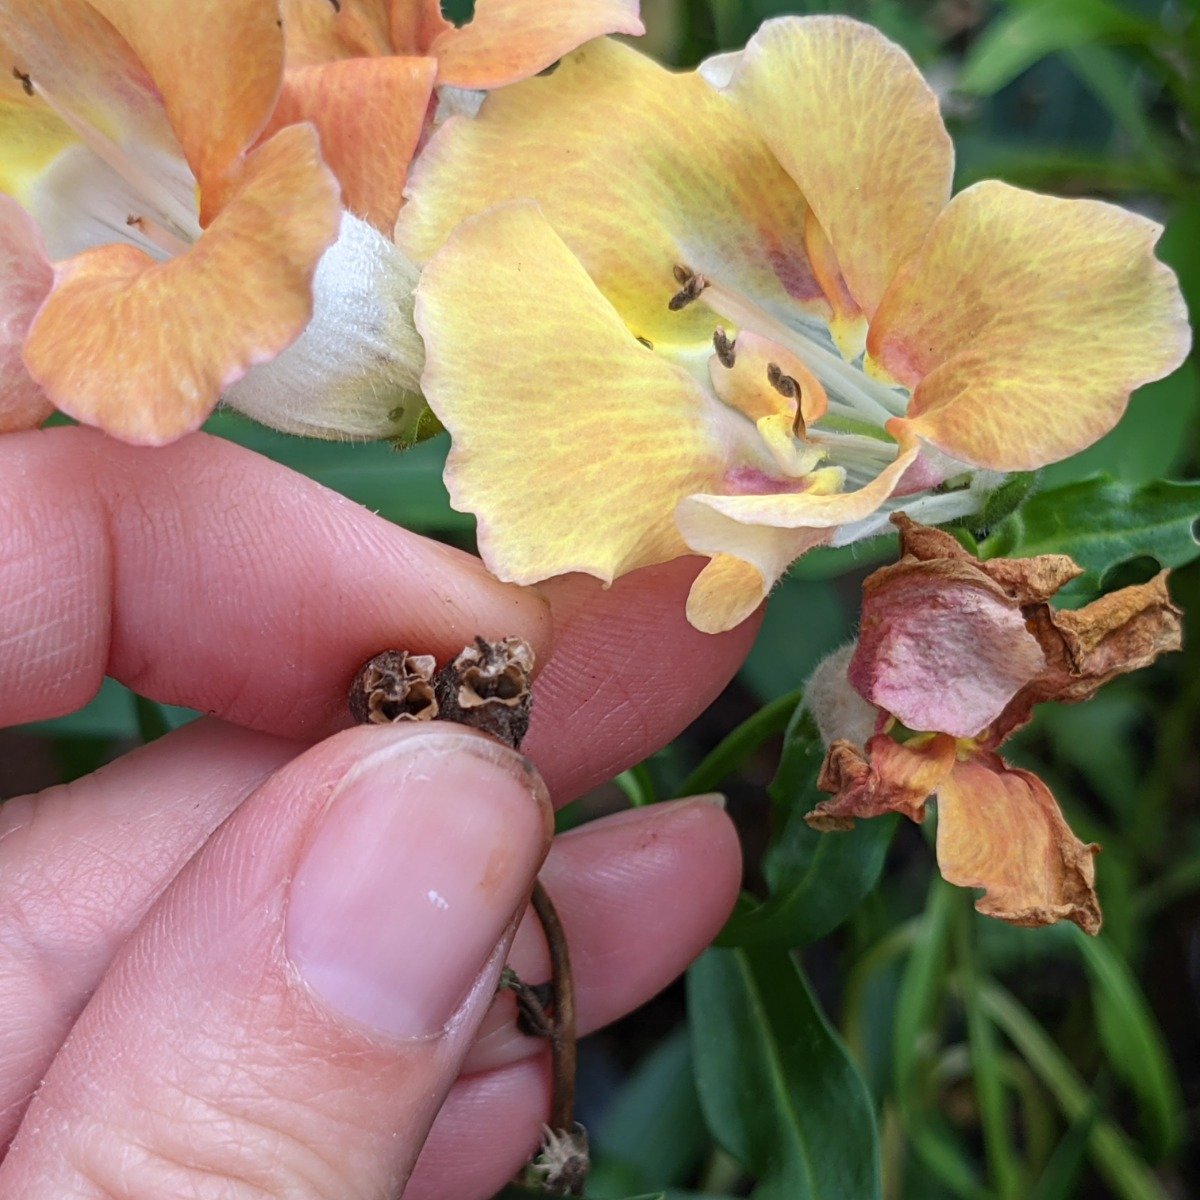
The best time to deadhead lilies is when the flowers have started to fade and wilt. You should wait until the petals have turned brown or begun to fall off before deadheading. This ensures that the flower has completed its natural cycle and won’t produce any more seeds. It’s important not to deadhead too early, as this can damage the plant and prevent it from producing new blooms.
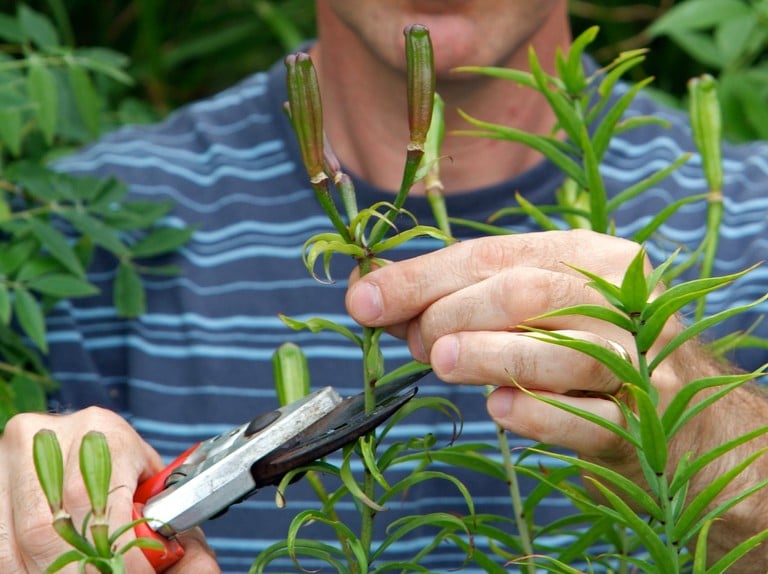
2. Locate the Spent Flowers
Once you’ve identified the flowers that need deadheading, locate them on the stem of the plant. You should look for the spent flowers at the top of the stem, just below the remaining buds or leaves. Lilies typically produce one large flower at the top of the stem, so this is the area you should focus on.
3. Use the Right Tool
To deadhead lilies, you should use a sharp pair of secateurs or floral scissors. These tools allow you to make clean, precise cuts without damaging the plant or the remaining buds. It’s important to use a sharp tool to prevent crushing or tearing the stem, which can leave the plant vulnerable to disease or pests.
4. Make the Right Cut
To deadhead a lily, hold the stem firmly in one hand and position the secateurs or floral scissors just below the spent flower. Make a clean, angled cut through the stem, taking care not to damage any remaining buds or leaves. It’s important to make the cut at an angle to prevent water from pooling on the cut surface, which can lead to rot or disease.
5. Dispose of The Spent Flowers
Once you’ve removed the spent flowers, dispose of them in a bucket. This prevents them from attracting pests or diseases and helps keep your garden tidy. You can also compost the spent flowers if you have a compost pile.
When to Deadhead Lilies
Lilies are beautiful, elegant flowers that add a touch of grace and beauty to any garden. And deadheading is a vital process for the health and growth of lilies. It involves removing the spent blooms from the plant to encourage further growth and blooming. Deadheading also prevents the lily plant from producing seeds, which can take energy away from the plant and reduce its overall vigour.
1. Best Time to Deadhead Lilies
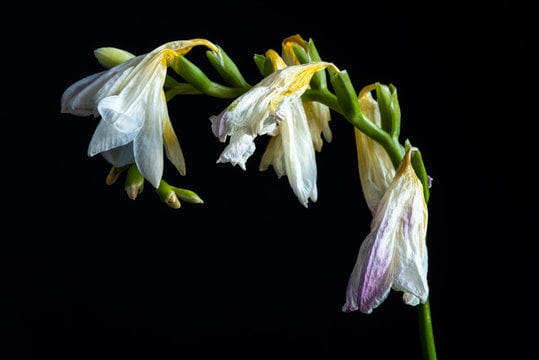
The best time to deadhead lilies is after they have finished blooming. Lilies typically bloom in late spring or early summer, depending on the variety. Once the blooms start to fade and wilt, it’s time to deadhead the lily. It’s important to deadhead lilies promptly, as leaving spent blooms on the plant can encourage disease and pests. Deadheading lilies are also beneficial for aesthetic reasons, as they can help keep the garden looking neat and tidy.
2. Signs Showing a Lily Needs Deadheading
There are a few signs to look for to determine if a lily needs deadheading. The first sign is the appearance of faded, wilted blooms. Once a lily has finished blooming, the flowers will start to fade and wilt. These spent blooms should be removed promptly to encourage further growth and blooming. Another sign to look for is the presence of seed pods. If a lily plant is producing seed pods, it’s a sign that it needs to be deadheaded.
Tools Needed for Deadheading Lilies
Deadheading lilies, especially in pots after flowering, is an essential gardening task. To effectively deadhead your lilies, you will need a few basic tools that are easy to use and widely available at most garden centres. In this article, we will describe the tools needed for deadheading lilies and their respective purposes.
1. Secateurs
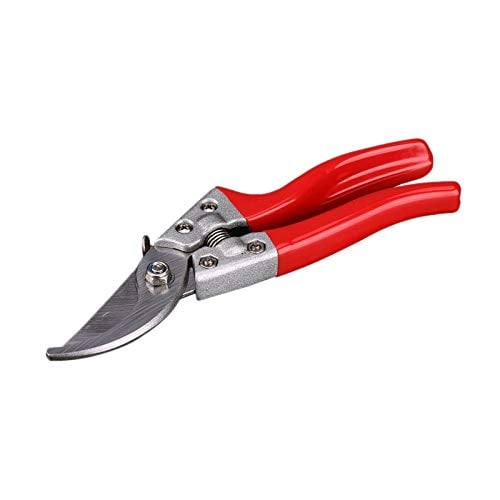
Secateurs are an essential tool for any gardener, and they are especially useful for deadheading lilies. These sharp, scissor-like tools are designed to make clean cuts through small branches, stems, and leaves, making them ideal for removing spent blooms from your lily plants. When selecting secateurs for deadheading lilies, look for a pair that is easy to handle and with sharp blades that can make precise cuts without damaging the plant.
2. Floral Scissors
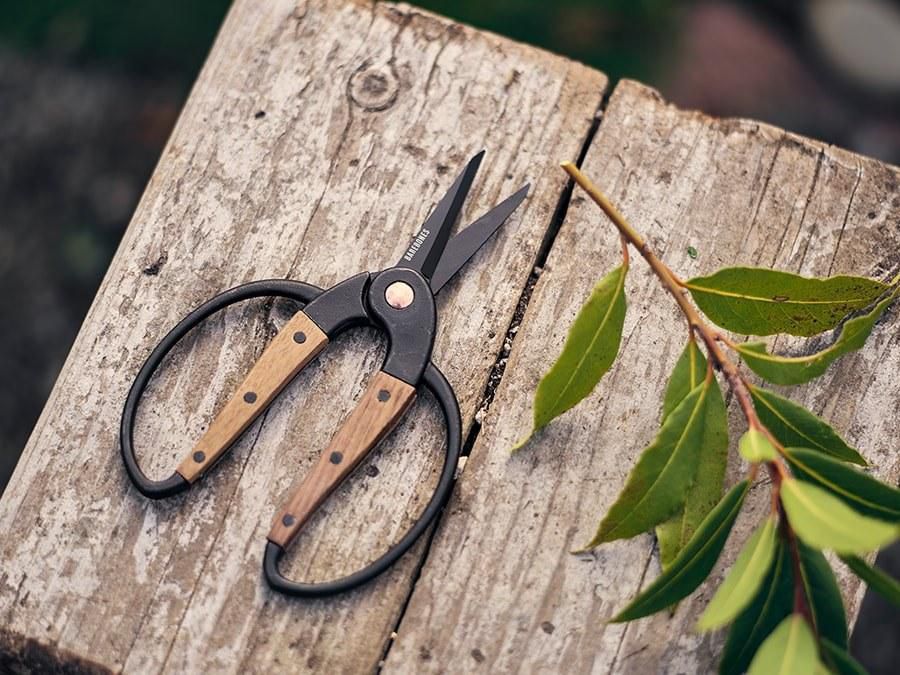
Floral scissors are a more specialised tool for deadheading lilies, but they can be incredibly useful for more delicate flowers and plants. These small, sharp scissors are designed to make precise cuts without damaging the stem or leaves, which is especially important for fragile flowers like lilies. Look for a pair of floral scissors with a pointed tip and sharp blades that can make clean, accurate cuts.
3. Garden Gloves
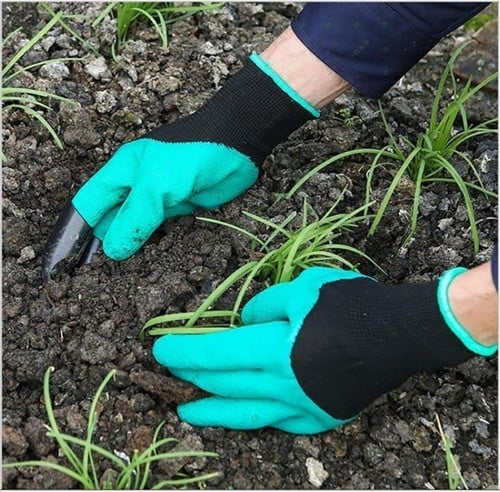
Garden gloves are an essential accessory for any gardener. Gloves protect your hands from cuts and scratches, as well as from any thorns or prickly stems that may be present on the plant. When selecting garden gloves for deadheading lilies, look for a pair that is sturdy and durable, with a comfortable fit that won’t slip during use.
4. Bucket
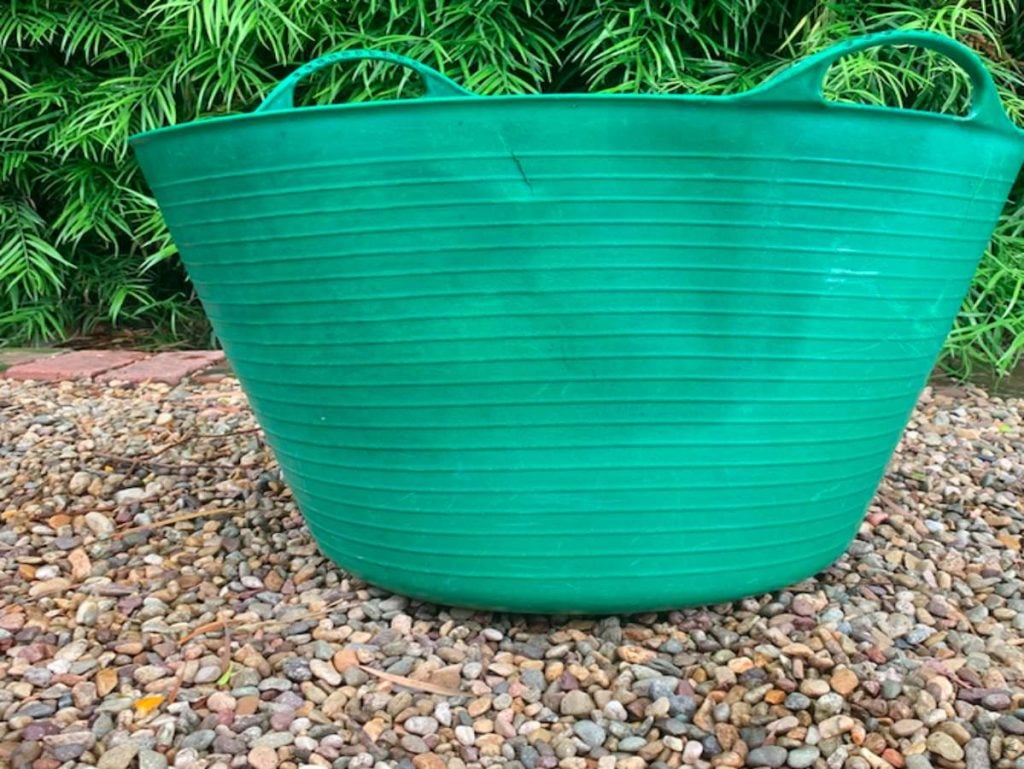
A bucket is a simple but essential tool for deadheading lilies. As you remove spent blooms from your plants, you will need a place to collect them so that you can dispose of them later. A small bucket is ideal for this purpose, as it can be easily carried around the garden and emptied as needed.
5. Spray Bottle
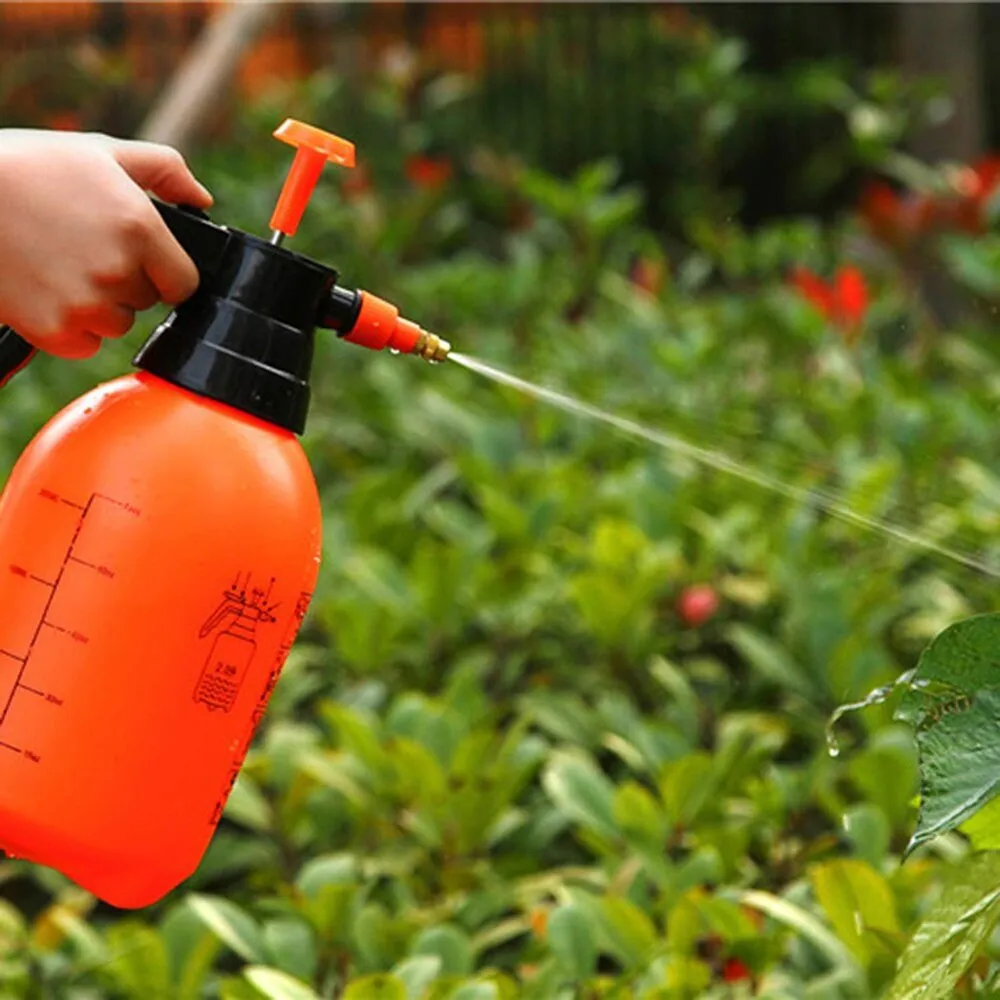
A spray bottle is not strictly necessary for deadheading lilies, but it can be a useful tool for keeping your plants healthy and hydrated. As you work in the garden, you can use a spray bottle filled with water to mist your lilies and other plants, providing them with a boost of moisture and hydration. This can be especially helpful during hot or dry weather, when your plants may be more prone to wilting or drying out.
Aftercare of Deadhead Lilies
Aftercare is an important aspect of maintaining healthy and vibrant lilies in your garden. After deadheading, it’s important to continue caring for your lilies to promote new growth and ensure the longevity of your plants. Here are some tips on how to care for lilies after deadheading.
1. Regular Watering of Lilies
Lilies require regular watering to thrive. After deadheading, be sure to water your lilies deeply to encourage new growth. You should water your lilies once or twice a week, depending on the weather and soil conditions. It’s important to water the base of the plant, rather than the leaves or flowers, to prevent damage or disease.
2. Applying Fertilizer
Fertilising your lilies after deadheading can help promote new growth and encourage blooming. You can use a balanced fertiliser that contains equal amounts of nitrogen, phosphorus, and potassium in a 10-10-10 ratio. Apply the fertiliser according to the instructions on the package, taking care not to over-fertilize, which can damage the plant.
3. Removing Dead or Damaged Foliage
After deadheading, it’s important to remove any dead or damaged foliage from your lilies. This can help prevent disease and promote new growth. You can use a sharp pair of scissors or secateurs to remove the dead or damaged leaves, being careful not to damage the healthy foliage.
4. Proper Mulching
Mulching around the base of your lilies can help retain moisture and prevent weeds. You can use a layer of organic material, such as shredded leaves, bark, or compost, to mulch around the base of the plant. Be sure not to cover the leaves or stem of the plant, as this can promote disease.
5. Protecting from Pests and Diseases
Lilies are susceptible to pests and diseases, such as aphids, mites, and fungal infections. After deadheading, be sure to keep an eye out for any signs of pests or diseases and take action immediately if you notice any issues. You can use organic methods, such as neem oil or insecticidal soap, to treat pests and fungicides to treat fungal infections.
Revitalize Your Lilies after Flowering
All in all, deadheading your lilies after they have finished flowering is an easy and effective way to promote healthy growth and prolong the blooming period. Removing spent blooms encourages the plant to direct its energy towards new growth and blooms. This process also helps to prevent the plant from putting energy into seed production, which can cause it to become weak and unhealthy.
Deadheading lilies also help to maintain a tidy and attractive appearance in your garden and prevent the spread of disease. With proper aftercare, including watering, fertilising, and removing dead or damaged foliage, your lilies will continue to thrive and provide you with beautiful blooms year after year.
So, take some time to deadhead your lilies and enjoy the benefits of a healthy and vibrant garden.
Frequently Asked Questions (FAQs)
How Do You Cut Lilies?
To cut lilies, use sharp, clean scissors or secateurs and make a clean cut at a 45-degree angle just above a healthy leaf or node. Avoid cutting into the stem, and make sure to leave at least one-third of the stem intact to allow the plant to produce energy and encourage new growth.
Should Lilies Be Cut Back After Flowering?
Yes, lilies should be cut back after flowering. Deadheading spent blooms and cutting back the stem to just above the foliage encourages the plant to direct its energy towards new growth and blooms rather than seed production. This process also helps to maintain a tidy appearance in the garden and prevents the spread of disease.
What Is the Best Fertiliser for Lilies?
The best fertiliser for lilies is a balanced one that contains equal amounts of nitrogen, phosphorus, and potassium. A ratio of 5-10-10 or 10-10-10 is ideal for lilies. It’s important to fertilise the plants in early spring and after flowering to promote healthy growth and blooming.


![When and How to Plant/Sow Marigold Seeds [UK]](https://www.thearches.co.uk/wp-content/uploads/Sowing-Tagetes-Marigolds.jpeg)