How to Tile Walls and Floors by Yourself
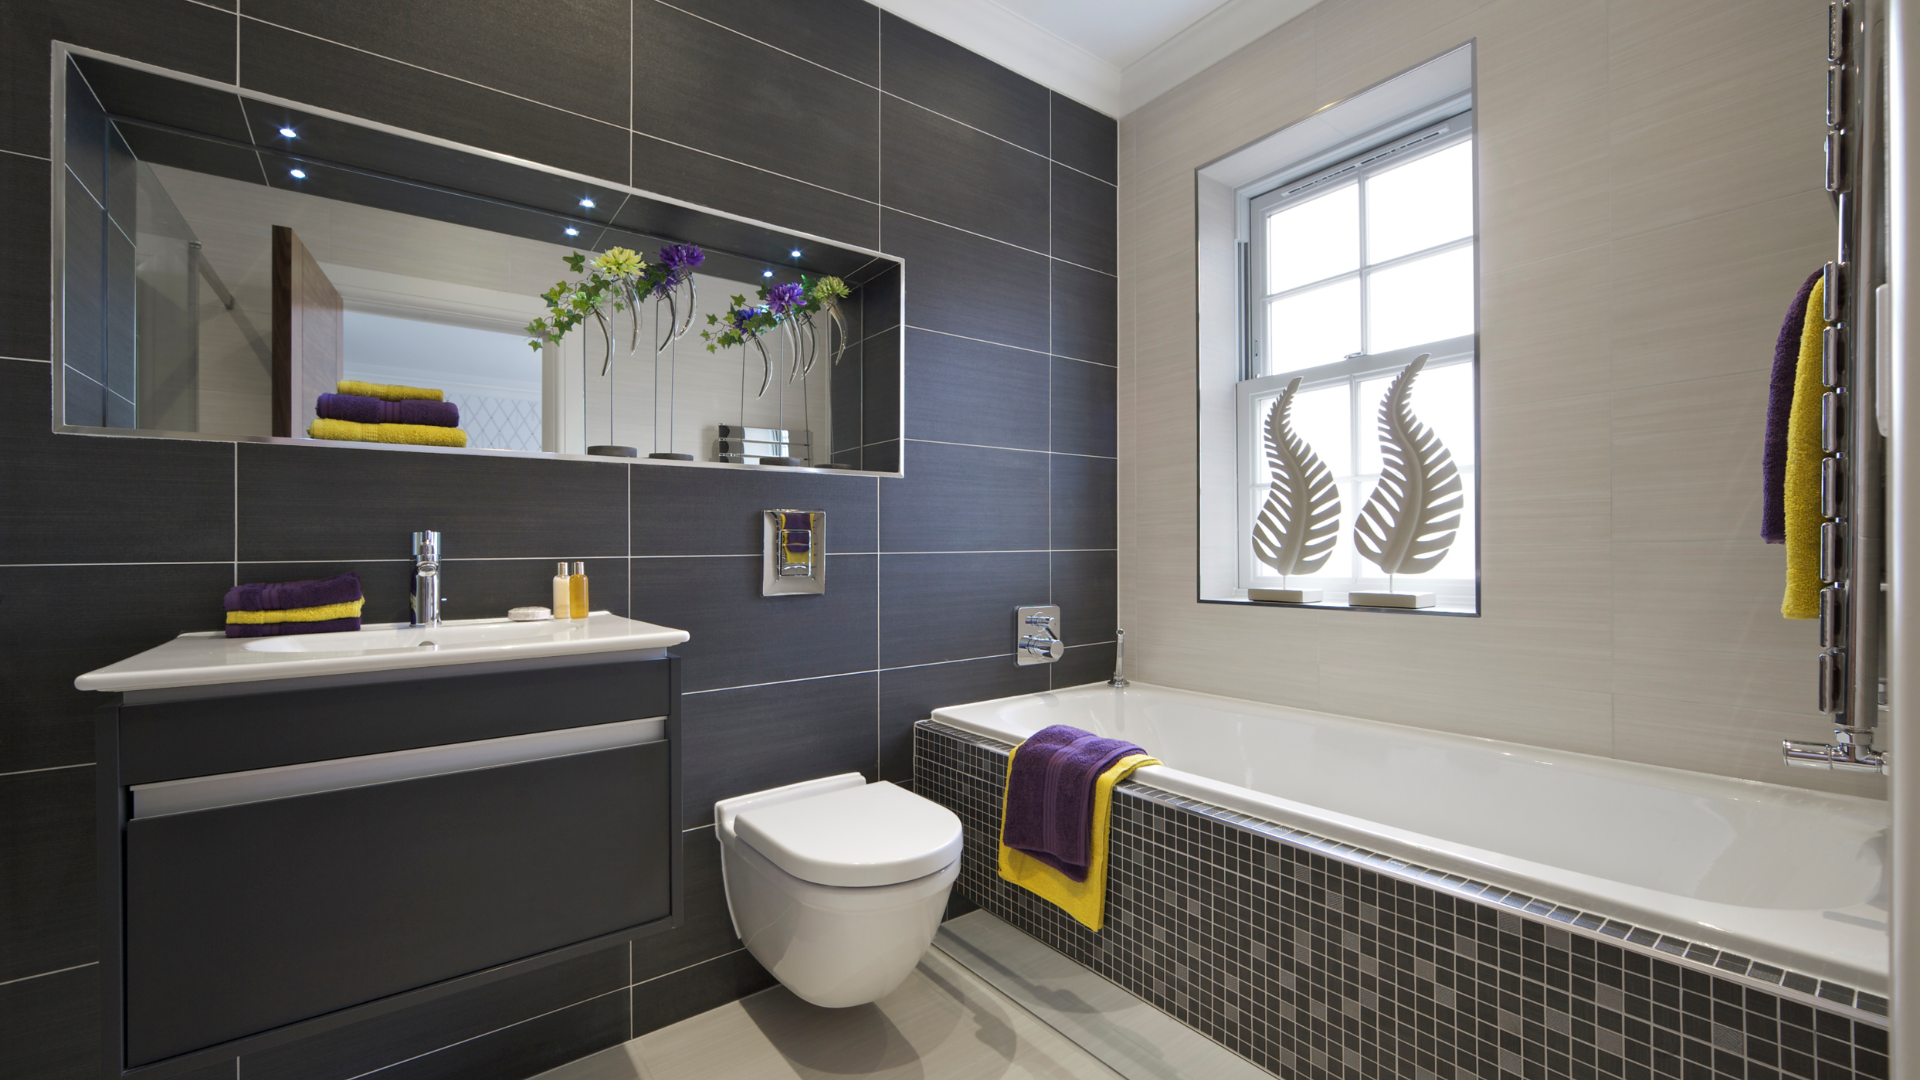
Table of Contents
It is relatively easy to lay tiles in the interior, but the technological procedure must be followed precisely. First, a completely flat surface is necessary. It would help if you bought the best-rectified tiles, the edges of which are mechanically ground to a right angle, and the dimensions of each tile are accurate (the same). Rectified tiles are an order of magnitude better (easier) to work with than only calibrated tiles. Yes, it will be more expensive, but it will be worth it. However, we still have a lot more to do.
We lay tiles on floors, most often in sanitary areas (bathroom, toilet), corridors, technical rooms and kitchens. However, an appropriately chosen tile suits a garage, balcony, loggia or terrace. The advantages of high-quality tiles are relatively long life and durability. However, for the tiles to serve well and last as long as possible, it is not only necessary to choose a suitable type, especially in the sense of maximum resistance, but we must also lay the tiles correctly. Let’s imagine laying the tiles step by step.
Tile selection and delivery control
In interiors, we don’t need tiles with the highest frost resistance. On the other hand, the main feature of such tiles is non-absorption or low or minimal absorption. And we need such a feature in bathrooms, toilets and kitchens in the space around the kitchen counters. In addition, the insurance waterproofing of the base, extended even a bit on the wall, is also worthwhile. Simply in order not to heat the lower floors in case of an accident or to reduce the risk of such damage to a minimum. Insurance is a good thing, but prevention is even better.
What interests us most about interior tiles is their abrasion resistance. Especially in corridors, hallways and kitchens, high demands are placed on the durability of the tile surface. All the necessary technical data about the tiles can be found in each package. The best option is the so-called rectified tiles. Rectified tiles are accurately cut (calibrated) to the exact size after firing. We can then lay the rectified tiles on a minimal joint. And be careful; applying thoroughly without a joint is nonsense. It’s simply not possible. We’ll explain why below.
If we have already selected and ordered the tiles, it is necessary to check the delivery status of this building material. Before laying, containing the entire supplied series is a good idea. We check the tile’s quality, shade and dimensions by comparing the tiles. At the same time, we compare tiles from different packaging (boxes). We often find that although some packages do not need to be returned, we have to mix tiles from multiple compartments so that the tile surface does not differ in colour in several places. Finally, mistakes can happen, and some boxes may have different tiles. And please note that goods can only be claimed before installation.
All essential information (product identification) should be listed on each package (package). Catalogue name, format (dimension), quality, tint, calibration, date of manufacture and more. Above all, the quality of the product is then defined by the standard. If you find more than five defective tiles out of 100 in the delivery, such decay can no longer be tolerated. If you want genuine quality tiles and didn’t knowingly order inferior goods, demand and check the quality! Suppose we find more significant differences in the tiles’ colour and calibration (dimensions) in the delivery. In that case, we can discuss different products unsuitable for laying on the same surface.
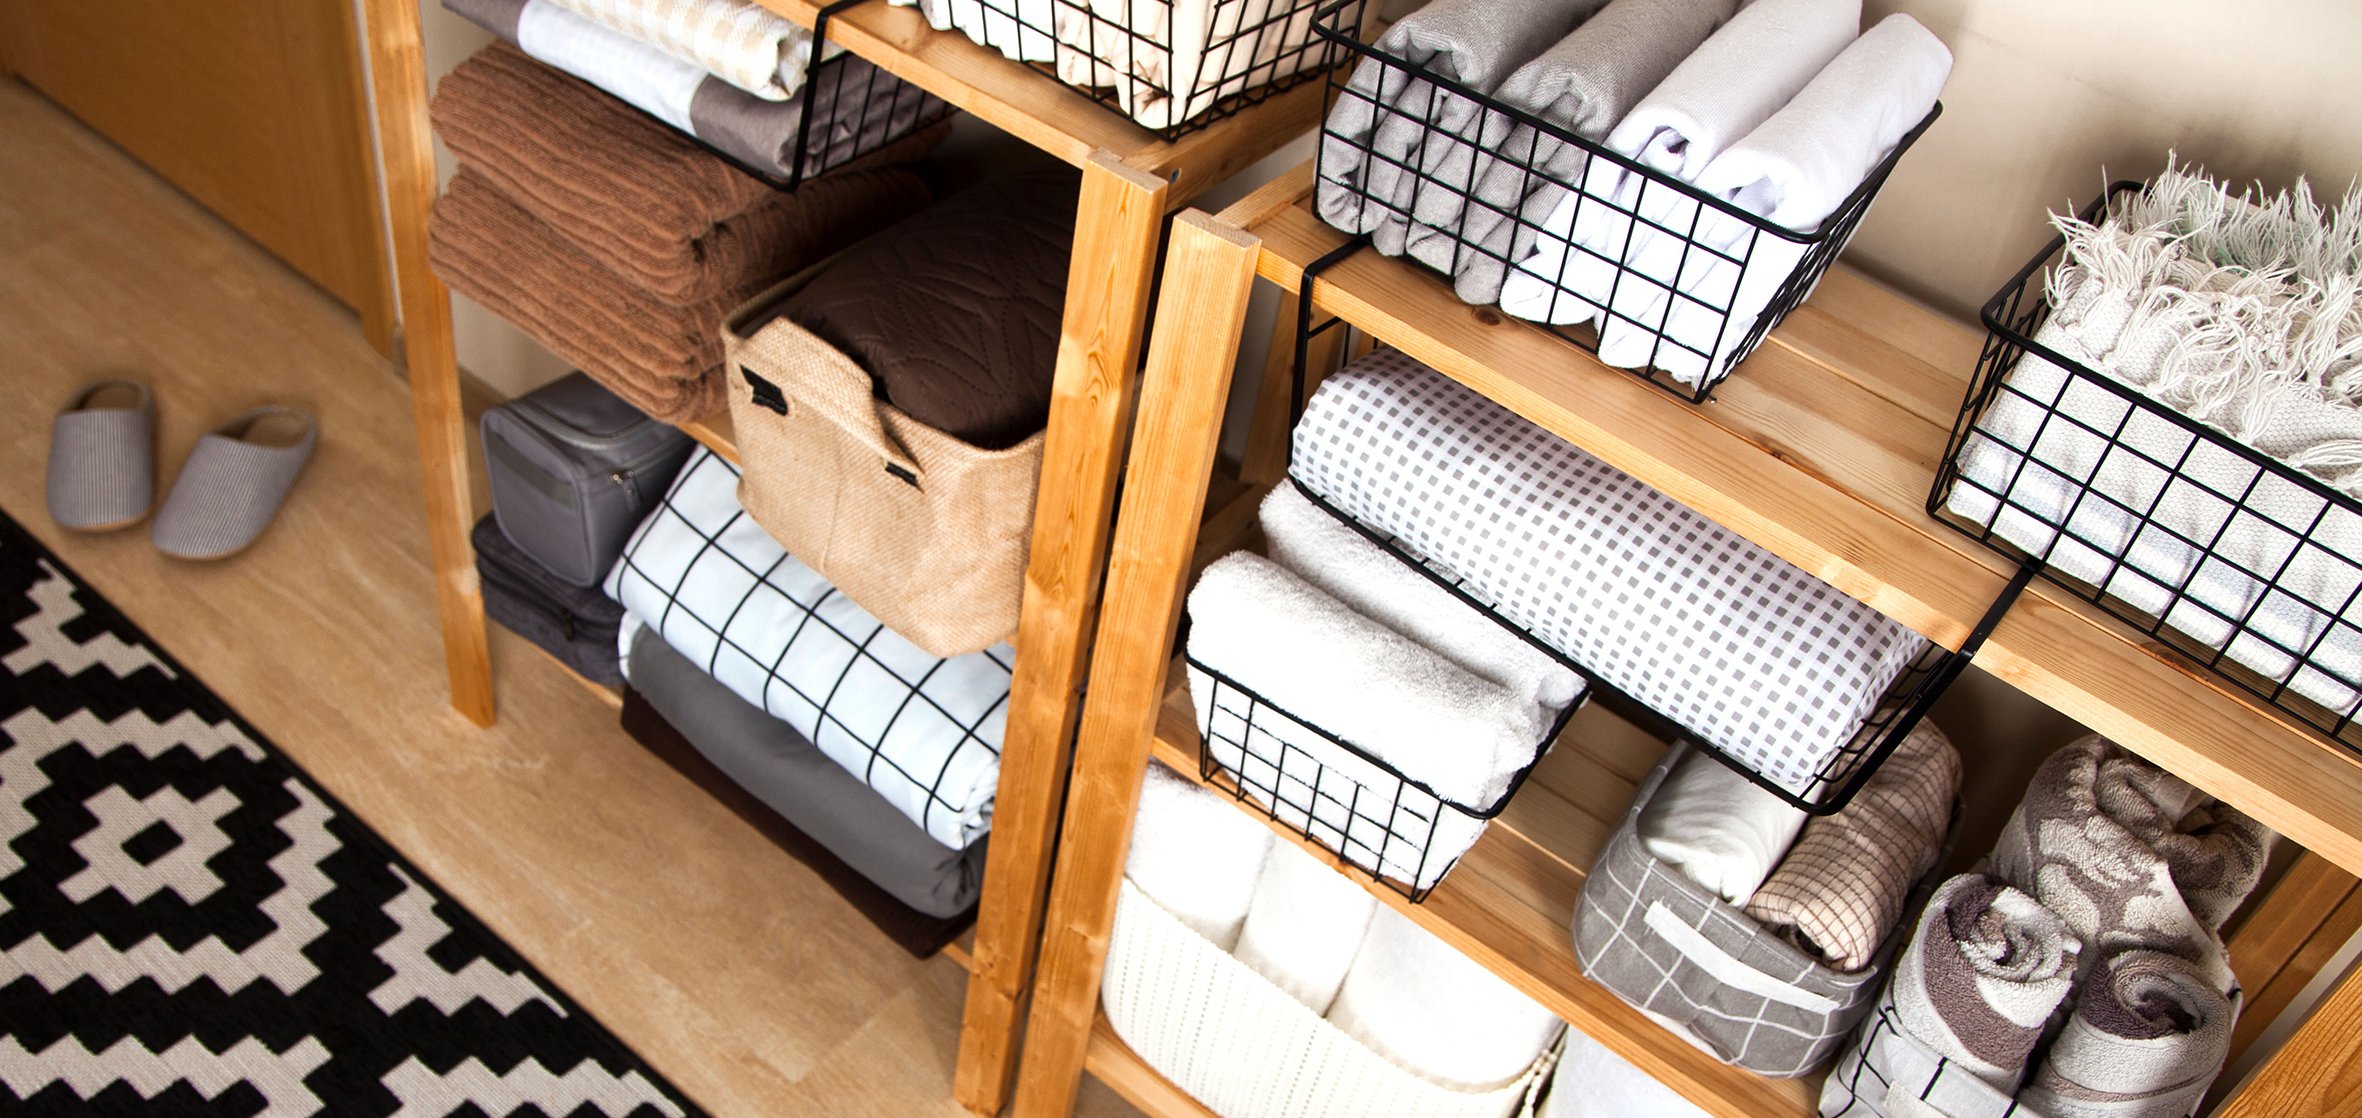
Necessary materials and tools you need
With the selection of tiles, we also choose a suitable adhesive and then mix it with water in the right proportion. If you expect more vibrations from the floor, you must pay extra for a flexible material; the standard could crack. The same goes for grout.
We also select suitable tools, especially levelling clamps, wedges and pliers, and work with clamps and wedges (levelling system). Anyone with a bit of money under his hat will invest in these properties at the expense of cheap plastic crosses, they only define the joints, but we level the surface with a levelling set. Constantly.
In addition, it is usually necessary to purchase a waterproofing trowel, rubber asphalt penetration (we generally choose odourless penetration), and a self-levelling compound. And the tools? We need a lot of things. We need something to cut and grind the tiles; we also need a rubber mallet, spirit levels, including a two-meter level, which we use to check the flatness of the laid surface, a notched trowel for applying adhesive, a mixing attachment for a drill, possibly a straight mixing machine for cement, a mason’s spoon, a spatula and, finally, some cloths for the need to wipe the adhesive from the pavement. It would help if you also had some tools to apply the grout (plastic or rubber trowel, rubber trowel, and ordinary foam sponges).
TIP: To easily remove the original tiles, use a rotary hammer. Read on to learn how to choose the right rotary hammer.
Preparing the surface
Preparing a solid, solid, and even surface free of dirt and grease is essential for tiles. Never rely solely on the fact that the area is newly concreted. It is necessary to check the flatness of the substrate and, if necessary, scoop the surface at least in places and let the scoop dry thoroughly before laying the tiles. Equally important is the mutual perpendicularity of the surfaces. Be sure not to try to smooth out unevenness with adhesive. The maximum possible layer thickness is directly determined for them. In the same way, it is necessary to adjust any non-cohesive underlying layers.
In many cases, it is best to first trowel the concrete base, then thoroughly penetrate it with rubber asphalt penetration (in interiors, we generally choose an odourless material) with an overlap of at least 5 cm on the walls (in bathrooms, penetration and waterproofing are sometimes applied up to the ceiling). Then we apply the screed waterproofing, which is usually applied twice, i.e. after the first application, when we thoroughly mix the material, the waterproofing must dry, and then we apply it a second time to ensure the waterproofing layer. Finally, we use a self-levelling compound to achieve a perfect flatness of the substrate. Yes, it is laborious, expensive and takes a long time with technological breaks, but the result is excellent. And the safety of the floor from water leaks too. The correct application of a self-levelling compound is particularly challenging; following the prescribed procedure and having experience in this activity is necessary. If you don’t have them, at least outsource this job to someone.
Let’s start with tiling
If we have thoroughly calculated the space and thought out the laying, we start by laying the entire tiles from one of the room’s corners. The corner that is most visible when entering and staying in a room. Therefore, it is necessary to imagine the future placement of the furniture. We always end the strips with blanks on opposite sides. The fundamental rule is to lay the tiles only after the tiles on the walls have been applied and jointed. Never do the opposite.
Tiling the floor is the last step, which is followed only by the installation of sanitary items and the placement of furniture. No other construction craftsman may enter the premises after the walls have been lined and the tiles have been laid. Even the ceiling soffits and other craft work must be completed by now. Likewise, it must be painted before laying the tiles. It always starts with the ceiling, continues with the walls and ends with the floor. Even the least educated bricklayer will tell you that. After grouting and drying the joints, the area is thoroughly cleaned, and it is done.
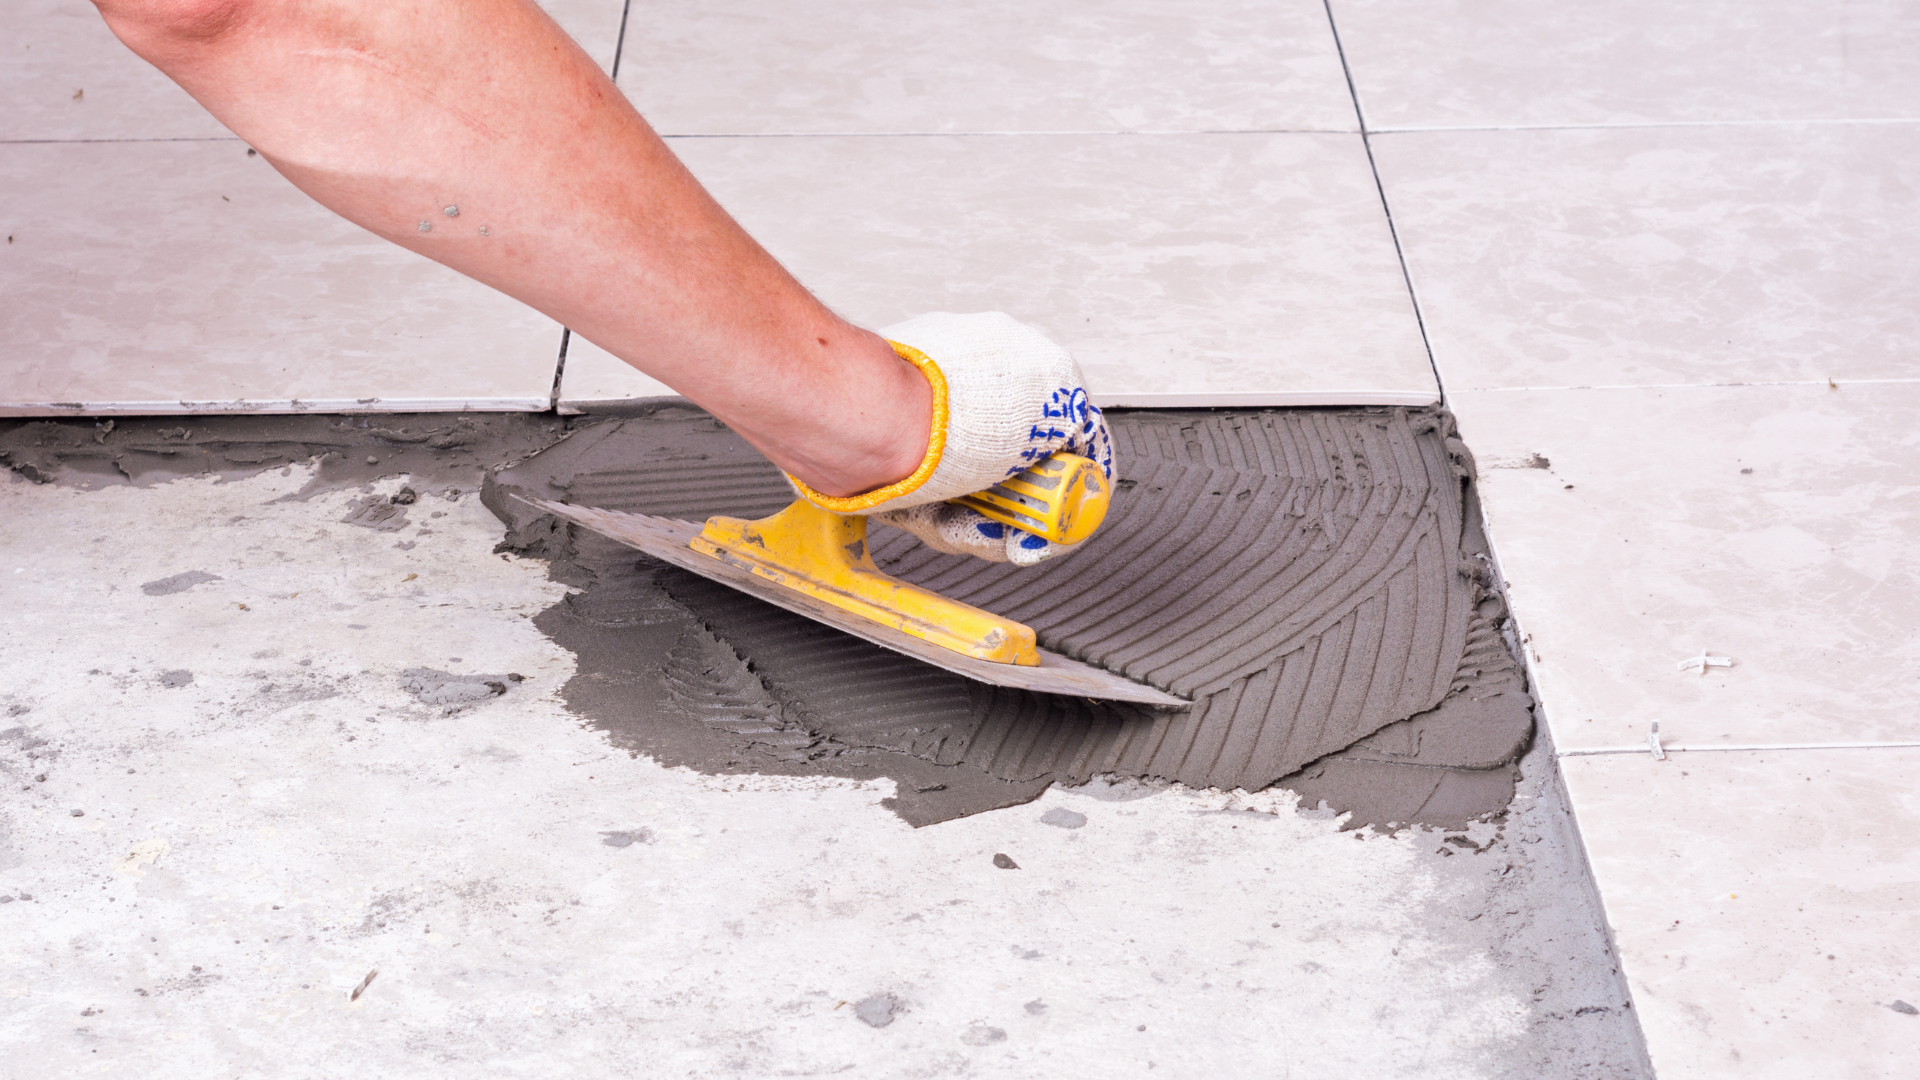
The tile is laid in an adhesive that is consistently applied in the same layer on the substrate. We always use just enough adhesive to consider the tiles as their proper consistency. Immediately after laying, we thoroughly clean each tile from the adhesive on its face. In the same way, when grouting, we need to know whether the grout can permanently damage (discolour) the tile. If so, it will be necessary to protect the surface of the tiles with, e.g. cardboard. The problem occurs most often with unglazed tiles.
When laying tiles, use finishing strips to cover the transition between tiles and tiles or plinth tiles or tiles and walls.
The biggest problem for most do-it-yourselfers is making the blanks. Tiles are even more difficult than tiling, and if you need to learn how to use a cutter properly, use a diamond blade (angle grinder) instead. Fix the cut tile properly, measure the cut accurately, draw a line on the tile and cut.