Keeping Your Drying Racks in Prime Condition: Effective Maintenance Tips.
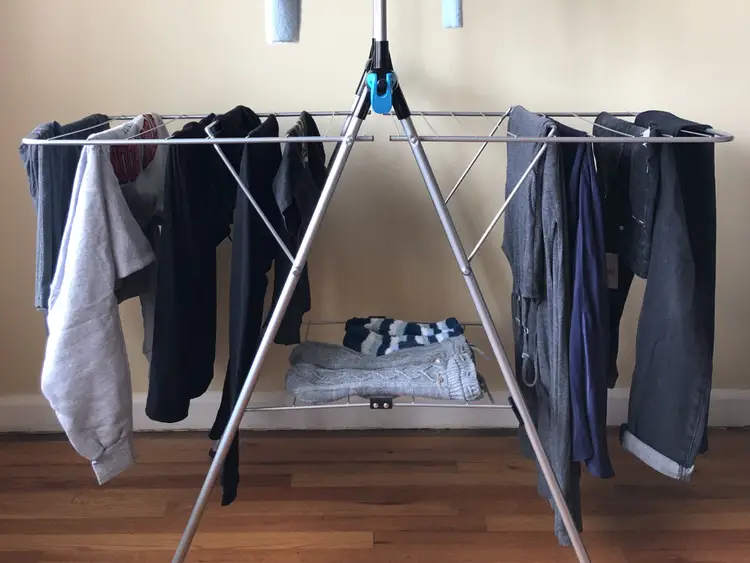
Table of Contents
It’s true: simple home essentials like drying racks often get overlooked when it comes to maintenance and keeping them in shape for durability and aesthetics. However, to ensure they stay in good shape for years to come, it’s essential to maintain them properly.
In this blog post, we will share some tips and techniques on effectively maintaining your drying racks, with a special focus on the role spray painting can play in this process.
1. Regular Cleaning
The first step towards maintaining your drying racks is to clean them regularly. A simple dusting or wiping down with a damp cloth can go a long way to maintaining their appearance and functionality.
For tougher stains or residues, a mild detergent or vinegar solution could be used. Be sure to rinse thoroughly and dry them completely to avoid rusting.
2. Prevent Rust Formation
Iron-based drying racks can rust over time, especially in humid conditions. This can lead to stains on your clothes and reduce the life of your rack.
One way to prevent this is by using a rust protector spray, available at most hardware stores. This will form a protective layer over your drying rack and keep it rust-free.
3. Spray Painting
Surprisingly, one of the best ways to maintain your drying racks, especially if they’re metal or plastic, is through spray painting. Not only can this restore the appearance of an older rack, but it also offers a layer of protection against elements like rust, weathering, and chipping.
When you notice your rack is starting to look a little worse for wear, a fresh coat of spray paint can be just the thing to rejuvenate it.
Start by cleaning the rack thoroughly and allow it to dry. Next, choose a spray paint that is suitable for the material of your drying rack (e.g., metal or plastic spray paint).
Make sure it’s a paint formulated for outdoor use, as these types usually have rust-resistant properties.
To spray paint your drying rack, you’ll want to be in a well-ventilated area, ideally outdoors. Lay down some newspaper or a drop cloth to protect the surrounding area from any paint overspray. Always wear protective gear, such as gloves and a mask, to protect yourself from the paint fumes.
Once you’re ready, spray a light coat of paint onto your rack, keeping the can moving to avoid drips or pooling.
Let the first coat dry according to the instructions on the can before applying additional coats. Two to three light coats are often enough to provide smooth, even coverage and the required protection.
4. Regular Inspections
Apart from cleaning and spray painting, it’s also important to regularly inspect your drying rack for any signs of wear and tear.
Check for loose screws or bolts, broken parts, or any signs of rust. Regular inspections will help you catch minor issues before they become significant problems, extending the lifespan of your rack.
5. Protect Your Drying Racks from Extreme Weather
If possible, try to keep your drying racks out of the harsh elements. Extreme heat, cold, or moisture can all impact the lifespan of your drying rack.
If you can’t avoid these conditions, taking steps to protect your rack, like using a waterproof cover or storing it indoors when not in use, can help.
6. Managing messes and stains
If you see signs of spills and stains on your drying rack, you can try to polish up the surface with a sprinkle of baking soda. Use a damp sponge to scrub the area thoroughly until you get to the original color of the rack.
Not only will this help with removing the stains, but it will also scour off odor-causing bacteria from staying on the surface.
Summary-how maintain your drying rack
In conclusion, with a little bit of care and maintenance, your drying racks can stay in tip-top shape for many years.
Spray painting, in particular, can be a game-changer, transforming an old, rusty rack into a like-new piece that not only looks great but also offers long-lasting protection.
Make these practices a part of your routine, and you’ll ensure your drying racks remain a sturdy and reliable part of your laundry process.