Learn How To Grow Hellebores in Pots or Containers
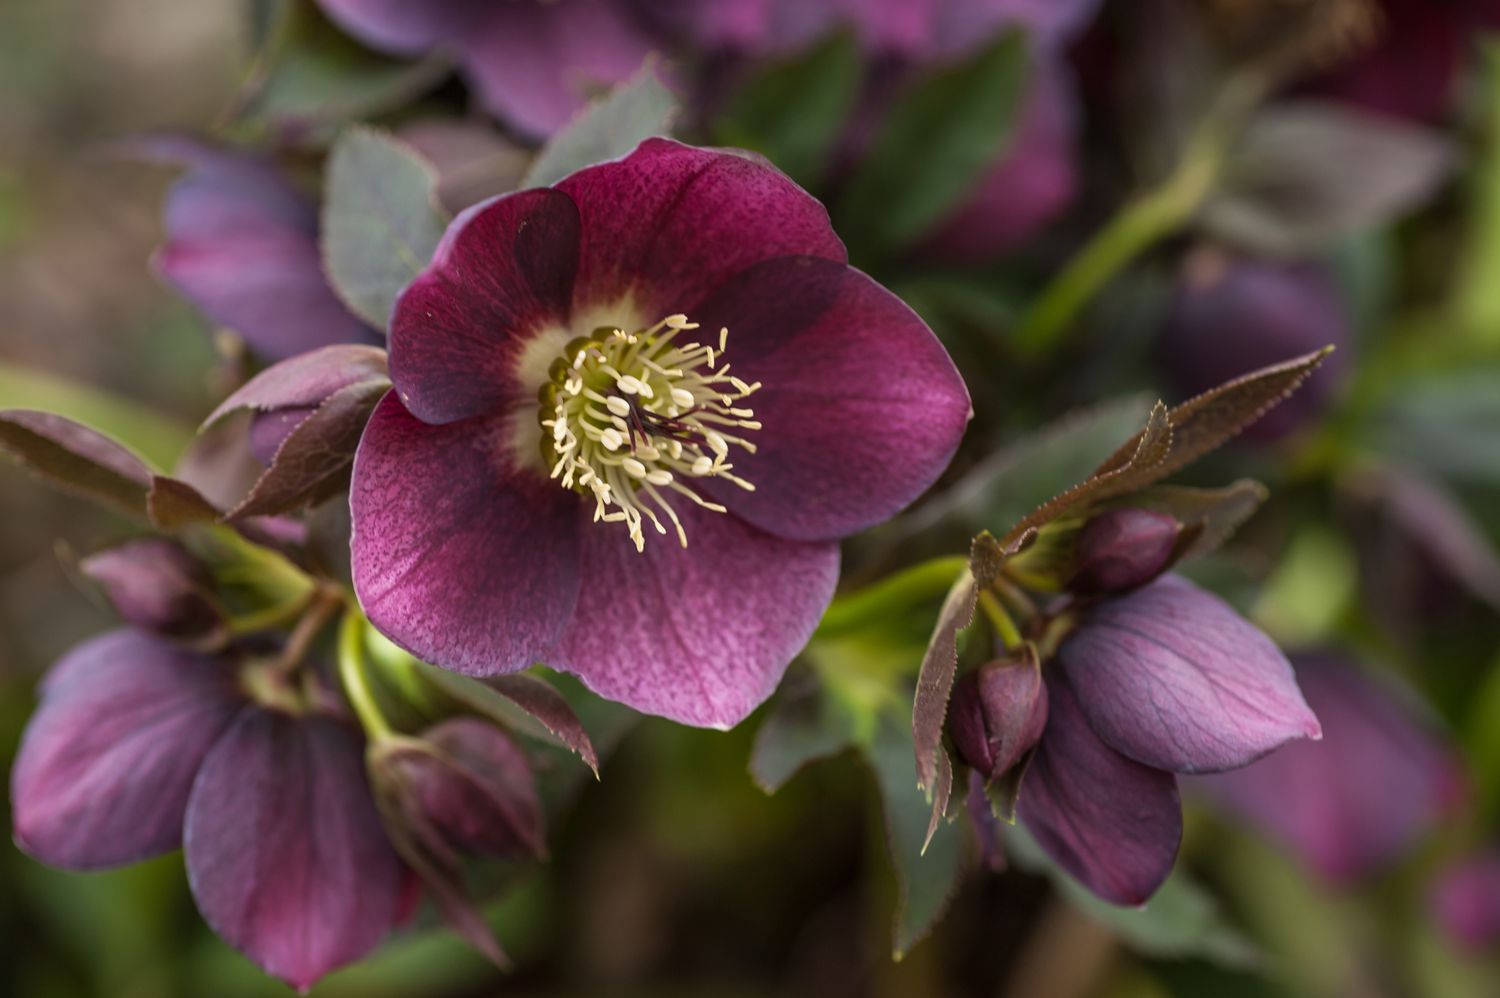
Table of Contents
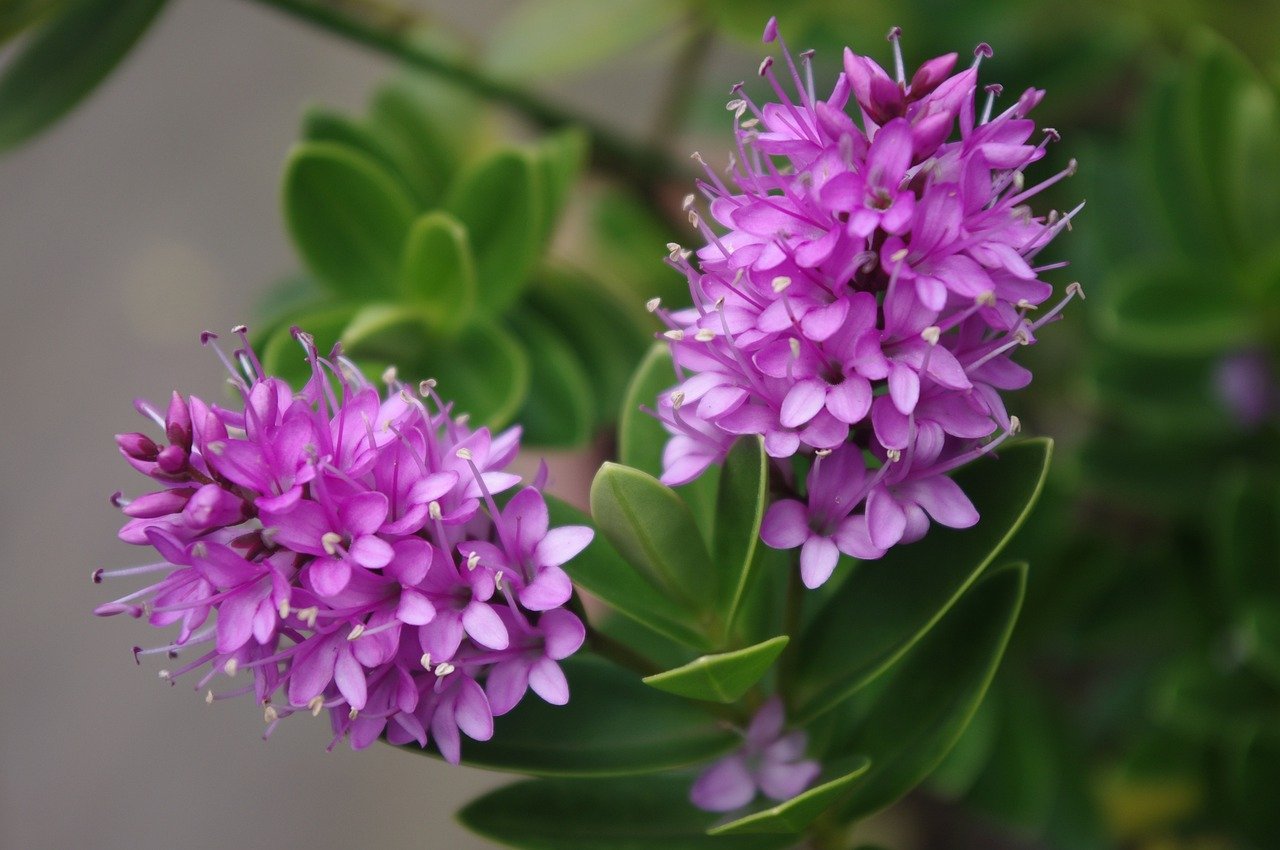
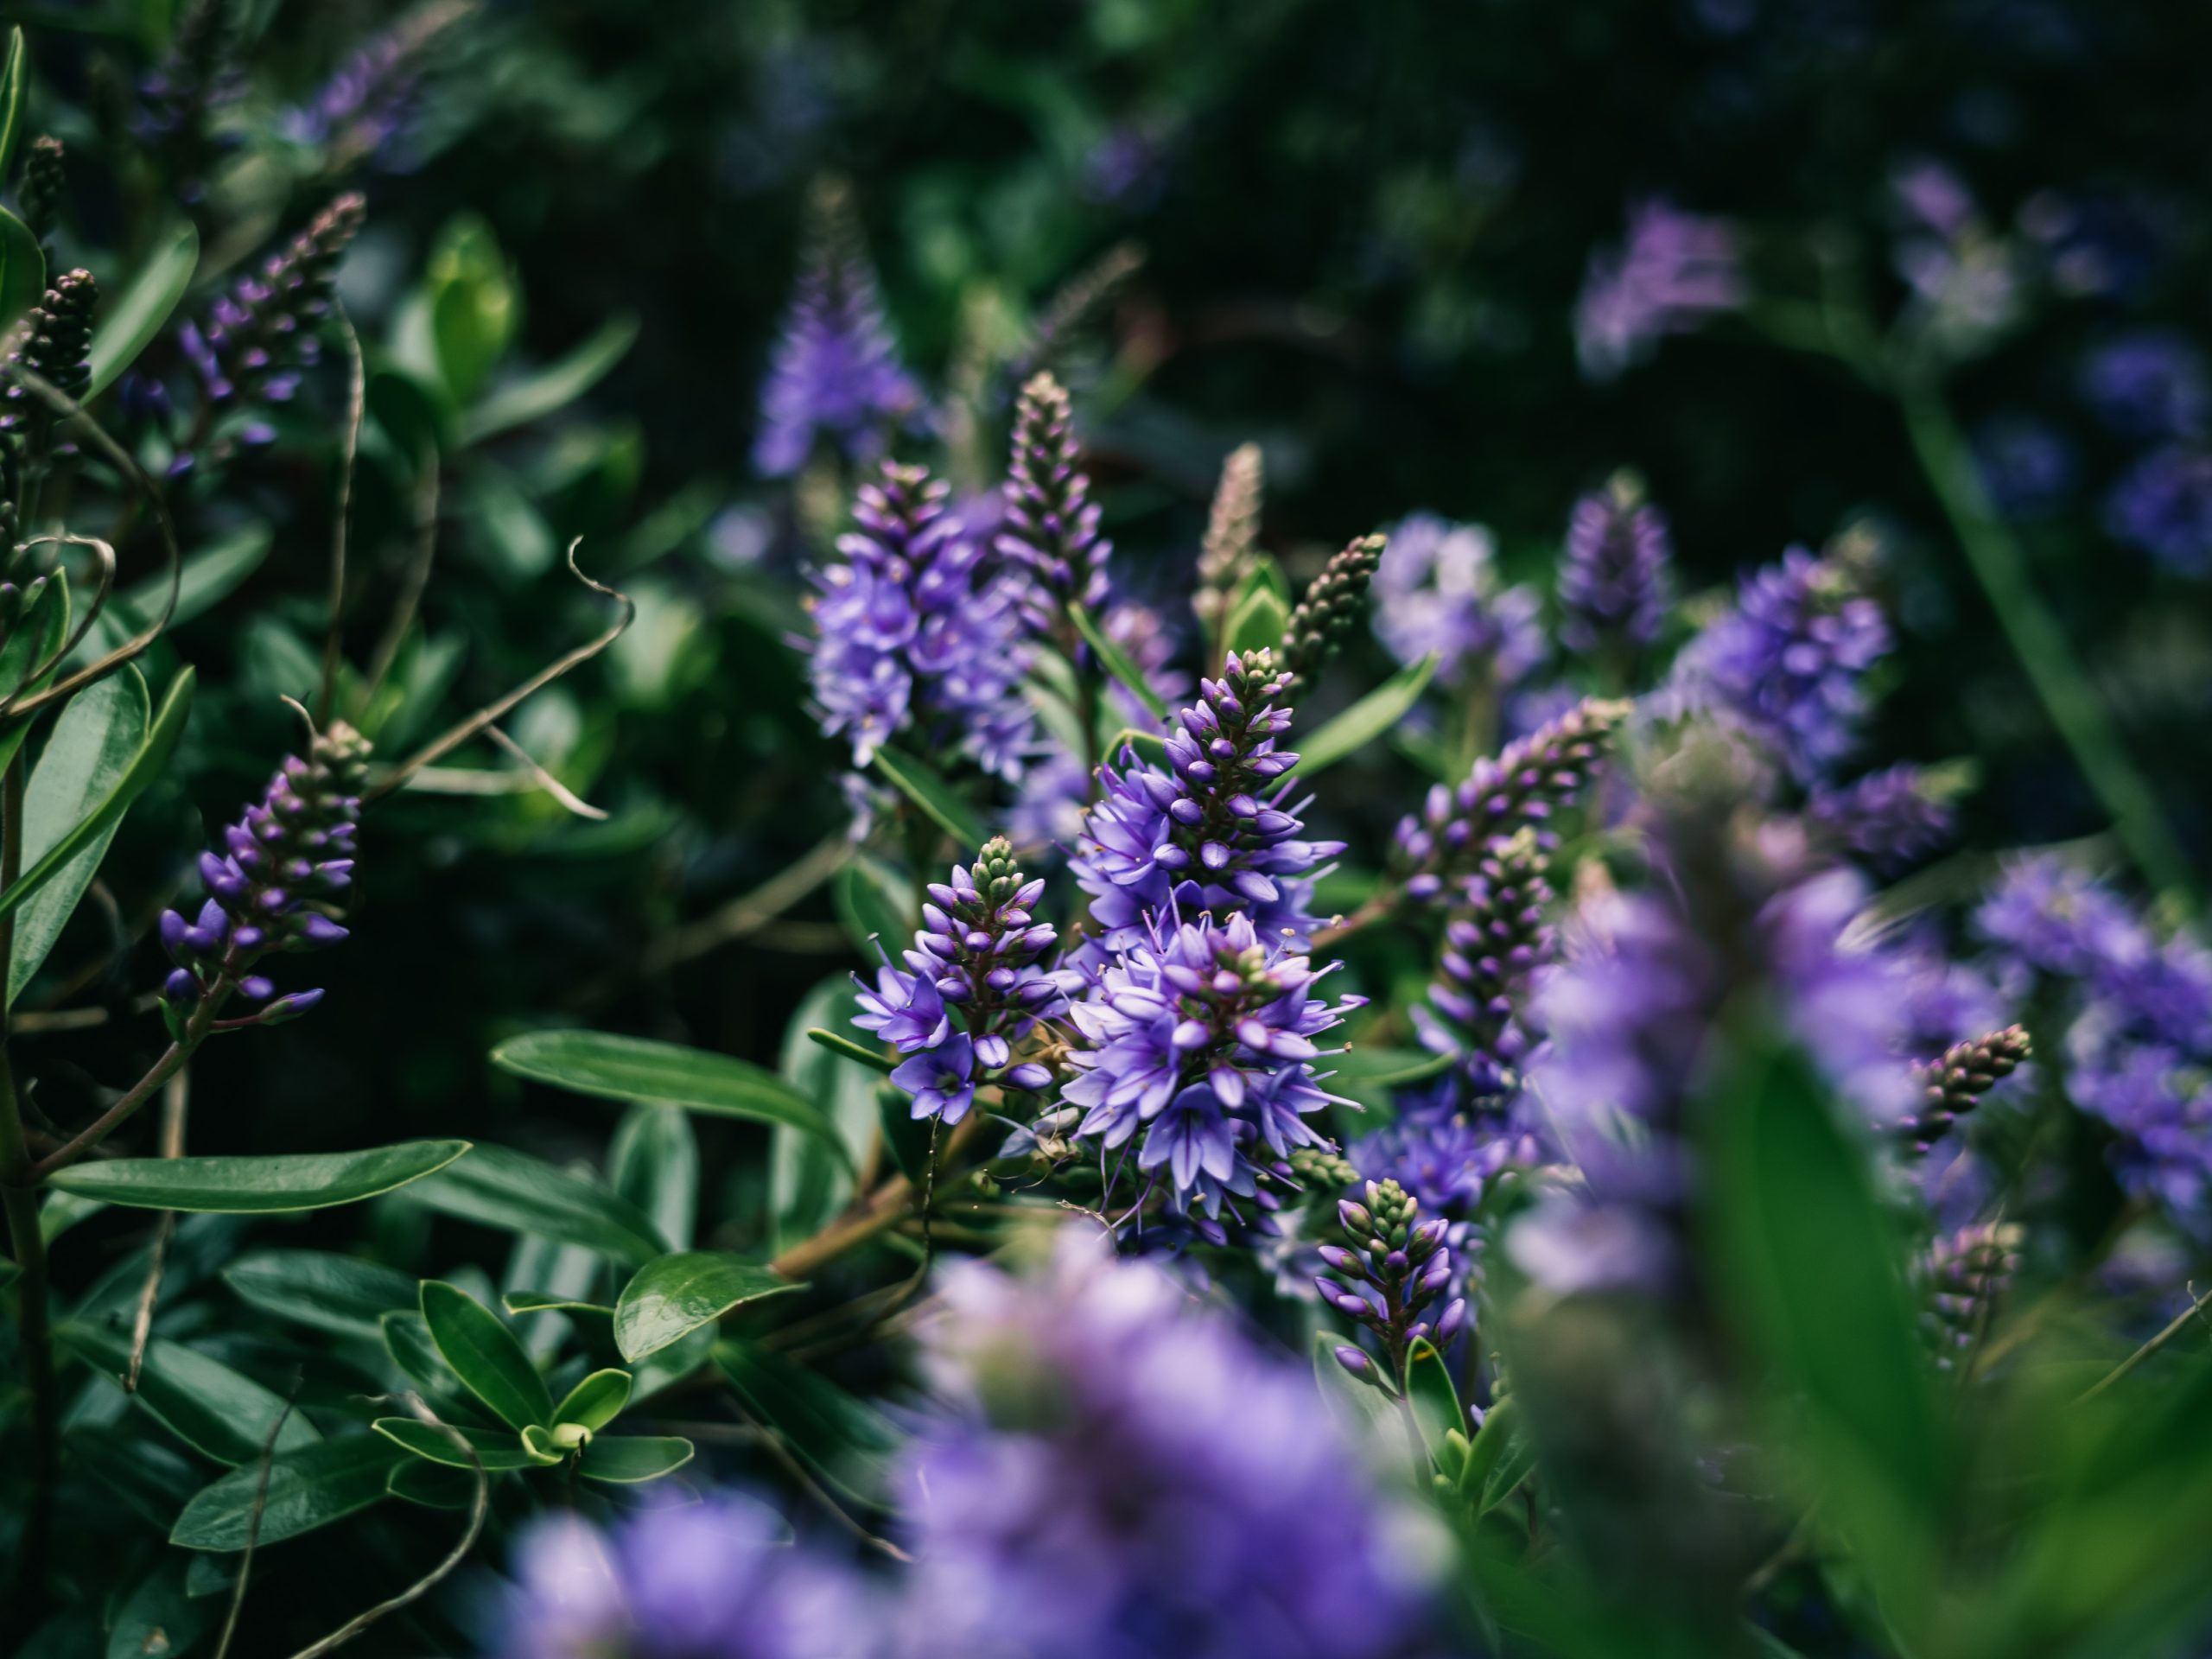
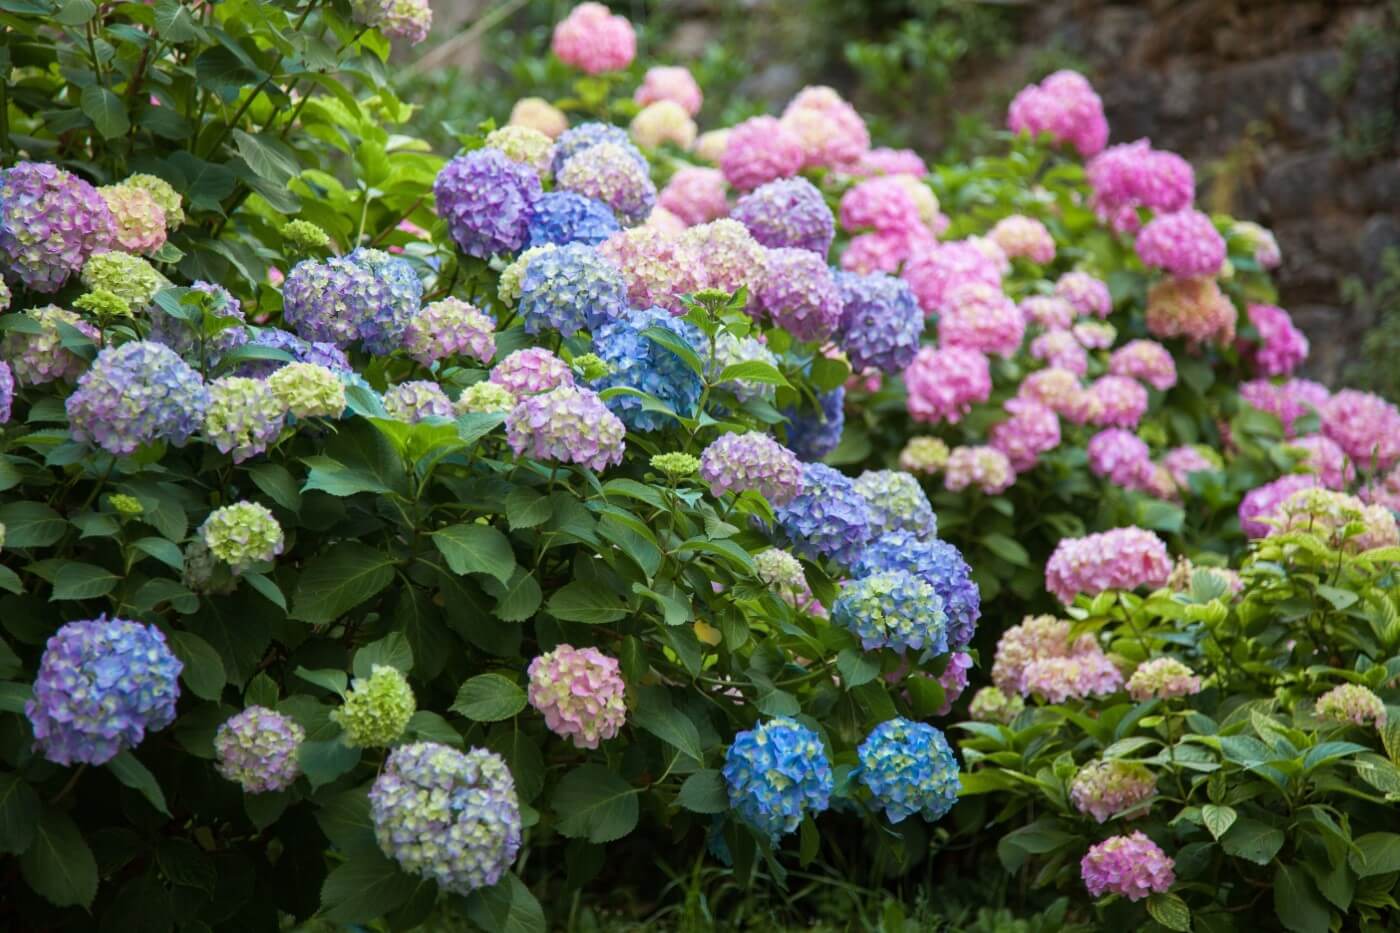
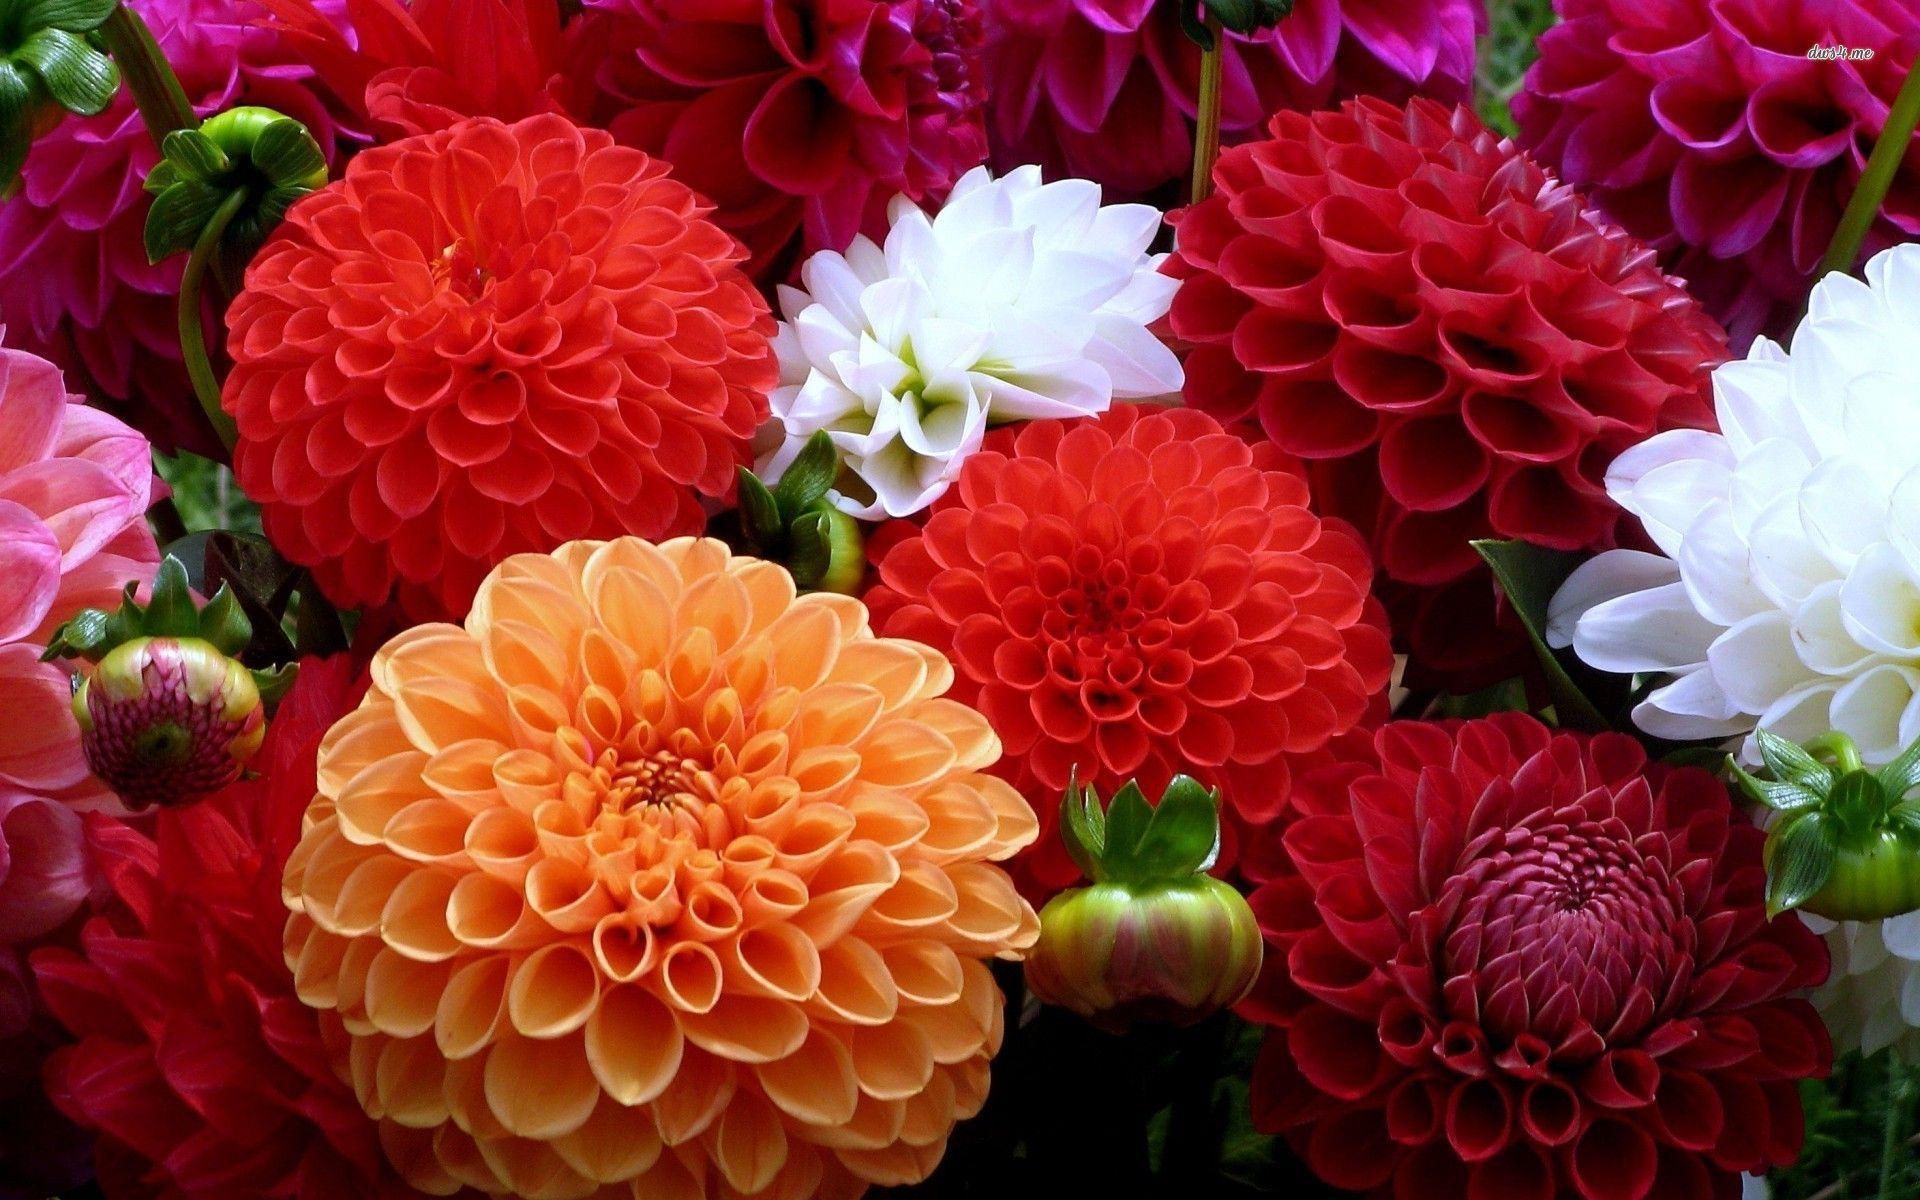
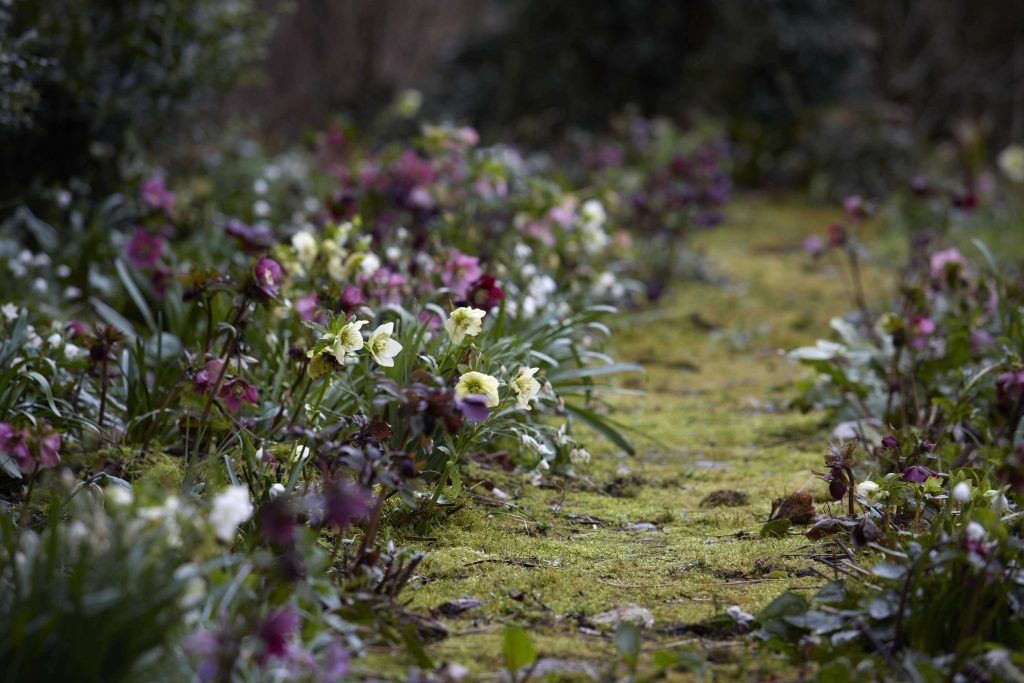
Hellebores are hardy perennials that bloom in winter and spring, boasting attractive evergreen foliage. The 5-petal flowers of these plants bear a striking resemblance to those of buttercups, albeit in a much larger size and an incredible range of colour combinations. These flowers come in an astonishing array of colours, including everything from black and the colours of the rainbow to pure white, with the only exception being blue.
Although Hellebores generally thrive in shady areas, they’re highly adaptable and can tolerate a wide range of conditions, except waterlogging and prolonged droughts. One of the benefits of planting Hellebores is their ability to offer a stunning flower display that lasts throughout mid-winter and late spring.
Wondering if it’s possible to grow hellebore in pots or containers? Look no further! You’ve come to the right place. We’ve got some great tips for you to grow hellebores in pots!
Growing Hellebores in Pots
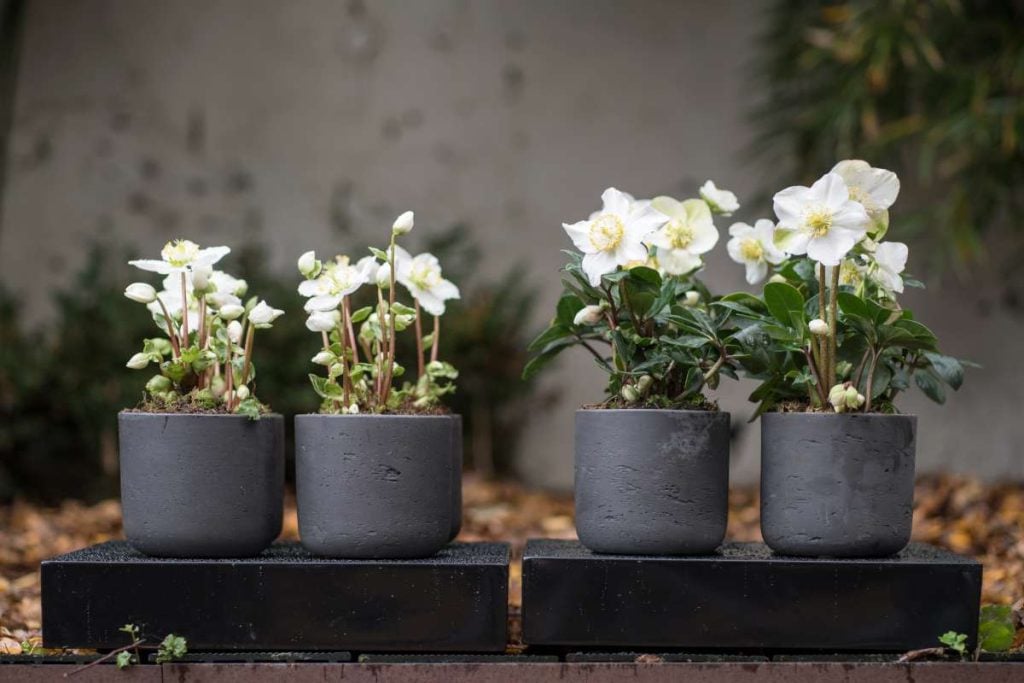
Hellebores are a good choice for a container garden and can also be grown as houseplants for decoration over the winter months. By providing adequate care, you can successfully maintain the growth of these plants in containers for a longer period of time.
Hellebores can be used for winter displays, but they typically thrive best in the ground for a longer period of time. If it’s possible, it’s best to use them for winter displays and then ultimately transplant them into your garden.
You can keep more delicate Hellebores in containers for good, allowing you to bring them indoors or under shelter when it’s chilly outside.
How to Grow Hellebores in Pots/Containers
Now that you are aware of the conditions required for these plants, let’s delve deeper into the process of growing hellebore in containers. For best results, start with a smaller container and gradually move up to a larger one. A container ranging from 1 to 3 gallons in size is ideal. As already mentioned, these plants require an ample amount of space.
- To begin, it’s important to find high-quality soil that’s rich in nutrients. You need to provide your plant with premium soil and compost. This will guarantee that your plant flourishes during its initial growth stages.
- It’s essential to select a container and soil that can drain well. This step is important. Hellebores need well-draining soil. These plants prefer to be kept in moist soil but cannot endure long periods of stagnant water.
- Begin by placing a generous amount of compost into the container. This will provide a nutrient-rich foundation for the plant. Another option you can consider is using a slow-release fertilizer. Now, it’s time for you to transplant your hellebore seedling into a larger container. Gently remove it from the starter container and rehome it into the new one.
- Fill the remaining portion of the container with soil. Make sure to position the base of your plant approximately one inch below the rim of its container. By providing ample space, both the container and the soil can better absorb the water during the watering process.
You can keep these plants in smaller pots for around a year until they mature and are ready to be transferred to the ground or a bigger container where they will flourish.
Best Soil For Hellebores in Pots
To ensure healthy and vibrant container gardens, it’s essential to use quality soil which can meet all purposes. Incorporating compost into the soil just before planting or applying it as a top layer in the following years can significantly enhance the growth of your garden.
Caring For Hellebores in Planters
Hellebores are not fond of having their roots disturbed. It’s best only to repot your plant when it has outgrown its current container and its roots are filling up the space. Trim away any dead or damaged leaves. Water your plants on a consistent basis and add fertilizer once a year. Place the plant in a sunny spot throughout the winter and spring seasons. But make sure it is in a much shadier location when it is very hot.
1. Watering Hellebores in Pots
If there’s no rainfall, make sure to water your Hellebores grown in containers at least once a week during summer. If you’re considering using porous pots such as unglazed clay, it’s important to note that they will tend to dry out more rapidly than glazed ceramic or plastic pots. Make sure that the soil remains adequately moisturized, but it must not be wet. You don’t need to water your outdoor potted plants during the winter months. For best results, let the top layer of soil dry out completely before watering again.
2. Fertilizing Hellebores in Pots
To ensure your hellebore grows well in a container, it’s essential to mix compost or powder fertilizer or a well-balanced granular into the soil during the initial planting. Use liquid fertilizer either in the spring or fall. Follow the instructions provided on the product’s packaging. Avoid over-fertilizing your Hellebores, as they can cause root burn.
Winter Care For Hellebores in Pots
Hellebores are self-sufficient during winter when planted outdoors and require minimal to no maintenance. Make sure to use a container that is approved for freeze-thaw cycles. To give your plant a neat and polished appearance, trim any damaged leaves during the late winter season.
1. Pruning Hellebores
The best time to prune Hellebores is during late winter or early spring, just as the new growth starts to appear. This is when the plants are most receptive to pruning. As the plant continues to flourish, it will produce small new stalks that will be encircled by a ring of larger, older leaves that may appear slightly weathered or wilted from the chill of the previous season.
It is important that you prune these ageing and defective leaves to provide sufficient space for fresh growth. If the leaves are still aesthetically pleasing and don’t show any disease symptoms (check the undersides as well), there’s no need to trim them down. In fact, you can leave them until fresh leaves grow. But if you don’t take action in time, it can be challenging to differentiate between the new and old growth, making it much harder to separate later.
Trimming off excess foliage not only enhances the appearance of hellebores but also accentuates their beautiful blooms.
2. Hellebores Deadheading
Keeping your garden looking fresh and vibrant is essential, and deadheading can play a primary role in promoting healthy plant growth. Don’t let your flowers wither away – regular deadheading can help ensure they bloom beautifully all season long. Maintaining Hellebores is a breeze: you can easily remove spent blooms by gently snapping the withered stems at the base before they scatter seeds. While there are some exceptions, it is wise to respect and leave alone certain plants like the Bear’s Foot.
3. Potted Hellebore Drooping
Don’t worry if your Hellebores are drooping; it’s completely normal in most cases. Hellebores have a beautiful characteristic of their flowers hanging down at a precise angle of 45 degrees. Furthermore, Hellebores possess a defence mechanism against extreme cold. They tend to droop when the temperature drops below their comfort level.
4. Feeding Hellebores in Pots
Properly nourishing hellebores grown in pots is crucial to their overall health and vitality. It’s important to dilute your plant food with the appropriate balance of nutrients. You need to begin feeding your plants during early spring and then continue every three weeks until the arrival of fall. To ensure that the Hellebores plant doesn’t become root-bound, it’s essential to re-pot it every couple of years.
5. Overwintering Hellebores in Pots
If you intend to place your potted plants in the ground, it might be wise to keep them indoors until winter has passed. This could increase their chances of survival and ensure that they flourish once they are transplanted. Hellebores are quite hardy and can usually tolerate temperatures as low as -10 degrees Celsius, making them a great option for over-wintering in a moderately warm place like a garage or storage room.
If the weather is not too cold, it’s possible to take them outside during the day and then bring them back indoors at night.
Do Hellebores Do Well in Pots?
Hellebores are an excellent choice to grow in pots. To ensure these exquisite flowers flourish to their utmost potential in pots, it’s crucial to prioritize their initial growth and development. To begin, you need to provide them with nutrient-rich, well-draining soil.
Hellebores planted in pots require a huge amount of sunlight. Whether you choose to keep them indoors or outdoors, these plants need bright sunlight with just a touch of shading. When the growing conditions are just right, Hellebores can flourish for several years, producing a stunning display of fresh blossoms with each passing year.
Suitable Pots for Hellebores
When selecting a container for your hellebore, keep in mind that these plants aren’t particularly fond of being moved around. Therefore, it’s better you opt for a container that will allow for minimal disturbance to the plant during transplantation.
You can choose a spacious container for your plant, as it can offer long-term comfort and eliminate the need for frequent replanting.
The depth of the container is important as it directly impacts the root growth pattern of the plants, which extends downward.
Make sure the container has proper drainage at the base to grow the plant successfully. Although they thrive in a fertile and moist potting mix, excessive water or sogginess can be damaging to their growth.
Hellebore Variety Suggestions
Some of the varieties of Hellebore which are container friendly are Hellebore ‘Champion’, Hellebore ‘Pewter Leaf’, and Hellebore ‘Pink Frost’.
When to Plant Hellebore
You should plant Hellebores between autumn and spring when they’re readily available. You should avoid planting it during the dry summer months.
Hellebores Life After Containers
By the end of spring, the Hellebores that are utilized in seasonal containers would have lost their charm and will no longer be visually appealing. Preparing your containers for the upcoming season of summer blooms is easy! Just take out your Hellebores and transplant them into your garden. This will free up space for new and vibrant plants to flourish in your containers.
Carefully take out the hellebore from its container and transplant it into a shaded area of your garden. Make sure to give it a good, thorough watering and remove any wilted or damaged flowers and leaves from the plant. The process for planting it is the same as if you were planting it directly from a nursery pot.
After planting your hellebore in the garden, make sure to provide it with ample sunlight, water, and nutrients to promote healthy growth and vibrant blooms.
Final Thoughts
Hellebore grows the best when it is planted on the ground, but if you have limited space and want to enjoy them as house plants, you can grow them in containers or pots.
Witnessing Hellebores grow in containers is a beautiful sight to behold. Not only do they complement spring-blooming annuals and bulbs, but they also serve as a fantastic addition to your perennial gardens in the shade. With proper care and nutrients, they can be sustained for a long period of time.
Get your gardening season started by planting them in pots. Ready?
Frequently Asked Questions
How to Collect Hellebore Seeds?
Wait until the seed pods have fully ripened on the plant. Right before they split, make sure to cut them off and set them in a paper bag to dry. By doing so, you’ll discover the small seeds gathered at the bottom of the bag.
Why Are Hellebores So Expensive?
It can take quite a few years, around four or more, for Hellebores to mature in order to bloom. So, they will have to be taken care of, fed, and nurtured until the day they’re ready for delivery at your doorstep.