Learn How To Propagate Lavender from Cuttings in 7 Steps

Table of Contents
Lavender is a fantastic friend to gardeners, flourishing effortlessly in sizable pots. You can mix this versatile plant with a variety of other herbs and flowers to create a truly relaxing ambience. Alternatively, you can plant it in abundance for an awe-inspiring display of vivid and vibrant colour that is sure to impress anyone who sees it. Lavender is used in perfumes, scented candles, etc. It is an incredibly versatile plant with many benefits and uses!
Although lavender is a fantastic option for mass displays, purchasing multiple plants can be quite costly. Propagating lavender can be an exciting and cost-effective activity, especially if you’re planning to set up a large lavender bed or an extensive plantation. By learning how to propagate lavender, you’ll not only save money, but you’ll also enjoy the process of growing your own lavender plants.
In this blog post, you’ll discover everything you need to know about propagating lavender from cuttings and maintaining its health.
Steps to Propagate Lavender from Cuttings
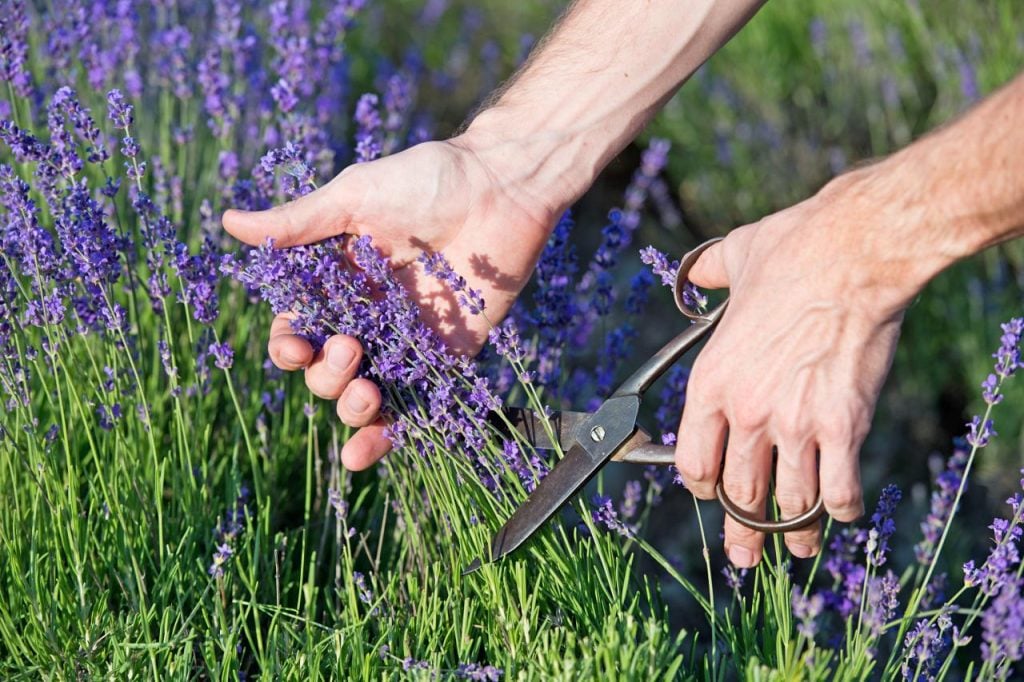
Step 1: Take Lavender Cuttings
To get started, first, you’ll want to take some cuttings of lavender. Using a sharp knife, you can easily cut sections that are 4–6 inches long just below a leaf node with a larger branch. A leaf node refers to any point along the stem from which leaves are attached. If the stem is long, you can produce several cuttings from it.
It’s probably best to avoid using scissors for this particular step. When cutting, they tend to pinch the stem and leave it partially closed, making it harder for the plant to root. Kindly ensure to keep a record of which end was the top and which end was the bottom because it’s essential that you plant the pieces of the plant in the soil in the same direction as their original growth. If you plant the cutting upside down, it won’t take root properly.
Step 2: Trim the leaves
With the same knife, remove all the leaves from the stem except for the ones on top bunch. To nourish your plant, it is essential to provide it with an adequate amount of leaves. However, overburdening the plant with excessive foliage will cause it to divert its energy and nutrients away from the necessary areas of growth.
Step 3: Prepare the Pot and Compost
Fill up a pot with high-quality, free-draining compost. A good mixture would be two parts regular compost blended together with one part perlite or grit, which helps with aeration. This will grant your plants all the nutrients they need to grow healthily. Using regular compost without any added drainage material may cause the cuttings to struggle due to excessive moisture. While they require moisture to thrive, they also prefer well-draining soil to prevent water from accumulating.
Terracotta pots are actually an excellent choice compared to plastic pots for a number of reasons. One of the main benefits of terracotta is that it allows air and water to pass through, which is crucial for the health of your plants. In contrast, plastic can actually suffocate your plants by preventing the flow of essential gases and water. Improving breathability not only enhances optimal rooting but also minimizes the possibility of fungal infections. For best results, consider soaking the terracotta pots in water overnight. This can significantly enhance their performance.
Step 4: Planting
While some may choose not to use it, we highly recommend using a substance to aid in stimulating the growth of rots when propagating cuttings. To successfully propagate the cutting, it is recommended to dip the bottom ¾ inch (2 cm) of the stem into a rooting hormone before planting it in compost. To effectively create a hole in the compost, take a small dibber or pencil and press it gently at the edge of the pot. This will create a perfectly sized hole for your needs. Bury the cutting all the way to the leaves, and space the next one at least a half-inch away. Press the compost firmly around the cuttings for optimal growth.
After filling your pot, give it a gentle yet thorough watering and cover it with a plastic bag. You can also utilize a transparent water bottle with its bottom removed as a substitute. It acts like a mini-greenhouse and does wonders by keeping the compost and cuttings warm and preventing them from drying out. If you have many cuttings to propagate, it could be worth investing in a plant propagator.
Step 5: Rooting
It is best to keep your pots in a warm location with partially diffused sunlight. Direct sunlight and excessive heat can cause your cuttings to droop and suffer. Rooting will take place within the next month to eight weeks. To ensure proper composting, make sure to keep it moist. After a couple of weeks, start checking the drainage hole for any signs of roots. During this period, if you observe any cuttings that have developed a withered or brown appearance, carefully extract them and discard them appropriately.
Step 6: Potting up
Once you start seeing roots emerging from the drainage hole and fresh leaves sprouting, it’s time to move your plants to a larger pot. This process, called potting up, is crucial for providing your plant with enough space to grow and thrive. Carefully extract the newly sprouted greenery from the compost and report them into separate 3-inch containers. In case you are utilizing small pots for propagating lavender cuttings, you might need to flip them over carefully.
To ensure the successful growth of the new lavender plants, plant them in compost that retains slightly more water content than what we used previously. For a perfect blend, mix one part of petite or grit with three to four parts of compost. Be sure to plant them at the same depth as they were in the propagation container.
Step 7: Planting the New Lavender Plants
Allow the plants to continue growing until an abundance of new leaves has fully developed and the plant has become bushier in appearance. Provide a sheltered and sunny environment for several weeks up to a couple of months. To ensure the survival of your plants during winter, it is recommended that you keep them covered in a greenhouse or cold frame. By doing so, you can protect your plants from harsh weather conditions. Make sure to research the ultimate size of your lavender variety and its proper spacing before planting in order to ensure optimal growth and development.
To thrive, lavender requires soil that drains well and has a pH level between neutral and alkaline. In case the soil in your garden is of acidic clay nature, it is highly recommended to prepare the planting area in autumn before you commence planting by blending garden lime and grit into it. This step will help improve the soil quality and ultimately lead to a more successful garden.
Lavender Cuttings Care
Softwood cuttings of lavender typically take two weeks to four weeks to root, while hardwood cuttings may take a bit longer. To determine whether the stems have roots, gently tug them. If you encounter resistance, it likely means that the stem is firmly rooted in the ground. To prevent damaging the delicate young roots, give it a few days before another tug. Frequent tugging can lead to damage. Once your cuttings have developed roots, properly remove the plastic bag.
For the best results, place the new plant in a pot that receives plenty of sunlight, and be sure to water it only when the soil is dry, about an inch (2.5 cm) below the surface.
To ensure your plant receives the proper nutrients, it’s recommended to feed it with a liquid plant fertilizer diluted to one-quarter strength once a week. If you intend to maintain the plant in a pot for more than a couple of weeks, it is recommended to transfer it into a bigger container with standard, well-draining potting soil. When using commercial potting soils, there’s no need to add any extra fertilizer to your plants because these soils are already rich in nutrients that are essential for their growth.
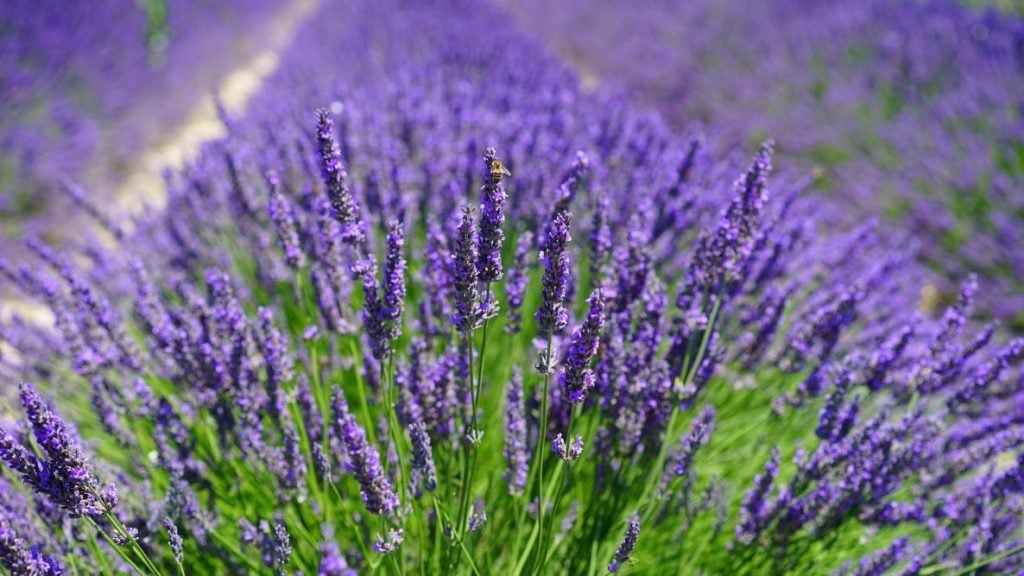
Prune Your Lavender
Many lavender varieties are easy to grow and maintain. Once established, these plants will require minimal maintenance, apart from occasional pruning or harvesting.
If you want to maintain the health and density of your lavender plant, regular pruning is the key. This will prevent it from becoming too woody and sparse, ensuring an abundance of beautiful blooms for you to enjoy.
You need to prune or trim back the flowers twice a year. The first time should be after the initial blooming in the spring, and the second time after the second blooming in late summer or early fall. By following these tips, your lavender will remain stunning and vibrant all year round. Avoid cutting the stems all the way to the woody base. Instead, trim them back by approximately 50% or slightly more.
About Stem Cuttings
One of the easiest ways to propagate a plant is by taking a cutting. This involves carefully cutting a section of the existing plants and encouraging it to grow their own roots. With a little bit of patience and attention, you can create an entirely new plant with all the same qualities as the original. These plants are clones of their parent and will produce identical foliage and flowers. One great benefit of this method is that it is non-invasive, which means it won’t harm your plants. Plus, you can take advantage of this method every year to grow your plant collection.
Softwood refers to the newly grown, fresh wood of a plant that typically appears during spring. Every softwood branch presents two possibilities: it can either stay on the shrub to boost its growth or be pruned off and utilized to propagate a fresh new plant. During spring, some of the fresh foliage may seem a bit stunted; however, you can also make use of mature wood from which new leaves are sprouting. The mature stem, known as ripe wood, can easily develop roots when appropriately cut with the application of a rooting hormone.
Conclusion
Lavender propagation through cuttings is a breeze and yields higher chances of success compared to growing plants from seeds. By using lavender cuttings, you can rest assured that your new plants will be exact replicas of their parent plants. This means that all the beloved qualities and distinctive traits that you cherish in the parent plants will be seamlessly inherited by the new offshoots.
When propagating lavender, it is crucial to use a sufficiently large pot since these plants require ample space to develop and flourish. Also, make sure it has proper drainage to prevent any waterlogging. By following these simple tips, you can enhance the growth of your lavender and transform your area into a stunning oasis bursting with fragrant and vibrant lavender blooms.
Sounds exciting, no?
Frequently Asked Questions
How Fast Does Lavender Grow?
Lavender is a fast-growing plant that can add several inches of height per year. However, the newly planted lavender won’t produce blooms until its second or third season.
Can You Grow Lavender Indoors?
Yes, it is possible. However, you may encounter problems of insufficient light exposure, which can hinder the growth of your plant. If you want your lavender to thrive, make sure it gets plenty of warmth and direct sunlight. These plants absolutely love basking in the sun, so don’t hesitate to give them as much as possible!