Slay Your Lashes: Achieving Stunning Results with At-Home Eyelash Extensions
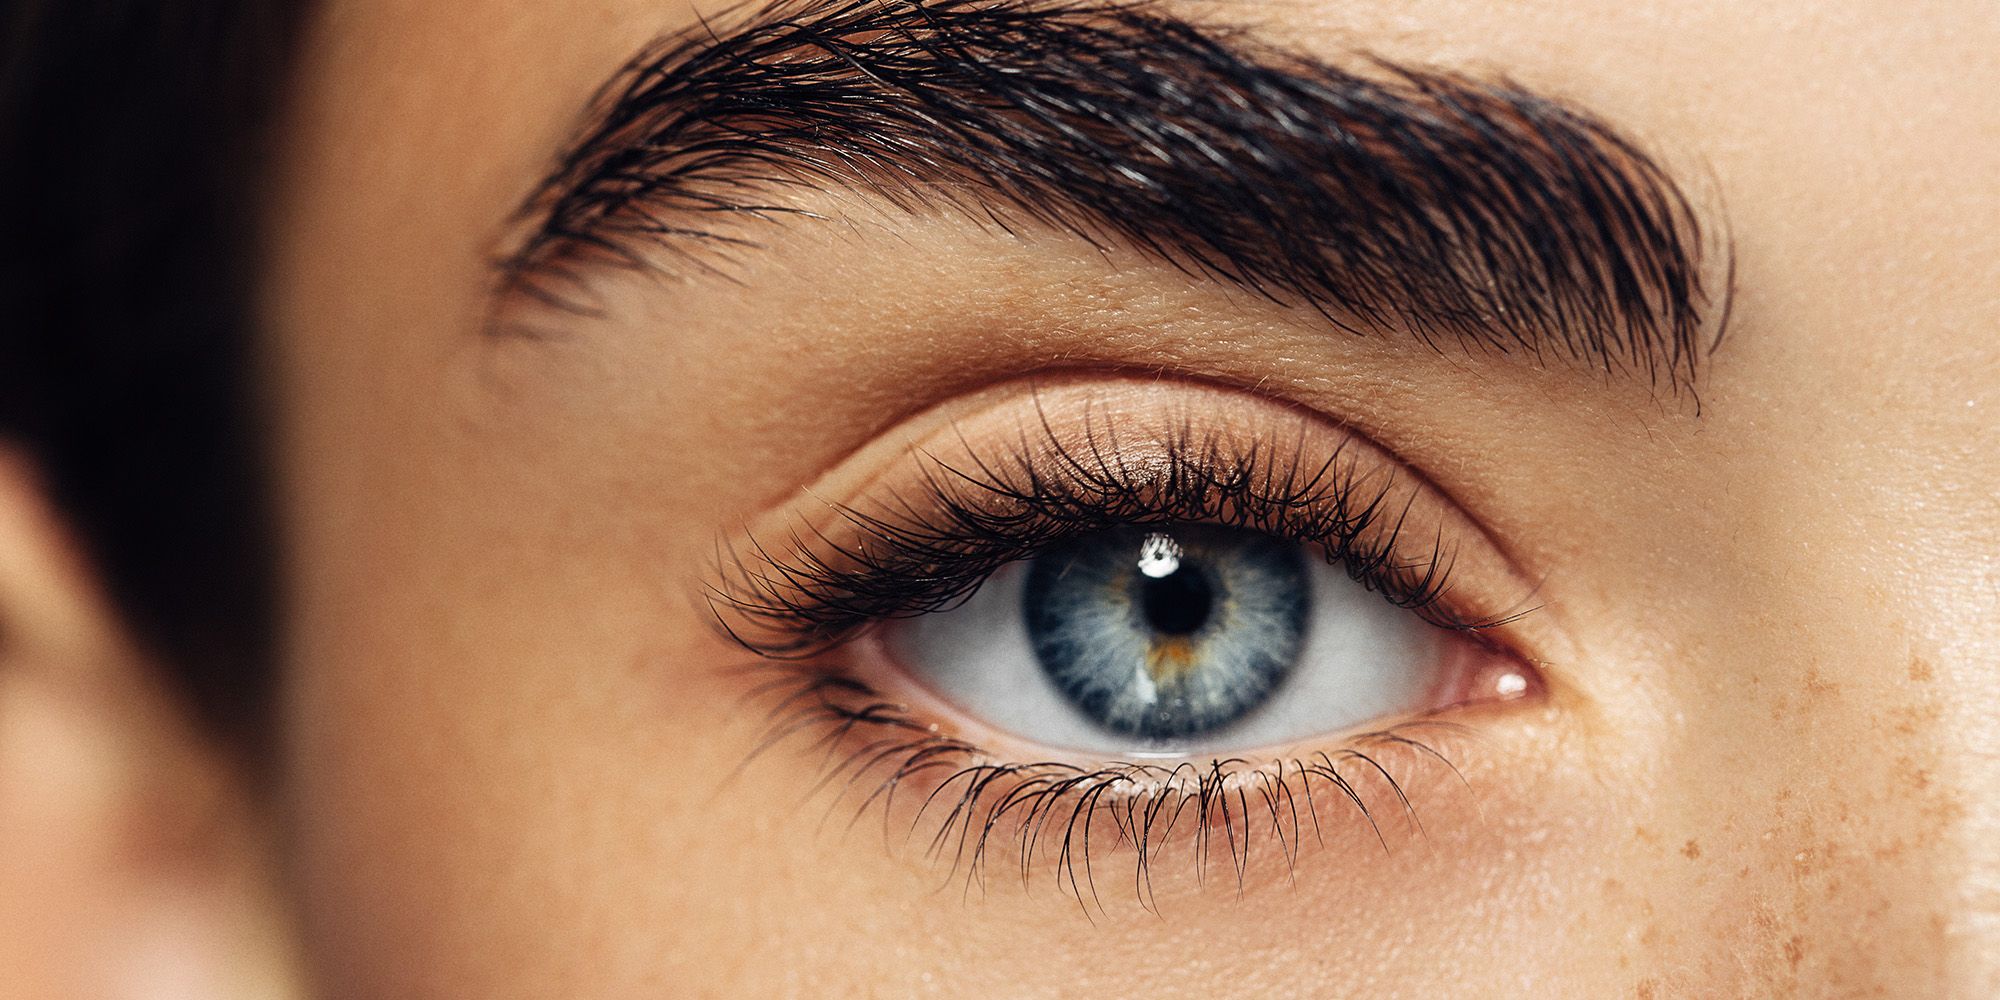
Table of Contents
We all know that a striking pair of lashes can completely transform a look. They’re like the cherry on top of a sundae or that perfectly-tied ribbon on a gift box.
But let’s face it, heading to the salon every few weeks for a touch-up can be a bit of a hassle (not to mention expensive!). That’s why more and more people are discovering the advantages of having at-home eyelash extensions– they are more affordable.
Imagine waking up every day with stunning, full, fluttery lashes—without mascara or weekly salon trips. Yep, you heard that right! With a little practice and the right tools, you can achieve salon-worthy lash extensions right in the comfort of your own home. Talk about a game-changer!
In this blog post, we’ll show you how to achieve breathtaking results with at-home eyelash extensions without breaking the bank. We’ll guide you through the process, from selecting the perfect eyelash extension kit to applying your lashes like a pro.
Are you ready to slay your lashes and take your beauty game to a whole new level?
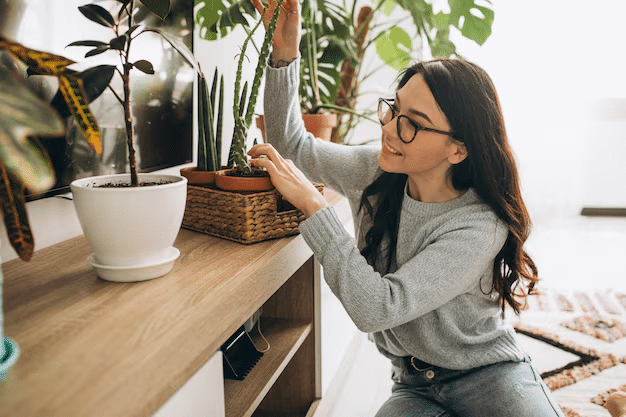
Preparation: Setting the Stage for Success
Before we dive into the nitty-gritty of applying your lash extensions, it’s important to set the stage for success. This means getting the right tools, creating a clean and organized workspace, and prepping your gorgeous natural lashes.
Choosing the right eyelash extension kit
First things first, you’ll need to find an eyelash extension kit that fits your needs and budget. There are tons of options out there, but make sure you’re investing in a kit with high-quality materials.
Keep an eye out for kits that include a variety of lash lengths, curls, and thicknesses, as well as the essentials like adhesive, tweezers, and a lash fan.
Pro tip: Read reviews and seek recommendations from fellow lash enthusiasts to find a kit that has proven results.
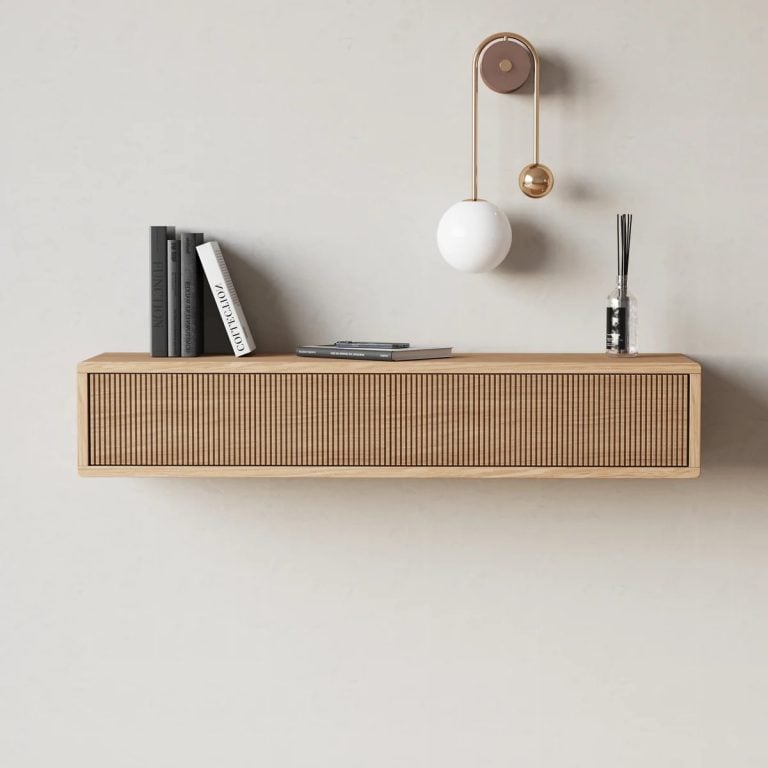
Preparing your workspace
Now that you’ve got your kit, it’s time to set up a clean and well-lit workspace. This might be your vanity, bathroom counter, or even your kitchen table—just ensure you have ample lighting and enough room to spread out your tools.
Lay down a clean towel or paper towel to create a hygienic surface for your materials, and keep a handheld mirror nearby so you can check your progress throughout the process.
Cleansing your natural lashes
Before we get down to business, it’s crucial to ensure your natural lashes are squeaky clean. This means removing any makeup, oils, or residue lurking around. Use a gentle, oil-free makeup remover and a cotton pad or swab to cleanse the area thoroughly. Don’t forget to gently brush your lashes with a clean spoolie to remove tangles and separate them.
Selecting the appropriate lash style and length
Last, it’s time to pick your perfect lash style. Take a moment to consider the look you’re going for—do you want a natural, subtle enhancement, or are you aiming for full-on, dramatic glamor? Just remember to choose a lash length and curl that suits your eye shape and compliments your natural lashes. I
Now that we’ve set the stage for success, it’s time to move on to the main event: applying your at-home eyelash extensions!
Step-by-Step Guide: Applying At-Home Eyelash Extensions
Are you ready to take the plunge and transform your lashes? Let’s walk through the process step by step.
Apply the eyelash extension adhesive
First, you’ll want to grab your lash adhesive and prepare a small surface to dispense a tiny drop of it. Remember, a little goes a long way! Some kits come with a small jade stone or a disposable palette. You’ll want to replace the adhesive drop every 20-30 minutes to ensure it stays fresh and tacky.
Isolate individual lashes
Next, pick up your lash tweezers and carefully pick up an individual lash extension by the tip. Then, use your other hand to gently isolate one of your natural lashes with a second pair of tweezers or your fingers. You want to make sure you’re attaching the extension to a single natural lash—no more, no less.
Attach the eyelash extensions
With your natural lash isolated, it’s time to marry it with your extension. Dip the base of the extension into the adhesive, ensuring it’s fully coated but not overly saturated. Then, slowly and carefully, bring the extension up to your isolated natural lash, and attach it as close to the lash line as possible without touching your skin.
Hold the extension in place for a moment to allow the adhesive to bond. Voilà, you’ve successfully applied your first eyelash extension! Repeat this process, working your way across your lash line until you’ve achieved the desired fullness.
Check and adjust the extensions
Once you’ve finished applying your extensions, take a moment to admire your handiwork with the handheld mirror. If you notice any clumping or wonky angles, use your tweezers to gently separate and reposition the extensions as needed.
After Care Tips for DIY Eyelash Extensions
- Avoid getting your lashes wet for the first 24-48 hours.
- Sleep on your back or use a silk pillowcase to prevent friction.
- Avoid using oil-based products around your eyes.
- Avoid rubbing, tugging, or pulling on your extensions.
- Steer clear of waterproof mascara or heavy eye makeup.
- Use a lash growth serum to keep your natural lashes strong and healthy.
- Invest in a silk or satin sleep mask to protect your lashes while you sleep.
- Give your natural lashes a break between extensions to maintain their health.