Step-by-Step Guide to Growing Lily of the Valley in Pots
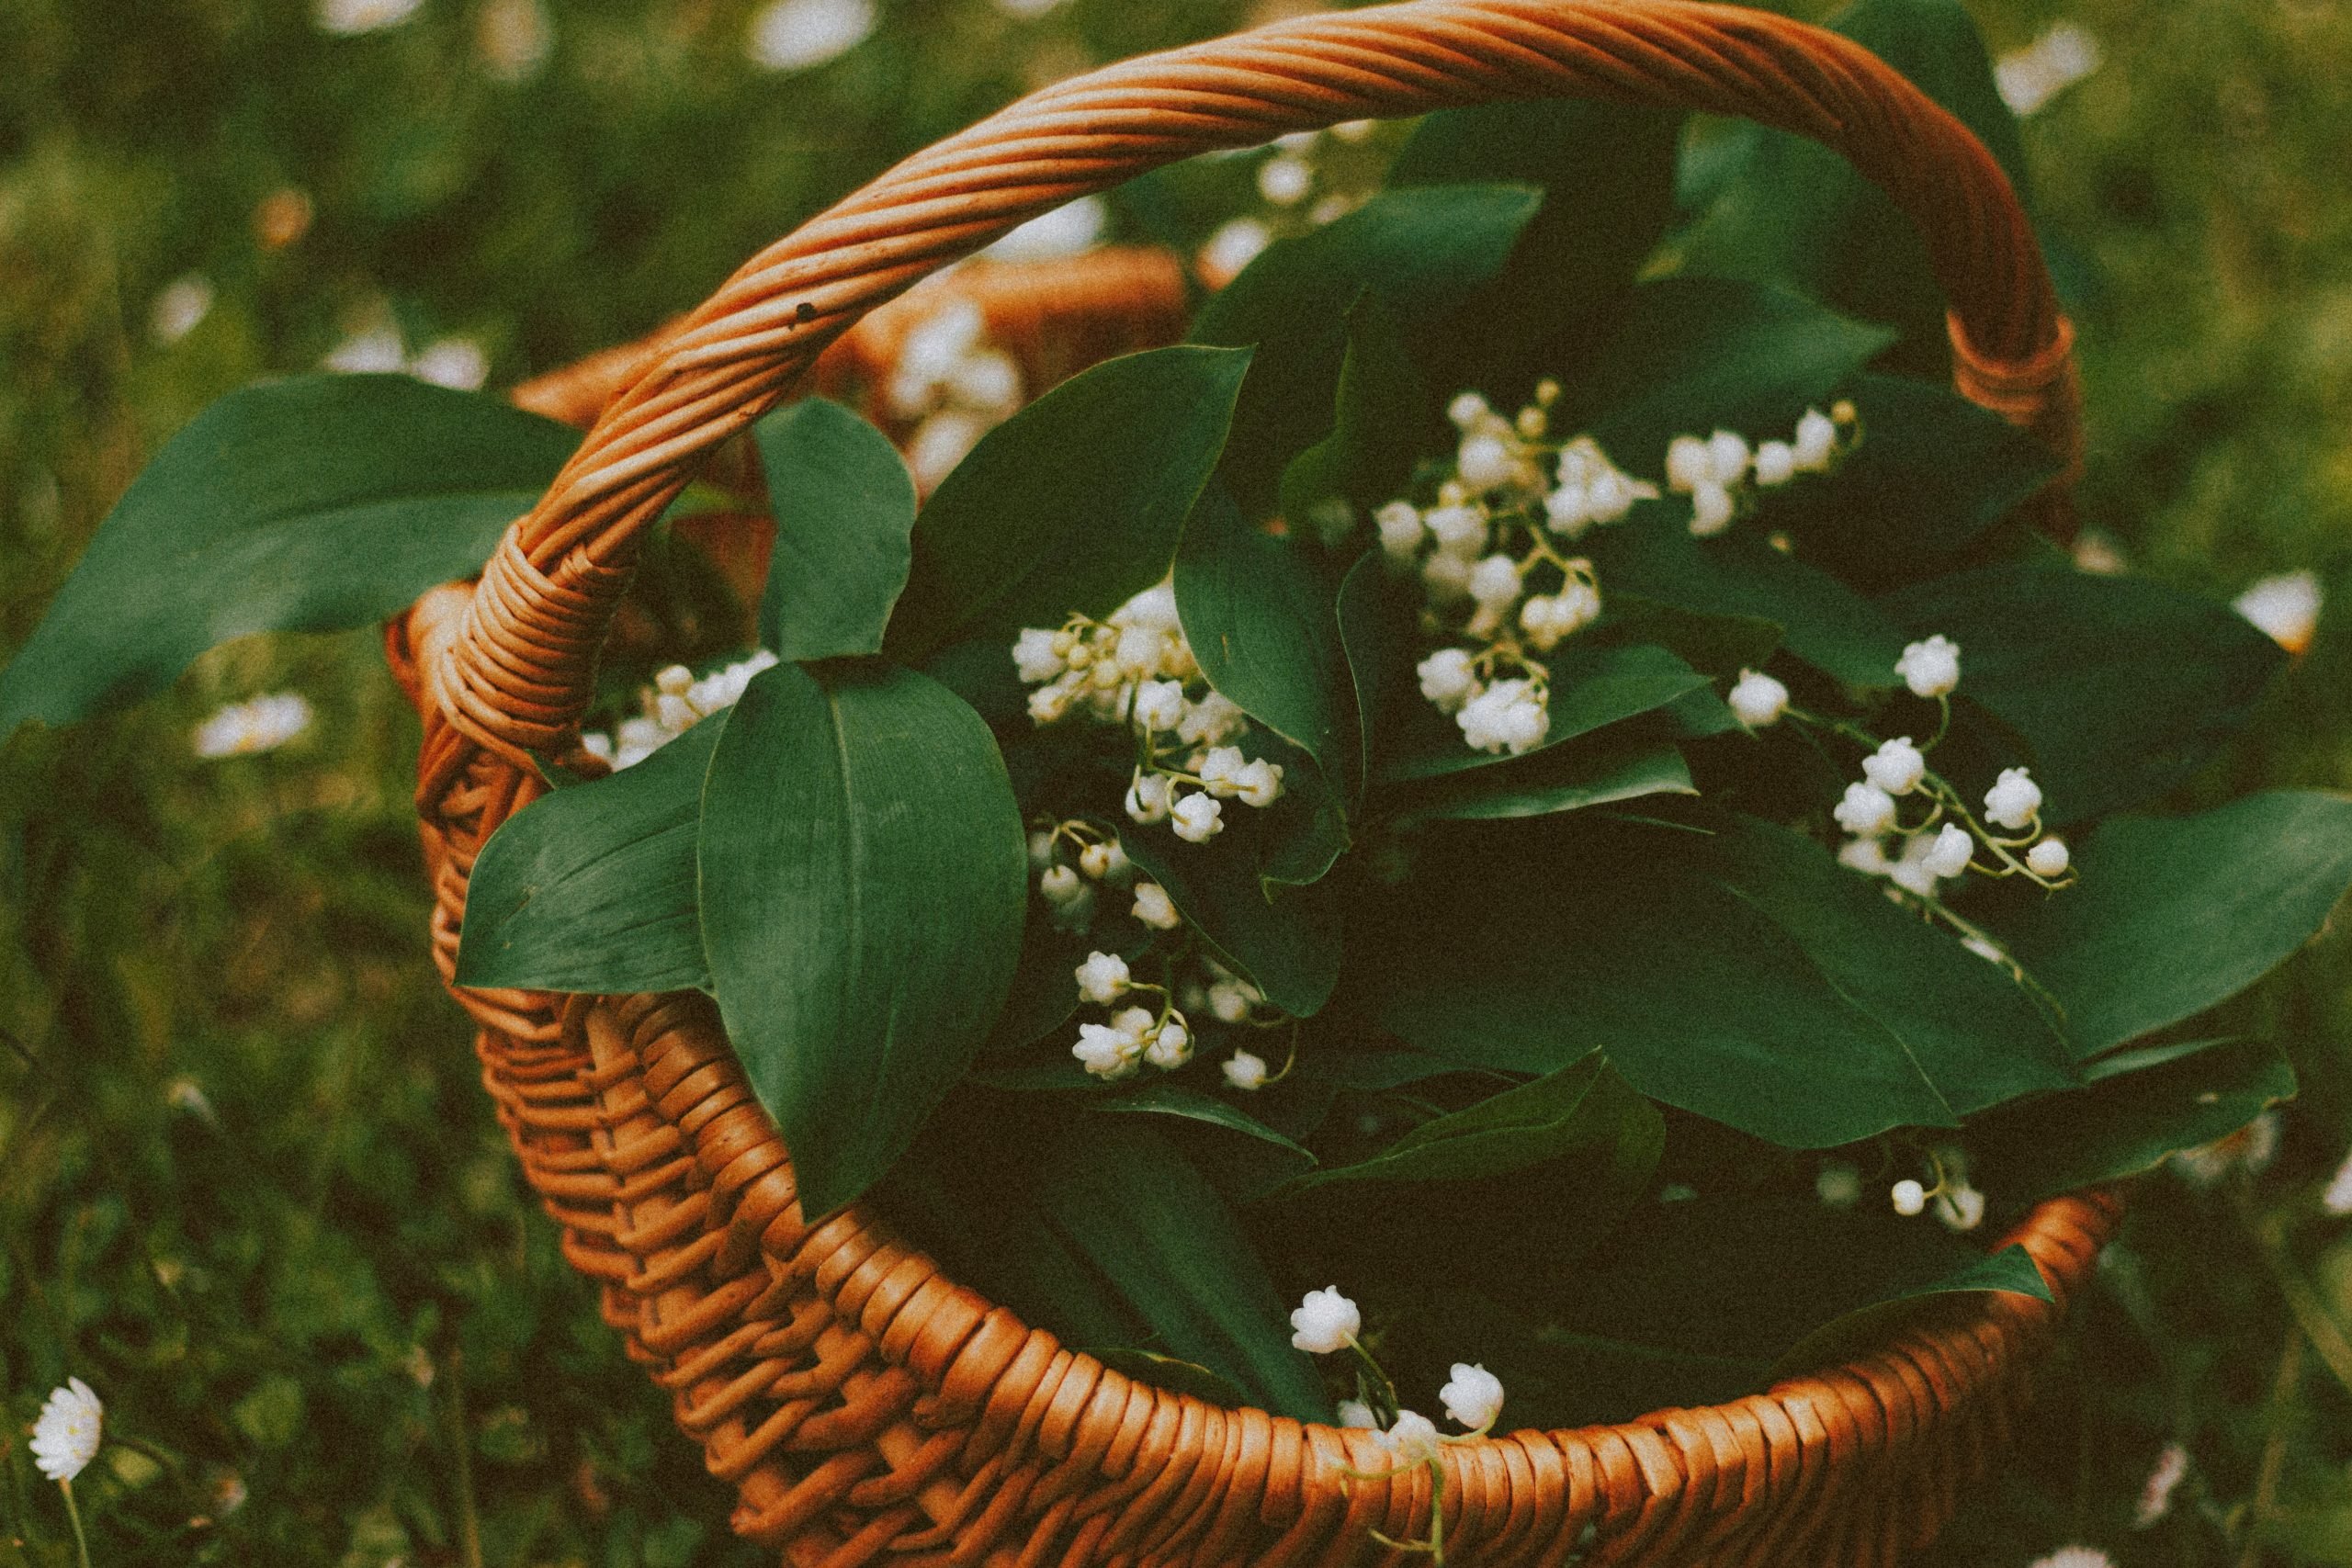
Table of Contents
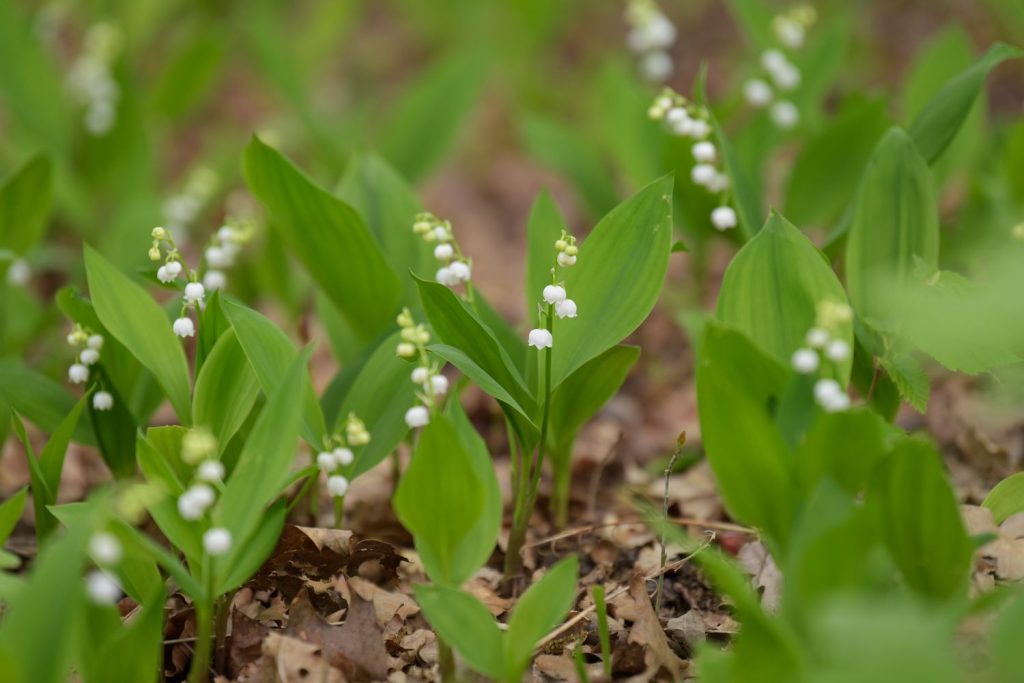
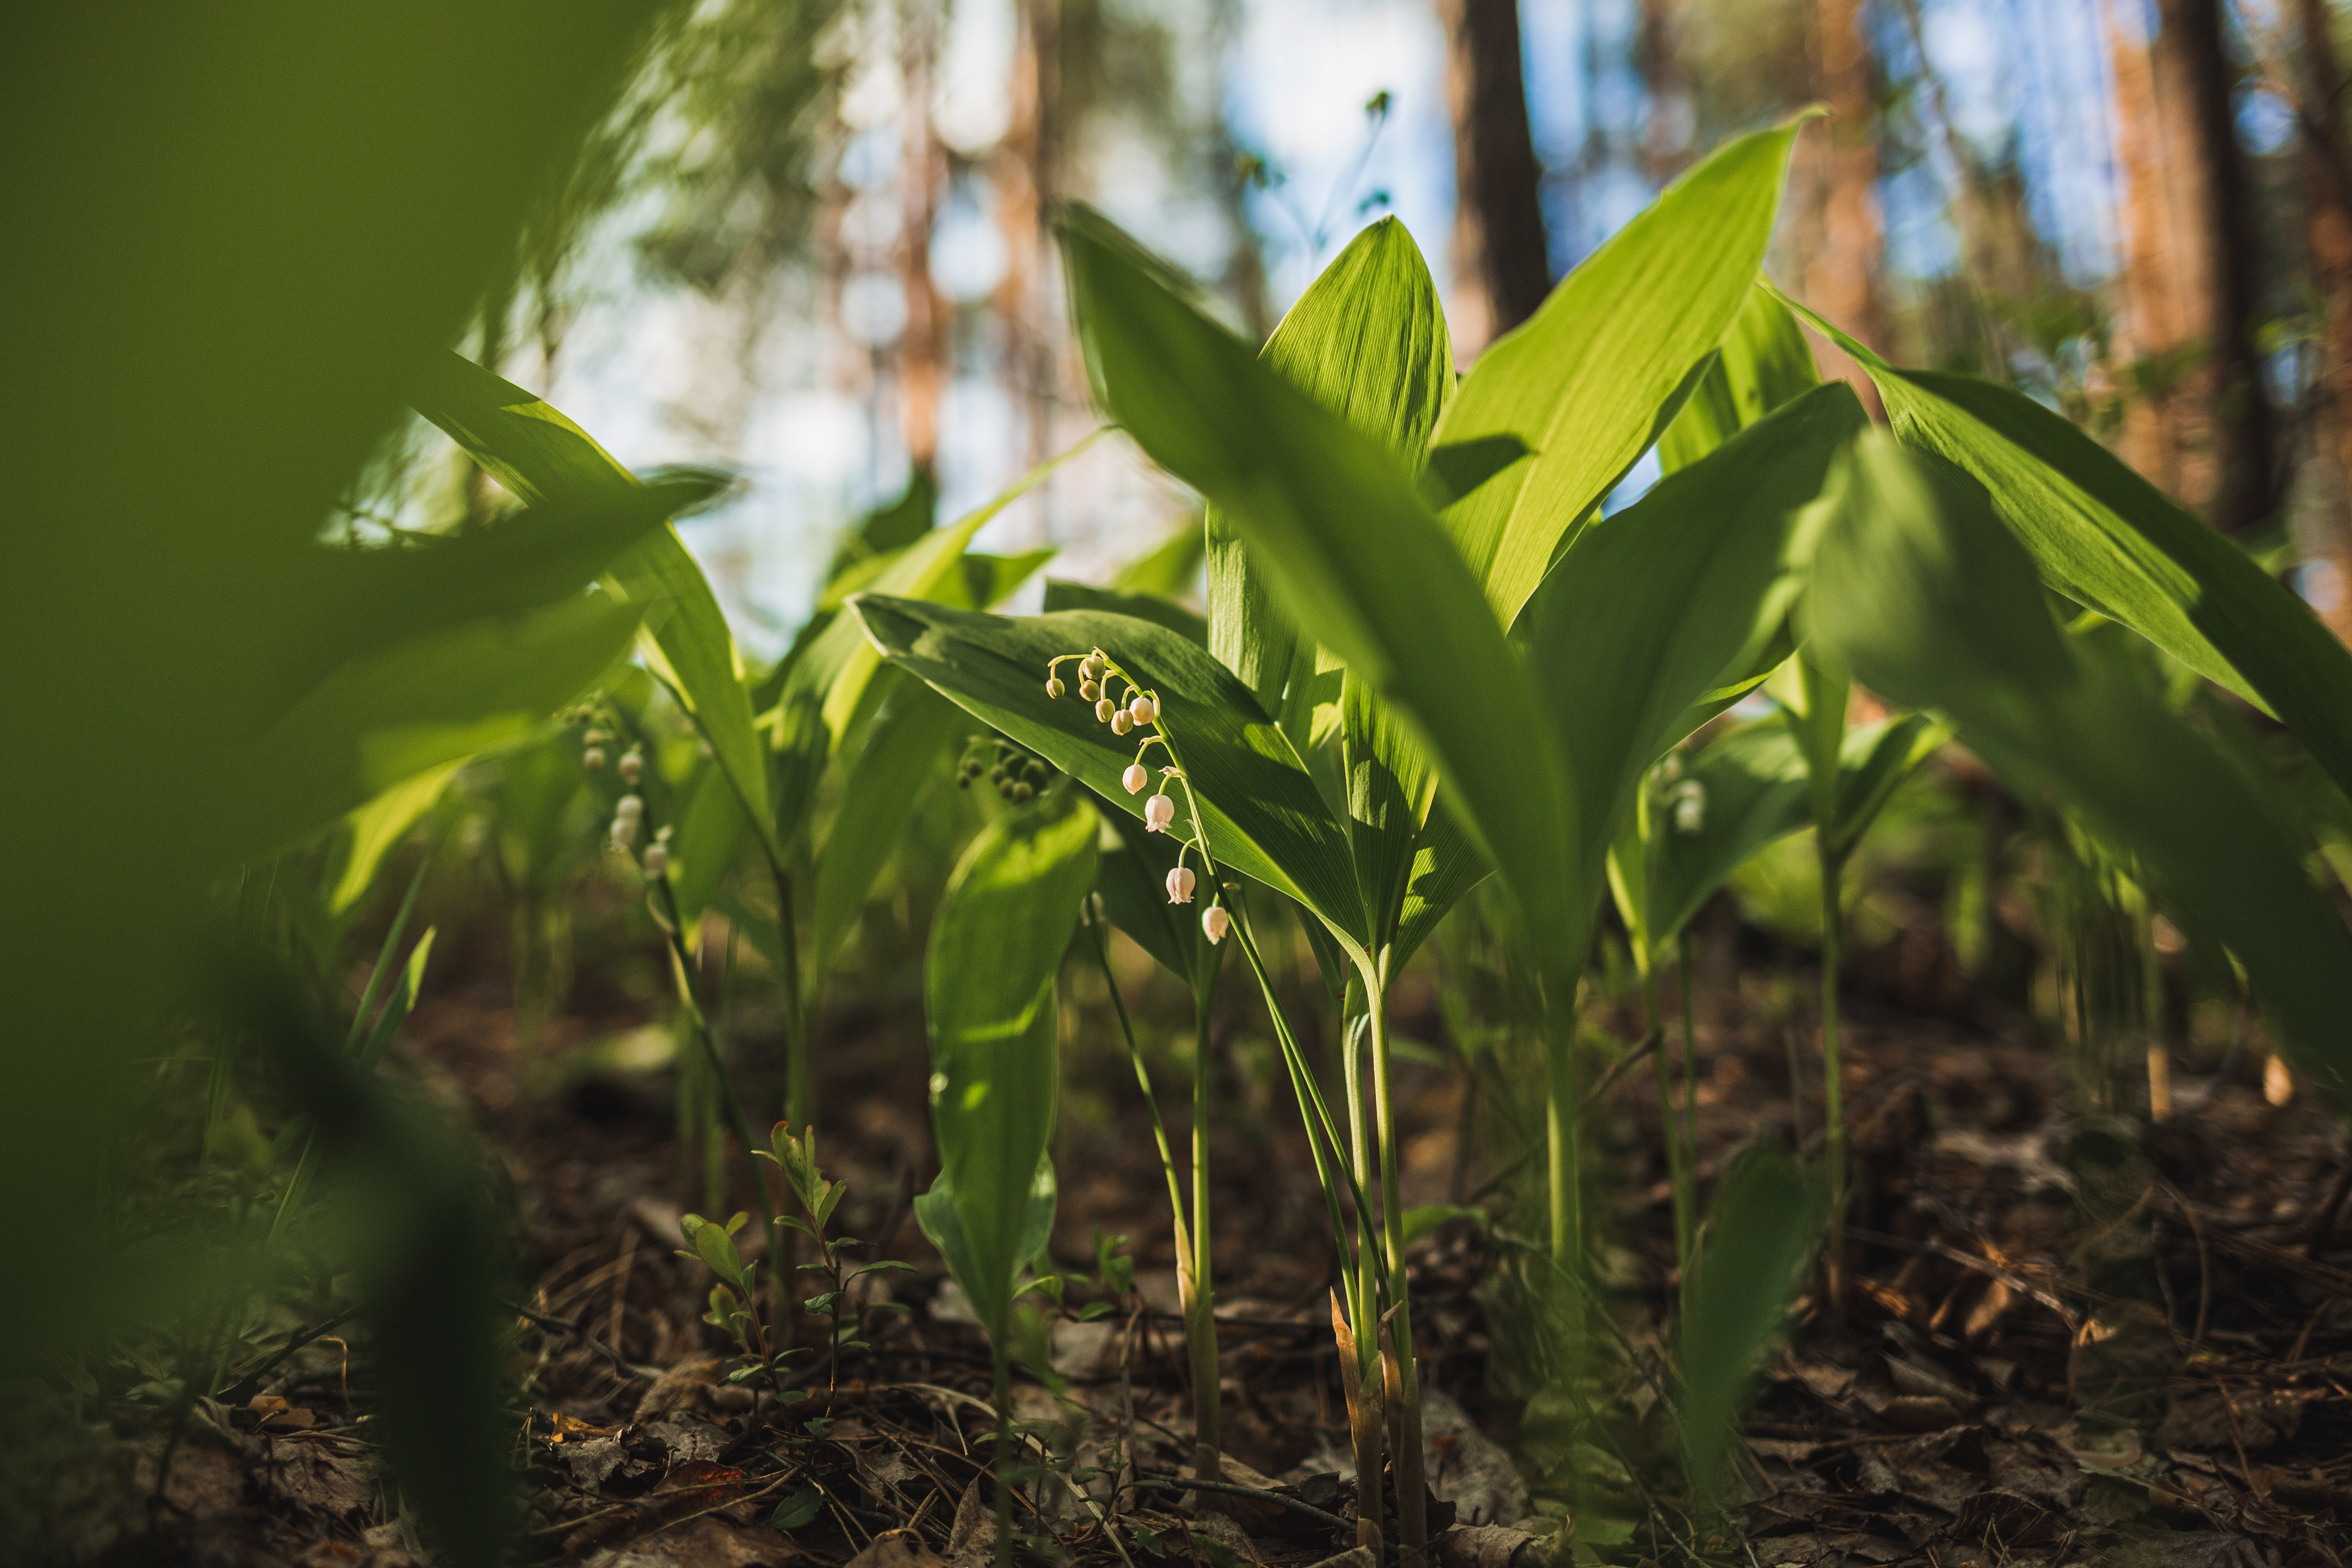
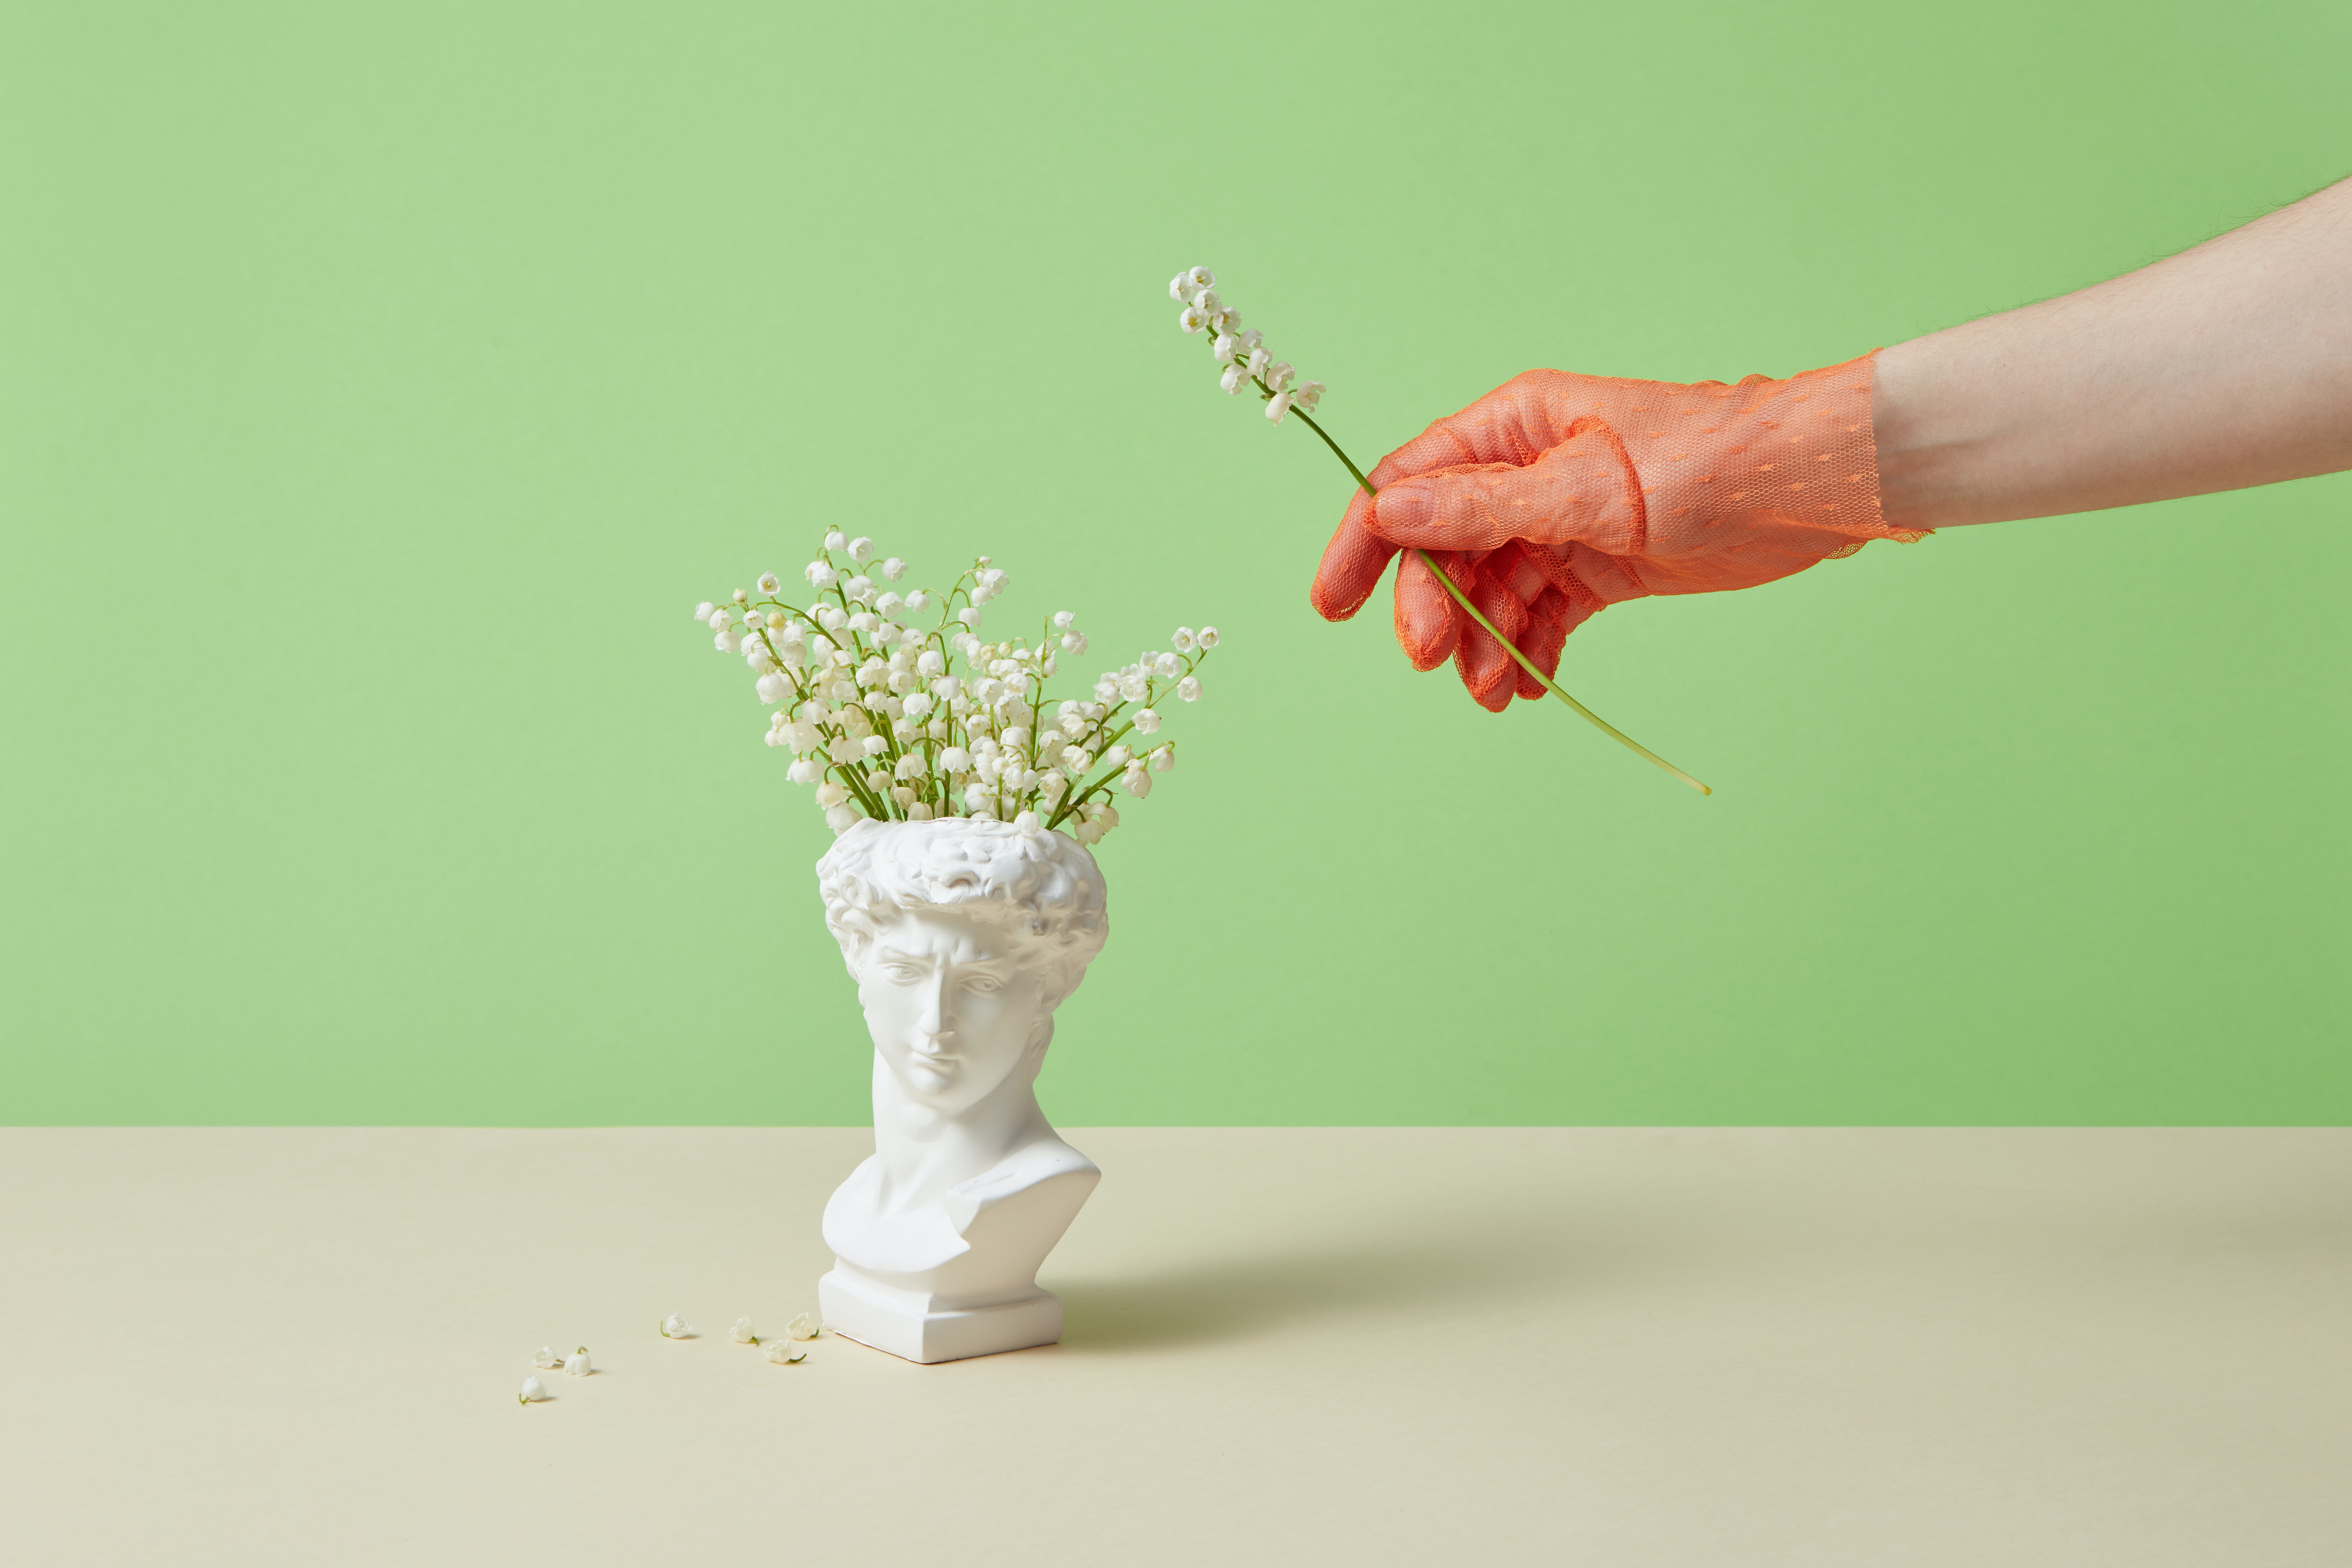
Those delicate flowers, those lush green leaves, and that subtle sweet fragrance emanating from the Lily flowers. Yes, we totally understand why you fell in love with the “Lily of the Valley,” and we don’t know if it makes you feel better, but we’re smitten by it too.
Lily of the Valley (Convallaria majalis) is a flowering plant well-known for its fragrance and delicate bell-shaped flowers. These flowers are native to Europe and Asia and are typically grown outside in gardens. It is completely possible to grow these cute perennial flowering plants in a container or a pot. But if you’re planning to grow these flowers indoors and in containers or pots, it must be noted that this plant contains cardiac glycosides, which are toxic to children. Ingesting any part of this plant can cause dizziness, nausea, or even result in heart failure.
If you’re still planning to go ahead with growing Lily of the Valley in pots or containers, then stick till the end. This blog will guide you from beginning to end.
How to Grow Lily of the Valley in Pots
1. Choosing the Proper Container for Lily of The Valley
If you want to grow a healthy and beautiful Lily of the Valley plant, it’s important to choose the right container. There are various essential factors that you should consider while choosing a container, including its size, depth, drainage, and material. It will help you create an ideal environment so that these flowers can thrive even in pots.
2. Size of The Container
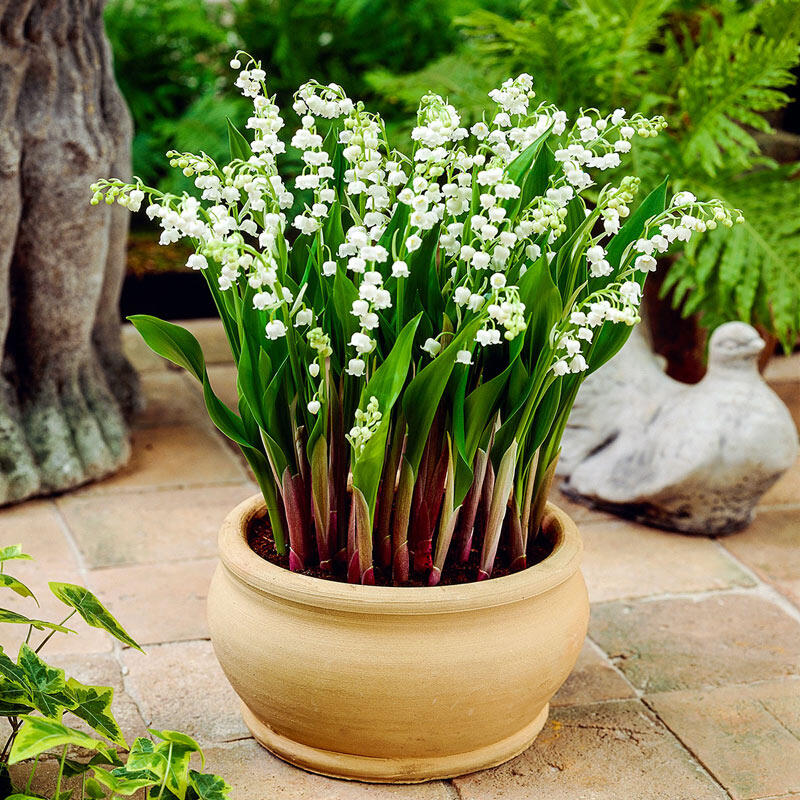
An ideal pot should have a diameter of at least 8-12 inches, allowing the plant to have sufficient to spread out. Consider larger pots if you want them to look denser, as they can accommodate more plants and have thriving growth.
3. Depth of The Container
Just like its diameter, the pot should have at least 8-12 inches of depth as well. It will help the plant to retain moisture, which is important for its overall health. Even though Lily of the Valley has shallow growth, it’s better to offer enough room for its roots to grow comfortably.
4. Potting Material
You can choose pots that are made up of terracotta, ceramic, or plastic. They all work well with Lily of the Valley. Although terracotta and ceramic pots are porous, offering better air circulation and moisture retention. However, if you aren’t looking for heavy and fragile pots, you can go ahead with plastic pots. They are light and won’t easily break.
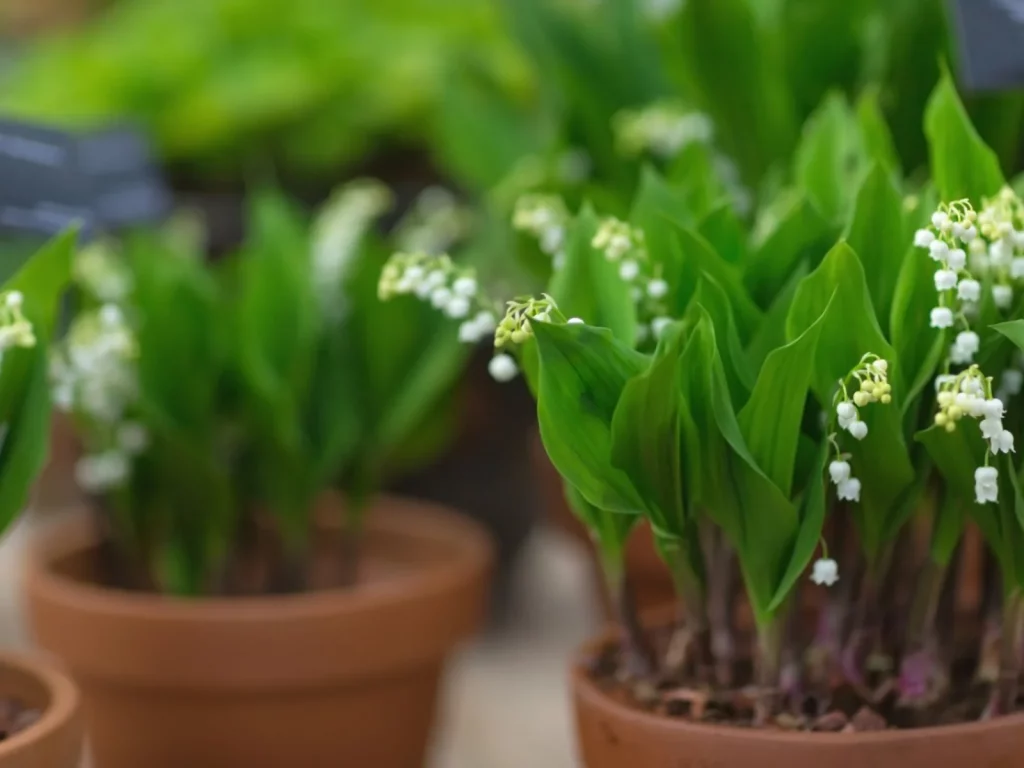
5. Drainage
Choose a pot that has drainage holes at the bottom. It prevents waterlogging and root rot. It’s really important to maintain proper moisture and balance in the soil, allowing plants to thrive and bloom beautifully.
6. Considering Soil Type for Optimal Growth
Selecting the right soil type for Lily of the Valley determines so many factors, including its overall health, development, and blossom. With the help of the right soil type, your plant will receive proper nutrients, moisture, air circulation, and PH balance. Here’s the list of what all should be there in the soil to make your Lily of the Valley thrive.
Nutrients
Lily of the Valley is a plant that requires nutrient-rich soil, and they need nitrogen, phosphorus, and potassium. They thrive in soil that is high in organic matter. You can add compost or rooted manure to improve soil fertility.
Moisture
Lily of the Valley prefers soil that drains water but retains moisture without becoming waterlogged. It will continue to provide the moisture that is needed for growth but also prevent root rot.
Aeration
Oxygen is essential for healthy root development, especially for Lily of the Valley, as it has a shallow root system. Well-aerated soil will help in the growth of beneficial microorganisms that help in the plant’s overall health.
pH level
Slightly acidic to neutral soil (pH range of 6 to 7) is ideal for Lily of the Valley. If the soil pH isn’t within the desirable range, one can use sulfur or lime to bring it to the ideal scale. It’s important to check soil pH level as it shows nutrient availability and uptake.
7. Fertilizing Requirements
Even though Lily of the Valley doesn’t require much fertilisation. There are still some fertilizing requirements for enhancing growth-
Fertilizer
Lily of the Valley will thrive if it gets equal amounts of nitrogen, phosphorus, and potassium through a slow-release fertilizer. You can use organic fertilizer as well as rotten manure or compost to provide all the necessary nutrients.
Timing
Make sure to fertilize the plant in early spring as it’s their active growth phase. They’ll be able to absorb all the nutrients when new growth starts emerging. There might be a time that, due to being grown in a container, Lily of the Valley starts looking dull and might need a second application. Mid-summer is perfect for the second application.
Apart from fertilizer, continue to add compost from time to time to improve its fertility and soil structure.
8. Watering and Moisture Requirements
Lily of the Valley requires constant moisture and well-draining soil. Here are some guidelines that you can follow:
Watering Frequency
Lily of the Valley requires consistent moisture without watering. Water when the topsoil starts to feel dry. It will require watering every few days (especially during the hot or dry season) or once a week, depending on the weather conditions. Wilting leaves and a lack of new growth are signs of dehydration. Monitor the plant to avoid such situations.
Watering Method
Avoid watering the leaves of the plant, as it might cause fungal disease. Instead, directly water its soil deeply and thoroughly. Water enough to make sure that the moisture reaches its shallow root system.
Mulching
A layer of mulch(shredded bark, leaf, compost) around the base of the plant can help in retaining the moisture and soil temperature in control. Although make sure that you leave a gap between the stem and the plant to keep it safe from any fungal disease.
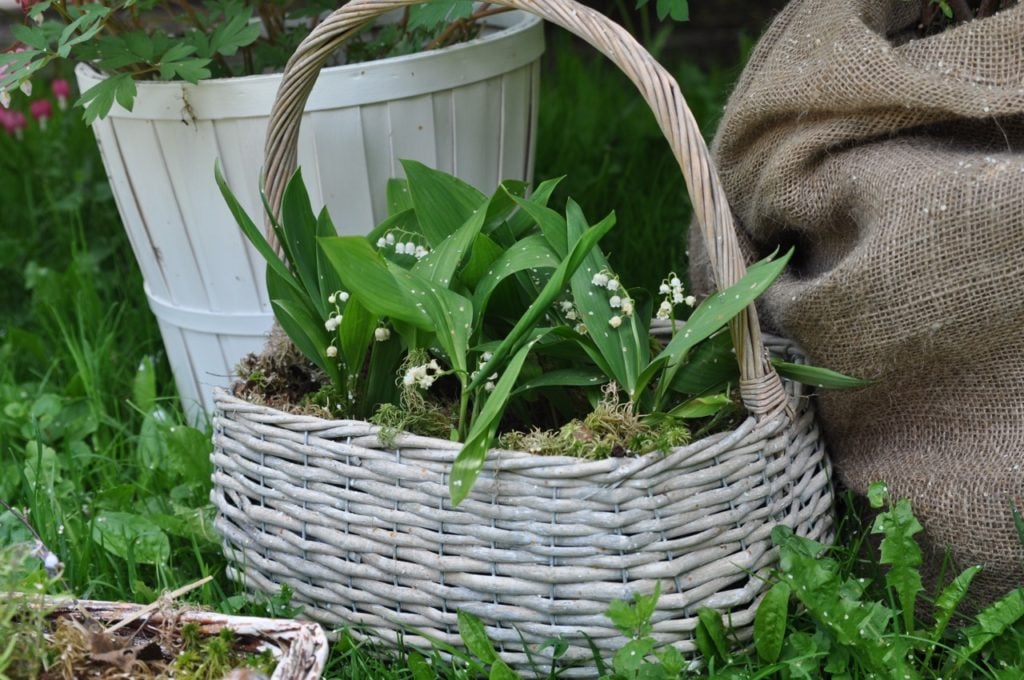
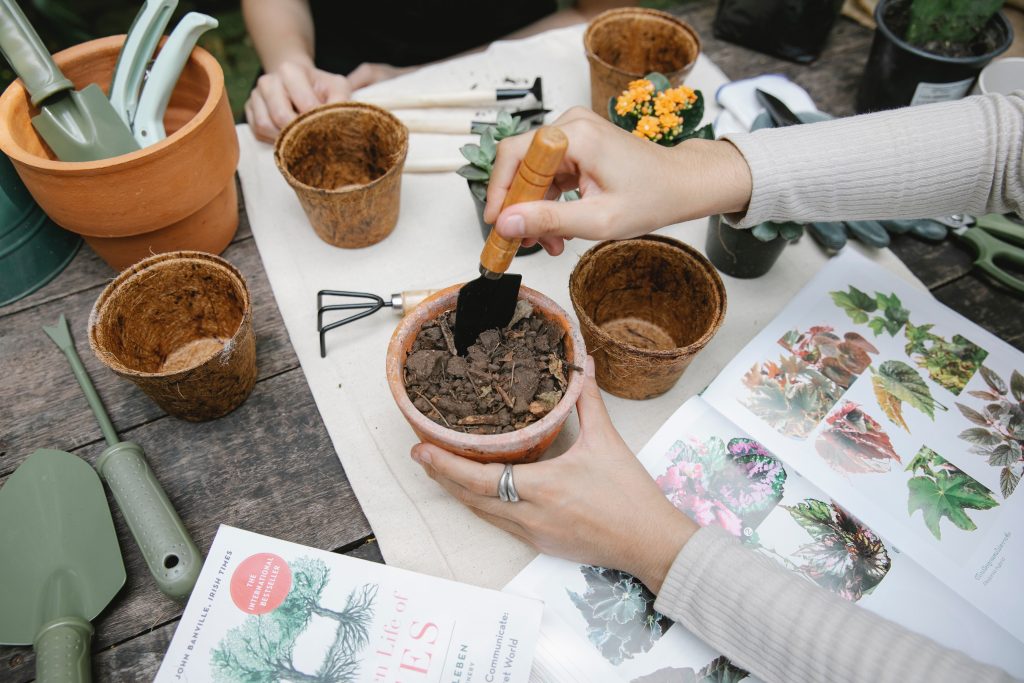
9. Propagation of Lily of the Valley
If you are looking to multiply or share the beautiful plant with your friends, there are 2 methods that you can follow – Division and Propagation from Pips. Here are the steps that you can follow for each method-
Step-By-Step Procedure if You Are Propagating Through the Division Method:
- Step 1: Remove the entire plant from the pot, including its root.
- Step 2: Gently separate the plant’s horizontal stems (rhizomes), and make sure that each division has at least one or two growing buds.
- Step 3: Carefully replant the divisions in a different pot (appropriately sized, depth, and well-draining potholes). Make sure that there is a space of around 3-4 inches between other rhizomes.
- Step 4: Place the newly planted divisions in a location with bright yet indirect light.
The ideal time to propagate is in the fall, as it’s easy for new growth to emerge in early spring.
Step-By-Step Procedure if You Are Propagating Through the Pips(young and Pre-Rooted Plant):
- Step 1: Obtain healthy pips from the nursery. They should have small roots and a visible growing tip.
- Step 2: Prepare a pot for these pips. Use a well-draining pot, and add soil with proper nutrients (compost or well-rotted manure).
- Step 3: Carefully plant pips with proper spacing between them (at least 3-4 inches apart). Make sure that the top is facing upwards and is just below the topsoil surface.
- Step 4: Water the newly planted pips thoroughly and place them in a location with bright yet indirect light.
Planting young pips in late winter or early spring gives them enough time to grow and stabilize with the weather.
10. Maintenance of Lily of the Valley in Containers
Now that you have finally set up a comfortable environment for your Lily of the Valley. Let’s see how you can ensure that your potted plant remains healthy, vibrant, and full of fragrance for years.
Pruning and Deadheading Tips
Pruning and deadheading are one of the most common practices that gardeners follow in order to maintain the health and appearance of plants. Although Lily of the Valley doesn’t require extensive pruning and deadheading, still following some basic tips encourages healthy growth.
Here are some of the Pruning and deadheading tips that you can follow-
- If you see any yellowing, damaged, or dead-looking leaves, carefully remove them with the help of pruning shears or clean scissors. It will prevent the risk of disease and encourage new growth, plus it promotes better air circulation.
- Lily of the Valley doesn’t particularly require deadheading as they typically bloom only once per season, and flowers naturally drop off on their own once they are dead. But if you like to have a tidier appearance, you can gently remove spent flowers once their bloom has faded.
- In late summer or early fall, when flowers are faded and leaves begin to yellow, you can trim the dead leaves to ground level. Make sure you don’t remove green foliage, as they still continue to provide energy to the plant through photosynthesis.
Common Pests and Diseases of Lily of the Valley
Lily of the Valley are generally low-maintenance plants and aren’t highly prime to pests and diseases. However, they can still get infected by some pests and diseases. Here are some common issues and their remedies-
- Snails and slugs: These pests are attracted to plants that offer moisture and shade. They can chew on the leaves or flowers. To control them, you can use beer traps, diatomaceous earth, or hand-pick them at night. You can also use chemical slug bait to get rid of them.
- Aphids: These sap-sucking small insects can infest the leaves of your plants, causing them not to grow. To control them, you can use neem oil, insecticidal soap, or introduce ladybugs (beneficial insects).
- Anthracnose: It’s a fungal disease that causes brown and black lesions on the stems and leaves of your plant. You can revive your plant by maintaining good air circulation and avoiding overhead watering. Make sure to remove the infected plant material. It can spread over otherwise.
- Botrytis blight: Another fungal disease that can result in flowers and leaves rotting. To prevent it, maintain proper circulation and keep the foliage dry. You can also use Fungicides in wet or humid conditions.
- Rust: A fungal disease that causes yellow, orange patches on the leaves. Make sure to remove the infected leaves and follow the similar treatment that is advisable for Anthracnose and Botrytis blight.
Final Thoughts
Growing Lily of the Valley in containers or pots can be a really enjoyable and rewarding experience.
With proper care and attention to factors such as container size, soil type, watering, fertilizing, and maintenance, you’ll definitely be able to enjoy the beauty and fragrance of these charming plants.
It will provide you flexibility in plant placement, save space, and will let you add green plants indoors.
Growing lilies of the valley indoors will elevate the aesthetic of your home, giving a soft touch to your home’s added aesthetic.
Follow this guide and ensure the success of your container-grown Lily of the Valley. Monitor their overall health, provide the necessary care, and address disease and pest issues promptly.