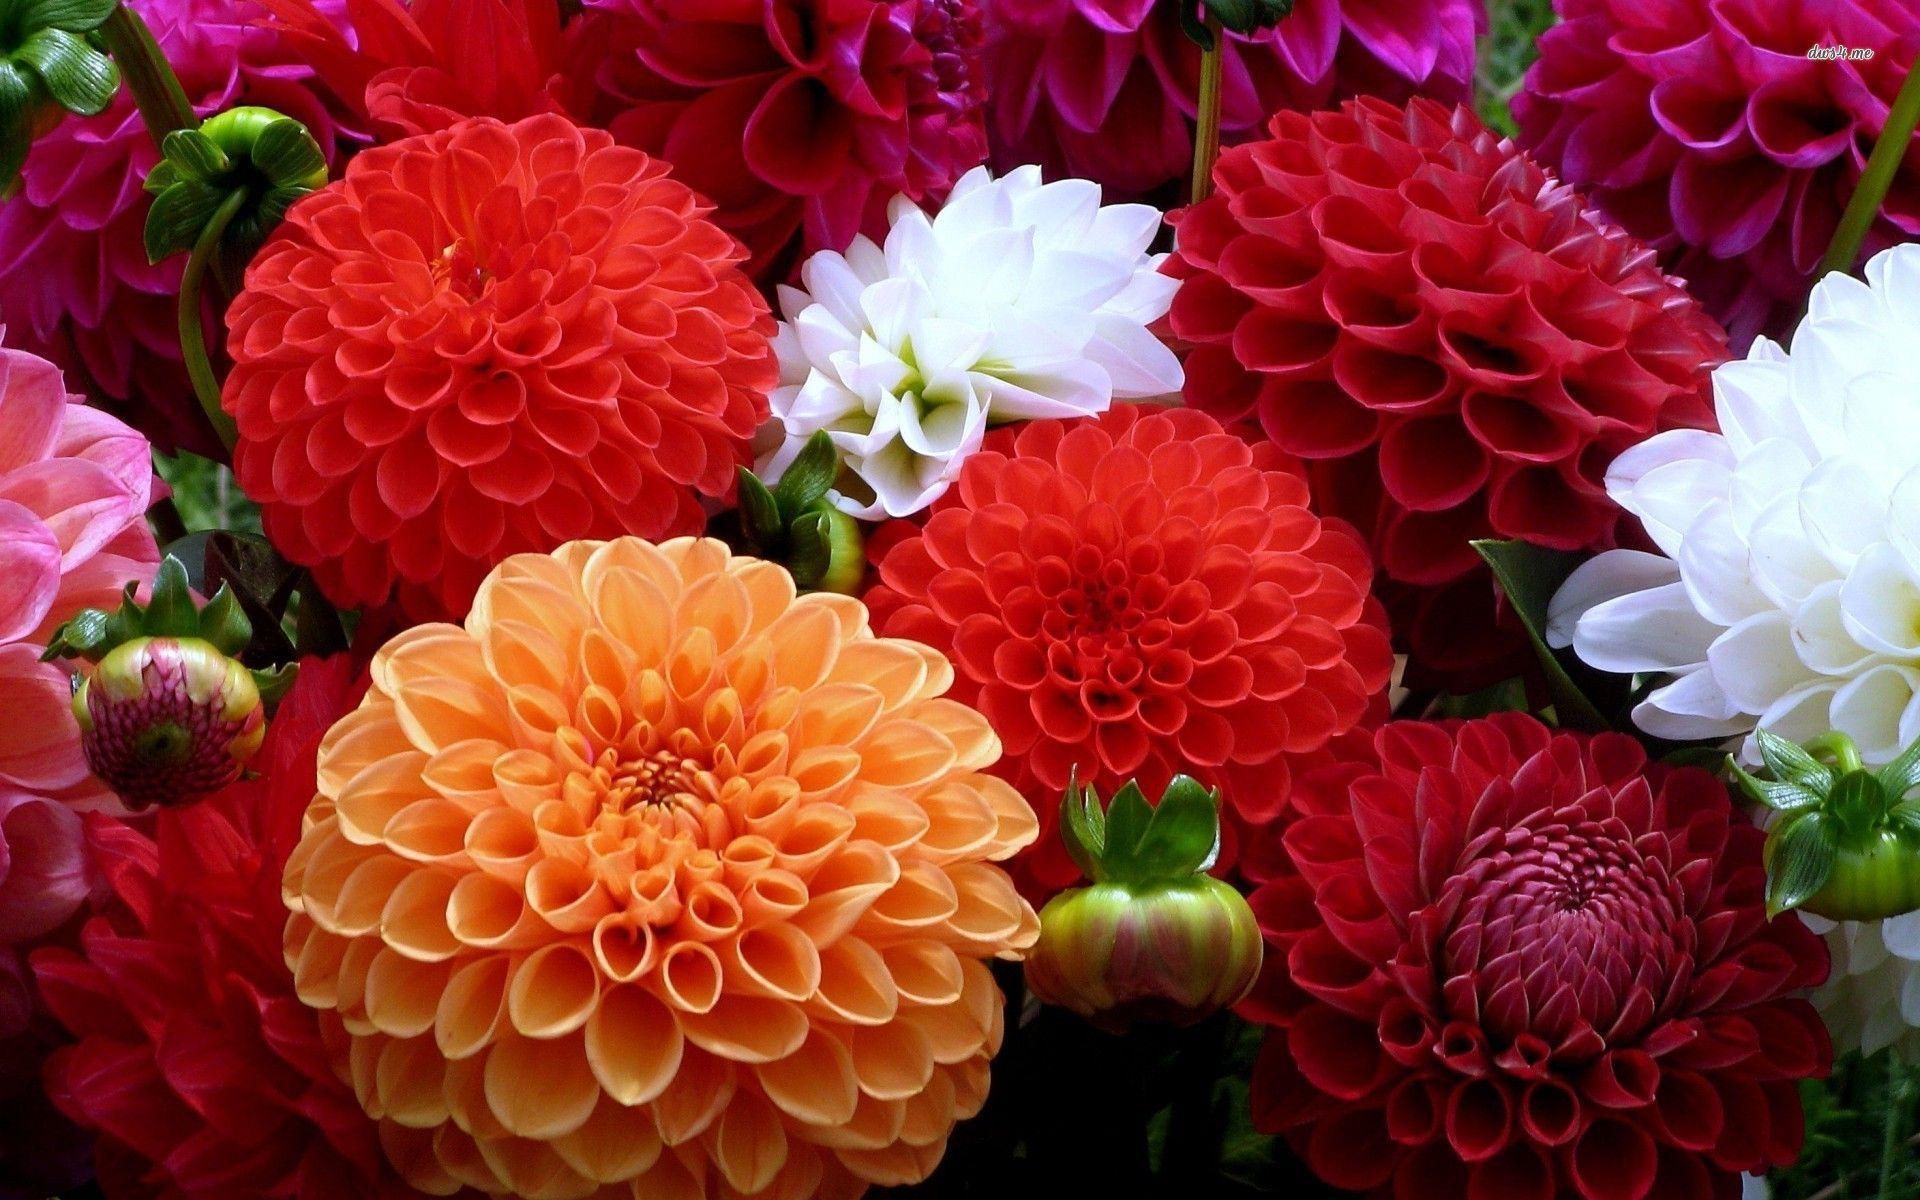
The Ultimate Guide to Overwintering Gladiolus Corms
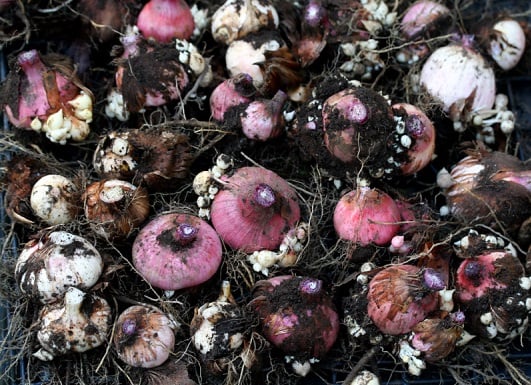
Table of Contents
Gladiolus corms are small, bulb-like structures that are a type of underground stem or storage organ of the gladiolus plant. The corms serve as a nutrient and energy source for the plant to grow and produce flowers. When planted in soil, the corms will sprout roots and shoots that develop into tall flower stem with many blooms. After the flowering period, the corms can be dug up, cleaned, and stored in a cool, dry place for the next season.
Overwintering gladiolus corms is important for the long-term health and productivity of the plants. During the winter months, the corms are dormant and can survive harsh weather conditions, such as freezing temperatures, but they need to be protected from excess moisture that can cause them to rot.
In this article, you will learn about overwintering gladiolus corms in 4 steps. These 4 steps are preparation, storage, monitoring, and replanting corms.
Preparation Of Gladiolus Bulbs
Preparing gladiolus corms for overwintering is an important step in ensuring healthy growth and beautiful blooms the following season. There are four stages in this preparation that, includes timings, harvesting, cleaning, and drying.
1. Timing Considerations
The timing of when to dig up gladiolus corms for overwintering is crucial. You should wait until the foliage has turned yellow or brown and has died back naturally. This indicates that the corms have finished storing energy and are ready for dormancy. Depending on the climate, this may occur in late summer or early fall.
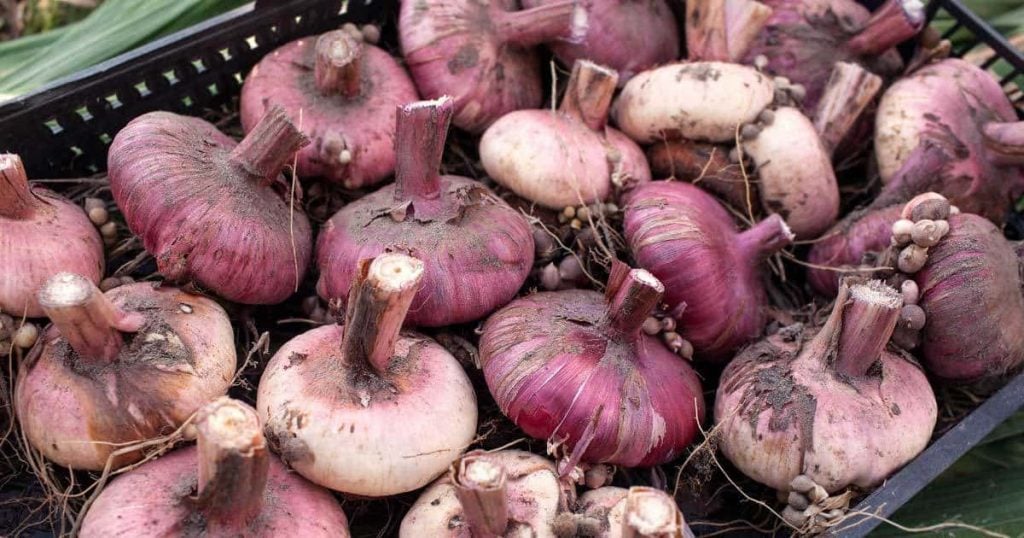
2. Harvesting Corms
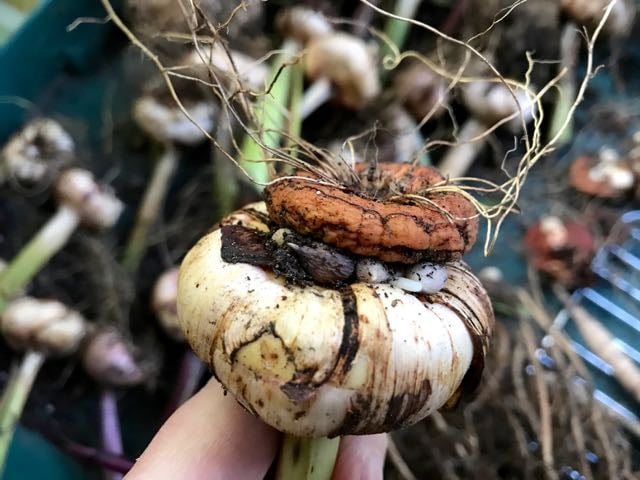
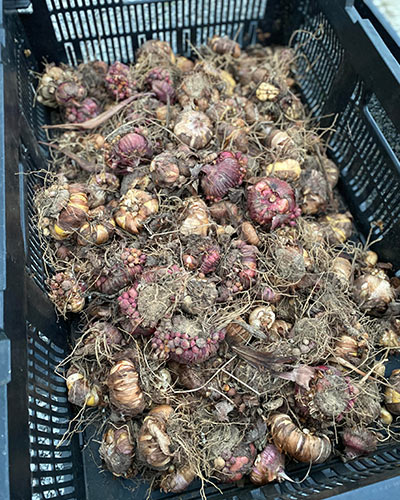
Once the foliage has died back, carefully dig up the corms with a garden fork or spade. Be careful not to damage them during the digging process. If you’re unsure where the corms are located, follow the old stems down to the ground to find them. After harvesting, shake off any excess soil from the corms, and remove any dead or damaged corms from the batch.
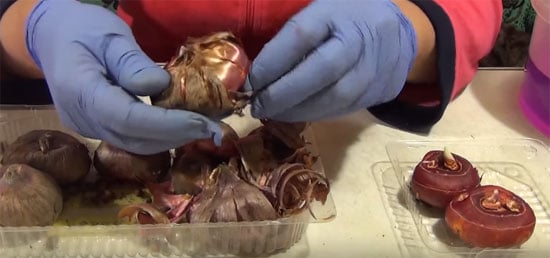
3. Cleaning Corms
After harvesting and sorting, these bulbs need to be cleaned before storing. Start by removing any remaining stems, roots, and other debris still attached to the corms. Then, fill a bucket with clean water and add a tablespoon of fungicide or household bleach per gallon of water. Soak the corms in this solution for 15 to 20 minutes to disinfect and prevent disease. After soaking, remove the corms and rinse them in clean water to remove any residue or debris.
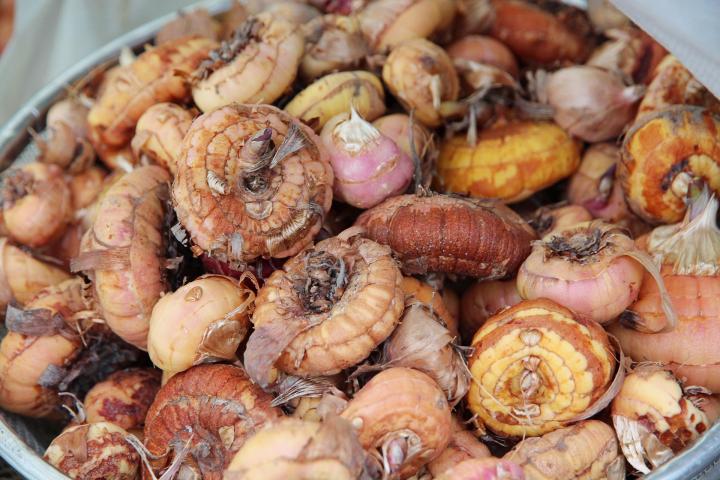
4. Drying Corms
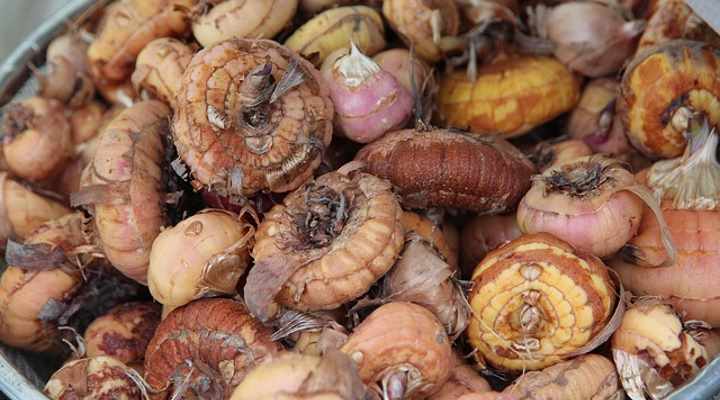
Drying is the final stage in preparing gladiolus corms for overwintering. Spread the corms out on a flat surface, such as a tray or newspaper, in a warm and dry location. Ensure that they are not touching each other to avoid rotting. Allow the corms to dry for 2 to 3 weeks or until the outer skin feels dry and papery to the touch. Do not expose them to direct sunlight or excessive heat, as this can damage the corms. Once fully dried, store the corms in a cool and dry location, such as a paper bag, mesh bag, or cardboard box, until it’s time to plant them in the spring.
How to Store Gladiolus Bulbs
The second step is storing these bulbs after drying them. Proper storage of gladiolus corms is important to ensure their survival and health until the next growing season. Here are some tips on how to store gladiolus corms.
1. Choosing a Storage Location
The ideal storage location for gladiolus corms should be cool, dry, and well-ventilated with a temperature of 40°F (4°C). It should also be free from pests and rodents that can damage the corms. A basement, garage, or shed can be a good storage area as long as it meets these criteria. It is important to avoid storing the corms in areas that are prone to flooding or have high humidity, as this can cause the corms to rot.
2. Preparing the Storage Area
Before storing the corms, it is important to prepare the storage area. This includes cleaning and disinfecting the storage space to prevent the spread of disease. The area should also be inspected for any signs of pests or rodents, and measures should be taken to prevent them from entering the storage area.
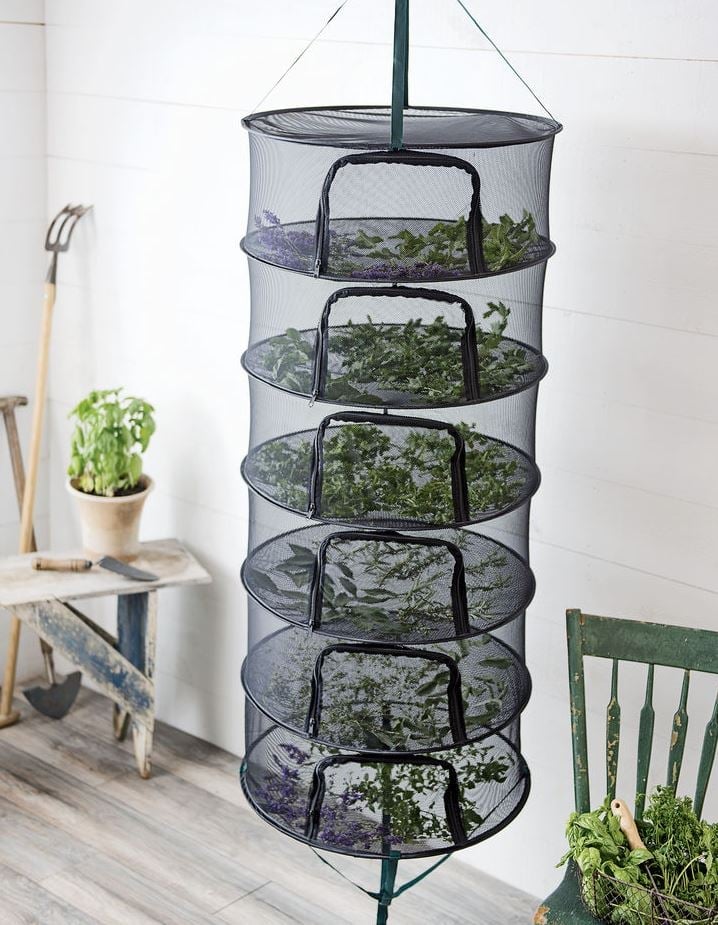
3. Placing Corms in Storage
The dried corms can be placed in a container, such as a mesh bag or cardboard box, and stored in the chosen location. It is important to ensure that the corms are not overcrowded in the container, as this can lead to damage or disease. Additionally, it is a good idea to label the container with the variety and planting date of the corms for easy identification in the future.
Proper storage of gladiolus corms is essential for their survival and health until the next growing season. By choosing a suitable storage location, preparing the storage area, and placing the corms in storage properly, you can ensure that your gladiolus corms are protected and ready for planting in the next growing season.
Monitoring of Gladiolus Bulbs
Gladiolus corms require monitoring to ensure that they are healthy and disease-free. This is important to maintain their vitality and ensure a successful growing season. Here are some important steps to consider when monitoring gladiolus corms.
1. Checking on Corms Periodically
It is essential to check on gladiolus corms periodically throughout the growing season. This will help identify any potential problems and allow for quick corrective action. Checking on the corms every two weeks is good practice.
2. Examining for Signs of Damage or Disease
When monitoring gladiolus corms, it is important to examine them for any signs of damage or disease. The following are some common issues that you should look for.
- Rotting: Inspect the bulbs for soft spots or signs of decay. If you notice any, remove them immediately.
- Insect damage: Look for signs of insect damage, such as chewed leaves or stems. You may also notice holes in the corms. If you find any, take corrective action as soon as possible. Some of the insects that can cause damage to corms are caterpillars, plant bugs, Obscure mealybugs, and bulb mites.
- Fungal disease: Keep an eye out for any signs of fungal diseases, such as discolouration or a fuzzy texture. If you see any signs, it is important to take action quickly.
3. Taking Preventative Measures
Preventative measures can help to minimize the risk of damage or disease to gladiolus corms. Here are some things you can do:
- Provide good drainage: Gladiolus corms prefer well-drained soil. Make sure that the soil is not waterlogged, as this can lead to rotting.
- Keep soil moist: Keep the soil moist but not waterlogged. Water the corms regularly, especially during dry spells.
- Use insecticides and fungicides: Use insecticides and fungicides to prevent insect damage and fungal disease. Make sure to follow the manufacturer’s instructions.
How to Replant Gladiolus Bulbs
Finally, after successfully completing the first three steps of overwintering gladiolus bulbs, it is time to replant them. Replanting gladiolus corms is an important part of their life cycle, ensuring that they continue to produce beautiful blooms year after year. Here are some considerations for successfully replanting gladiolus corms.
1. Timing Considerations
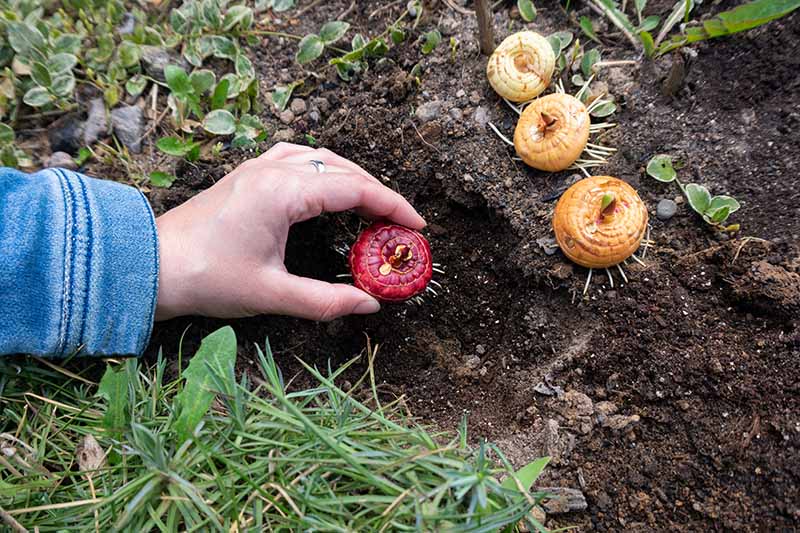
The best time to replant gladiolus corms is in the spring, once the threat of frost has passed and the soil has warmed up to at least 55°F (13°C). This is usually around early to mid-April, but the exact timing may vary depending on your location and climate.
2. Preparing the Soil
Preparation of soil for replanting begins by removing any weeds, rocks, or debris from the area where you plan to plant the corms. Then, loosen the soil to a depth of at least 4 inches (if the corm is 1 inch) using a garden fork or tiller. Mix in a balanced fertilizer or compost to improve the soil quality and provide nutrients for the corms.
3. Planting the Corms
When planting gladiolus corms, select a planting site with well-drained soil and full sun exposure. Dig holes that are about 4 to 6 inches (10 to 15 cm) deep and 6 to 8 inches (15 to 20 cm) apart. Place the corms in the holes with the pointed end facing up, and cover them with soil. Water the area thoroughly to help settle the soil around the corms.
4. Aftercare for Newly Planted Corms
After planting, keep the soil moist but not waterlogged. Mulch around the base of the plants with a layer of organic material to help retain moisture and suppress weeds. As the plants grow, you may need to stake them to prevent them from falling over in windy conditions. Additionally, you may want to fertilize the plants with a balanced fertilizer every 4-6 weeks to encourage healthy growth and abundant blooms.
Replanting gladiolus corms involves careful timing, soil preparation, and planting techniques, as well as ongoing aftercare to ensure the health and longevity of the plants. With these tips in mind, you can enjoy a beautiful display of gladiolus blooms year after year.
Overwintering Corms: Ensuring Healthy Blooms

Overwintering gladiolus corms is a critical step in the cycle of successful gladiolus growth. By taking the time to dig up, store, and replant the bulbs properly, you are providing them with the care and attention they need to thrive.
Overwintering allows the corms to rest and rejuvenate during the dormant season, which ultimately leads to stronger, healthier plants with bigger, more vibrant blooms in the spring and summer.
By following the tips and techniques mentioned in this article, for overwintering gladiolus corms, you can ensure a successful growing season and enjoy the beauty and colour of these stunning flowers year after year.
So if you want to enjoy these stunning flowers for many years to come, be sure to take the time to overwinter your gladiolus corms properly.
Frequently Asked Questions
How Do You Overwinter Gladiolus?
To overwinter gladiolus, dig up the corms after the first frost, cut back the foliage, and remove excess soil. Dry the corms in a cool, dry place for 2 to 3 weeks. Then, store the corms in a cool, dark place above freezing until ready to plant in the spring. It’s important to check the corms periodically for signs of rot to ensure they are healthy for planting.
Does Gladiolus Have Bulbs or Corms?
Gladiolus has corms that are sometimes called bulbs. Corms are underground storage structures that are similar to bulbs but differ in their anatomy and growth habits. Corms are used to store energy and nutrients for the plant to use in the following growing season. They are a common way for plants to survive through seasonal changes and harsh conditions.
Can Gladiolus Grow in Winter?
Gladiolus is typically grown as a summer-flowering bulb or corm and is not well-suited for winter growing in most regions. However, in warmer climates or areas with mild winters, gladiolus can be planted in the fall for winter growth and blooming.
Are Gladiolus Bulbs Annual or Perennial?
Gladiolus bulbs, or corms, are generally considered to be herbaceous perennials. In colder regions, they are often treated as annuals and replanted each year. In warmer climates, however, they may survive and continue to produce blooms for several years.
How Many Seasons Does Gladiolus Bloom?
Gladiolus typically blooms once per season, usually in the summer months. The specific timing of blooming can vary depending on the variety of gladiolus and the climate in which it is grown. Some gladiolus varieties may bloom earlier or later in the season than others, and some may have a longer blooming period than others.