How and When to Properly Harvest Mint

Table of Contents
Mint is one of the most commonly planted herbs in every household, offering many functional advantages. Apart from being a valuable cooking ingredient, you can find mint being utilized in beauty products, gums, toothpaste and even candies.
This herb belongs to the Mentha family of plants. With over 30 kinds of mint available, it is the fastest-growing crop that can be found in every corner of the earth. The most commonly used mint varieties are spearmints, peppermints, chocolate mints and English garden mints.
Because mints are filled with menthol, a high-fragment essential oil, they are used in perfumes, teas, or even medicines for their healing, anti-bacterial and anti-inflammatory qualities.
So, if you plan to grow a fresh mint plant and want to understand how to harvest mint, this article is for you.
When to Harvest Mint Leaves
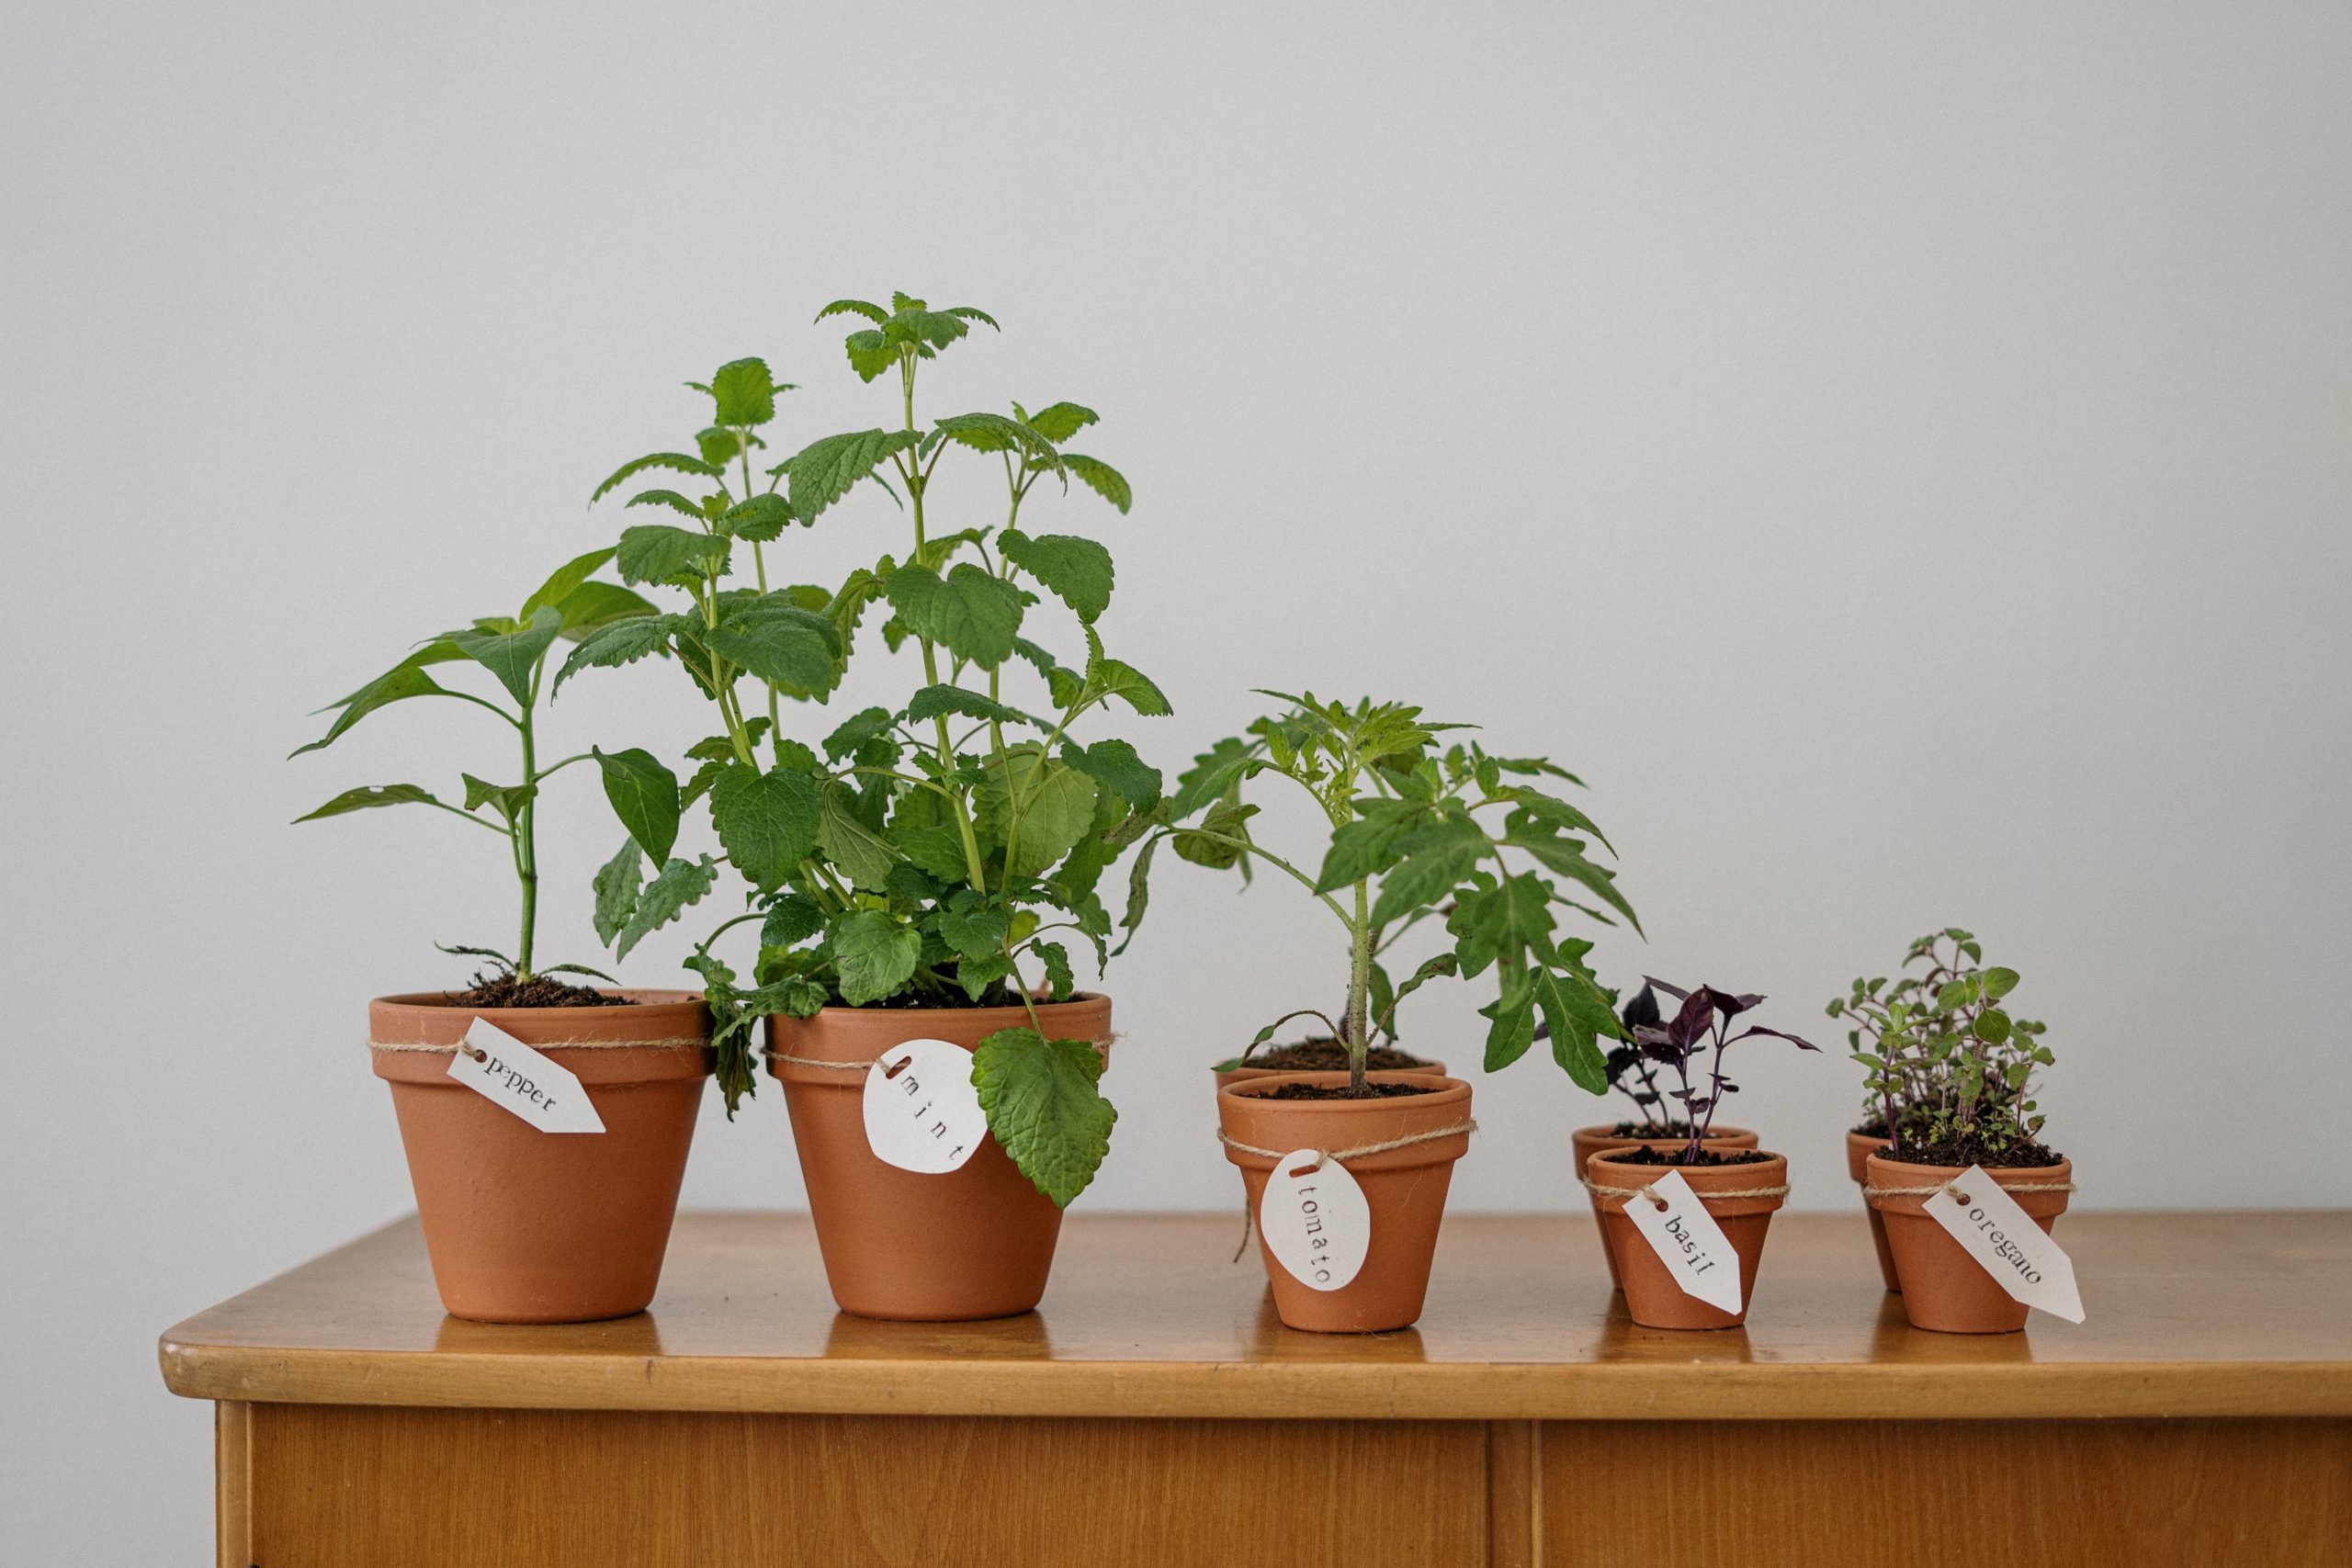
If you are considering planting mint, you should most definitely grow it in containers or pots, as it spreads invasively. And, if you sow it in the garden, it will overtake all the other plants. So, choose accordingly.
To harvest the plant, wait till spring and let it fully mature, so you can start picking out the leaves. You can continue reaping the plant to keep the herb in check from expanding all over, as pricking the leaves gives the plant an indication to grow newer foliage. Simply put, the more you pluck the leaves, the more plant will grow.
The flowering period of mints starts from June to September. Harvesting the plant from May to October, before the mint starts blooming, is the perfect time to do so. In different regions of the UK, this window is much longer. In this period, mint leaves are rich in oil and flavours. And they look like tiny undeveloped, greeny buds.
How to Harvest Mint
Reaping the mint leaves often keeps the plant healthy and blooming. So, follow these simple steps to harvest the mint plant.
- The best season to harvest the plant is late spring to early fall. Or reaping them before the mint leaves turn into flowers, as mints are most delicious then.
- Do the process in the morning after the fog has passed. It will keep the leaves from getting rotten when you pluck them.
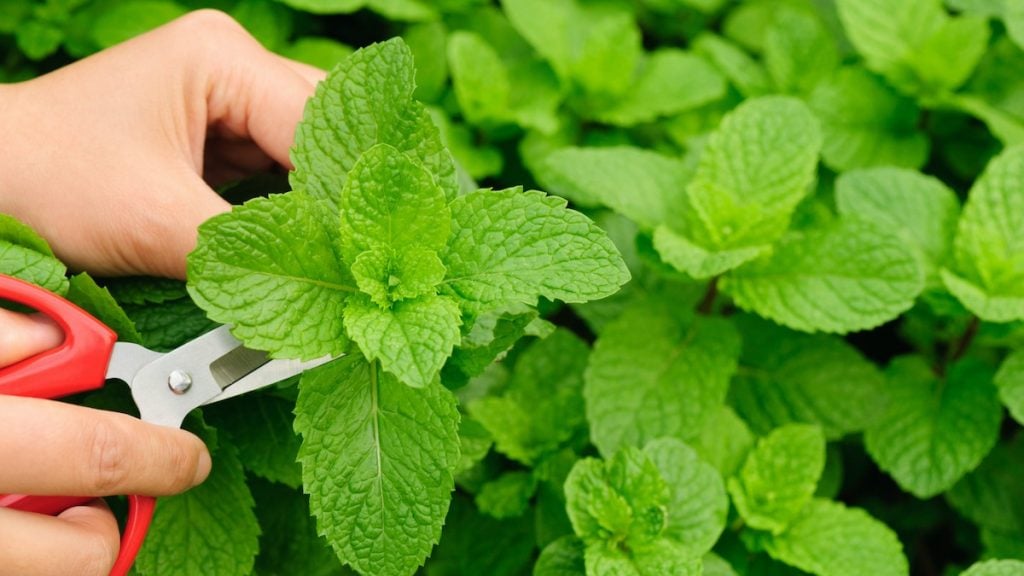
- Start with cutting the younger and the smallest stems with scissors. They contain the most minty flavour. Once you are done trimming, leave the plant to have newer and fresher growth.
- Use clippers to cut the mint up to 4-6 inches or cut as many leaves as required at the main stem just below the second set of leaves. Doing this once or twice every season will provide you with tons of mints to harvest.
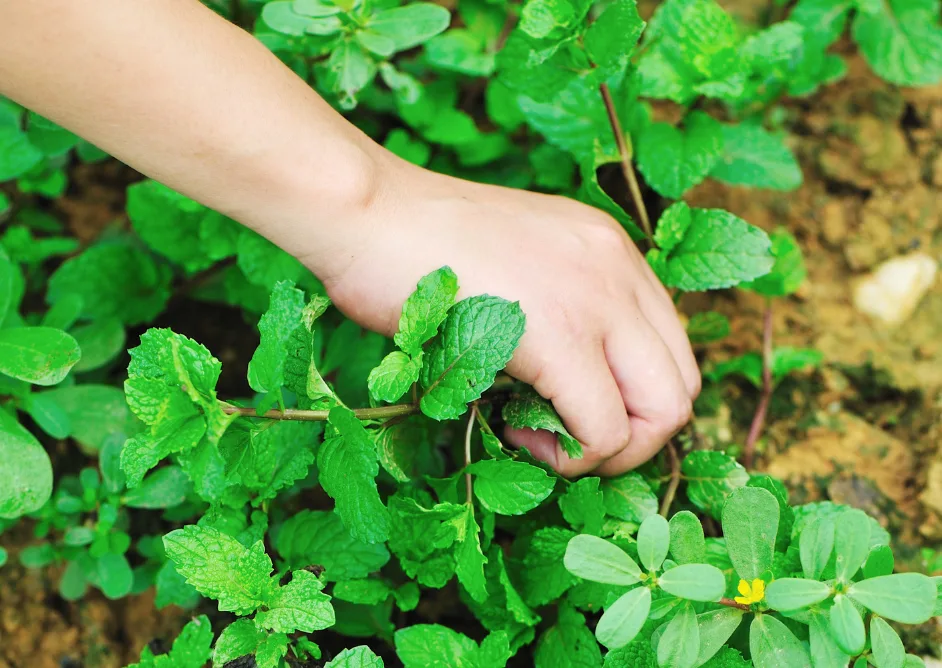
- Cut these mint plants evenly or simply prick them out to maintain the balance between harvested and non-harvested ones.
- Wash off the dirt from the pruned leaves and stems with warm water. Once the leaves are dried off, they are ready to be used.
You can harvest a mint plant twice or thrice in its growing season. So, either pick the leaves as you need them or keep them frozen or air-dried to use later on.
How to Store Mint Leaves
Mint is best when it’s fresh out from the plant. However, if you plan to use mint afterwards, you can store them for a shorter or longer period accordingly. So, using freshly clipped leaves, freeze them or wait till they have dried up, so you can crush or chop them and add a spicy mix to your recipe.
1. Watering Mint
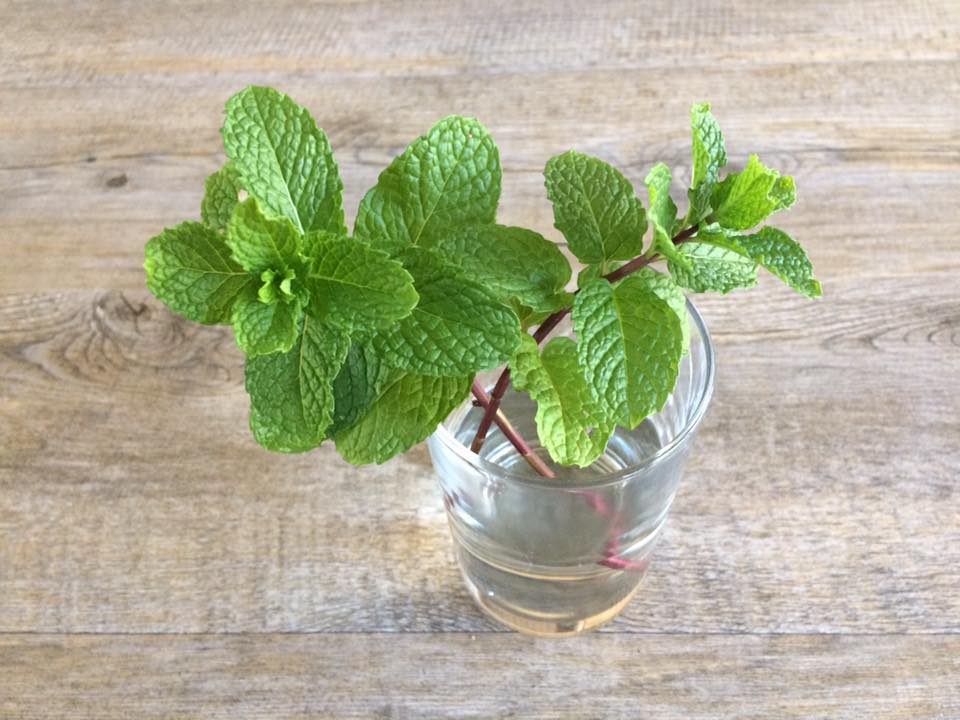
If you want to keep your mint leaves fresh for a week, you can do so by sticking its stem in water. Take a glass or a jar with minimal water so as to sock the mint stems appropriately into it. Keep the jar in the fridge, and you are good to go. Do change the water every few days to keep it healthy.
2. Refrigerating Mint
Start with washing the mint in running water or simply swirl it around in a bowl full of water. Wrap the mint sprigs in a slightly wet paper towel or newspaper and place them in a plastic bag which is not properly sealed. Put the bag in the refrigerator, and the leaves can last up to 3-14 days long.
3. Freezing Mint
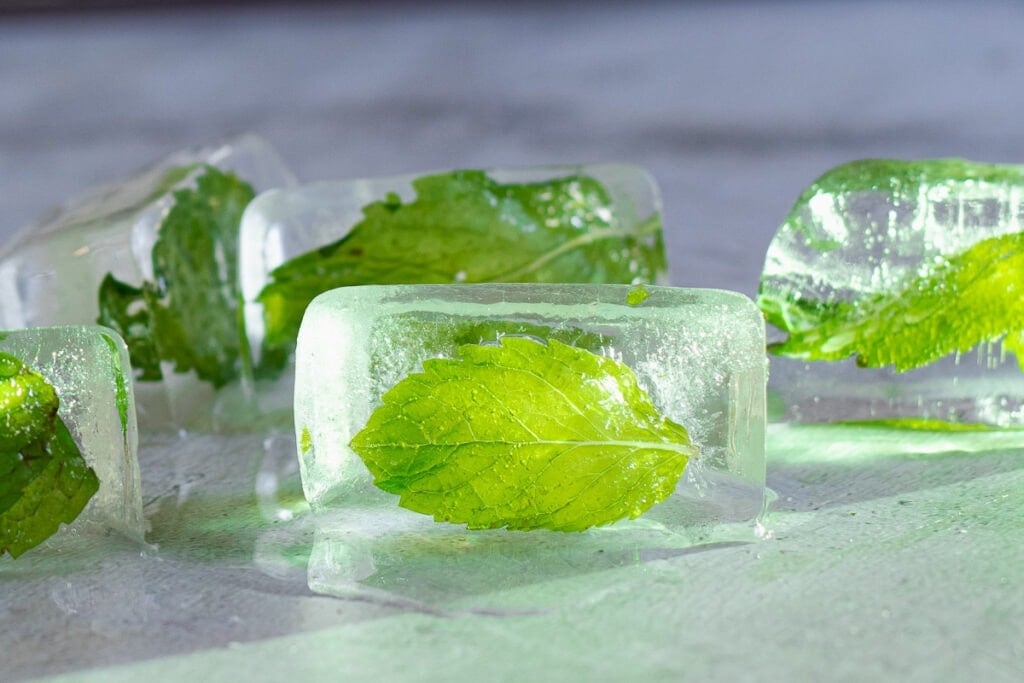
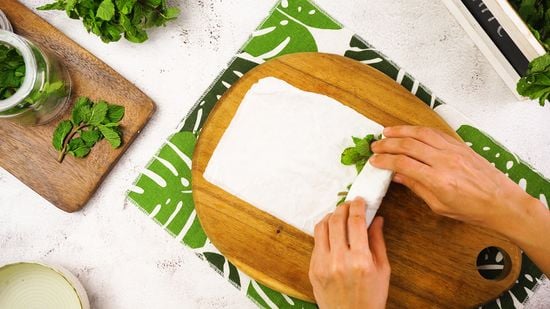
To store the harvested mint leaves for 8-10 months, dry the mint, leave some moisture, and put it in a zip-lock bag. Ensure there’s no air left in the bag, zip lock it and put it in the freezer. You can also chop off the leaves and put them in an ice tray filled with water. And use those mint ice cubes whenever required.
4. Drying Mint
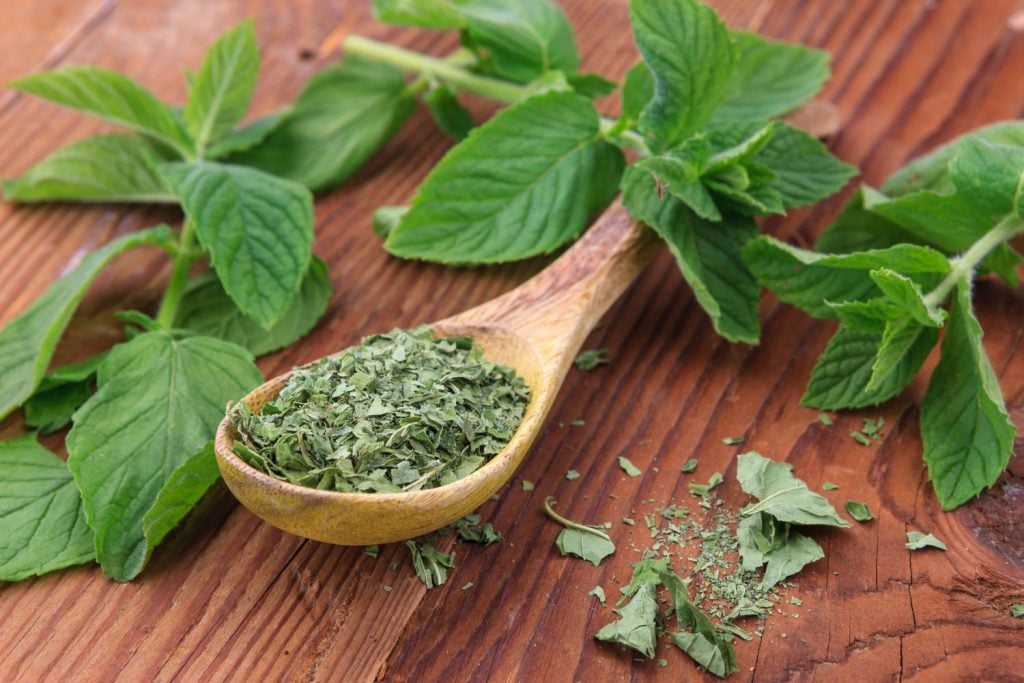
Use a dehydrator or standalone fan to dry out the mint leaves completely. If kept in a dark and dry room, you can successfully store the dried mint for up to 18 months. So, start by creating small batches of mint and tying up the stems with cotton twine. Afterwards, suspend them either using hooks or shelves to dry them out thoroughly.
How to Propagate Mint
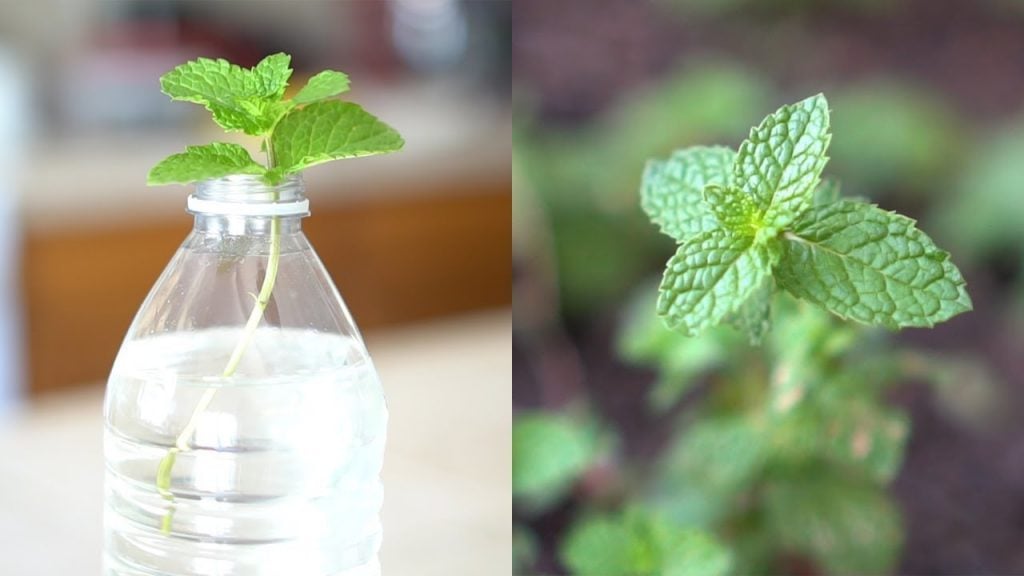
It might be surprising, but you can quickly propagate mint leaves or grow from the cuttings. Take 6-inch cuttings of the rooted stems and sow them horizontally in the potted soil or directly into the ground. You can even root them in a glass of water. Simply take an established plant, cut its smaller leaves and put them in the glass.
How to Protect Mints from Diseases
After learning when and how to harvest mint leaves, the next step is to protect them from pests and diseases flying around your plant. Growing mint plants like peppermint or spearmint are excellent for repelling animals like mice and deer.
1. Powdery Mildew

Powdery mildew is a fungal infection severely affecting mint plants. It appears on mint leaves, stems and petioles in a white-greyish granular form. Placing the plant in a sunnier location rather than a shady one can protect it from the fungus. You can also use fungicides and prune the dead leaves to stop them from spreading to other plants.
2. Rust
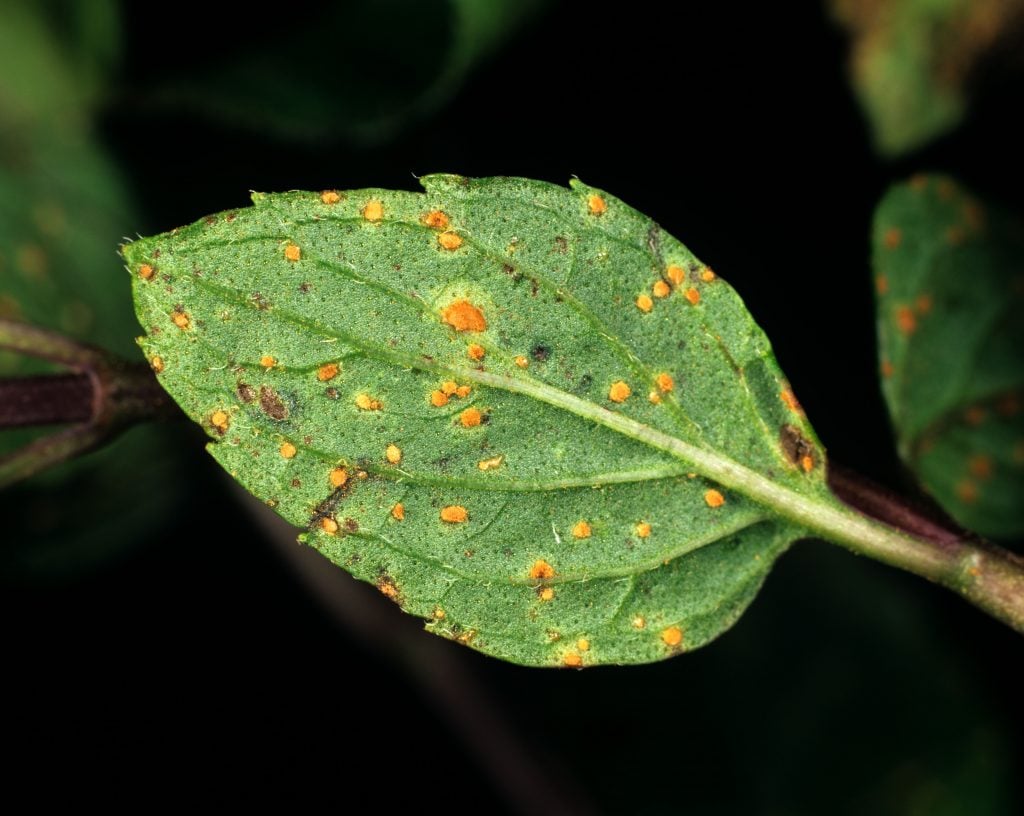
Rust is another fungal parasite that affects the mint plant badly. It spreads through the pour and can spread through air and water in your garden. Wet surfaces are the primary cause of rust. So, if your plant starts having yellow or white spots, it’s got rust. Unfortunately, the disease has no cure, but removing the infected plant can help stop it from circulating.
3. Stem Canker
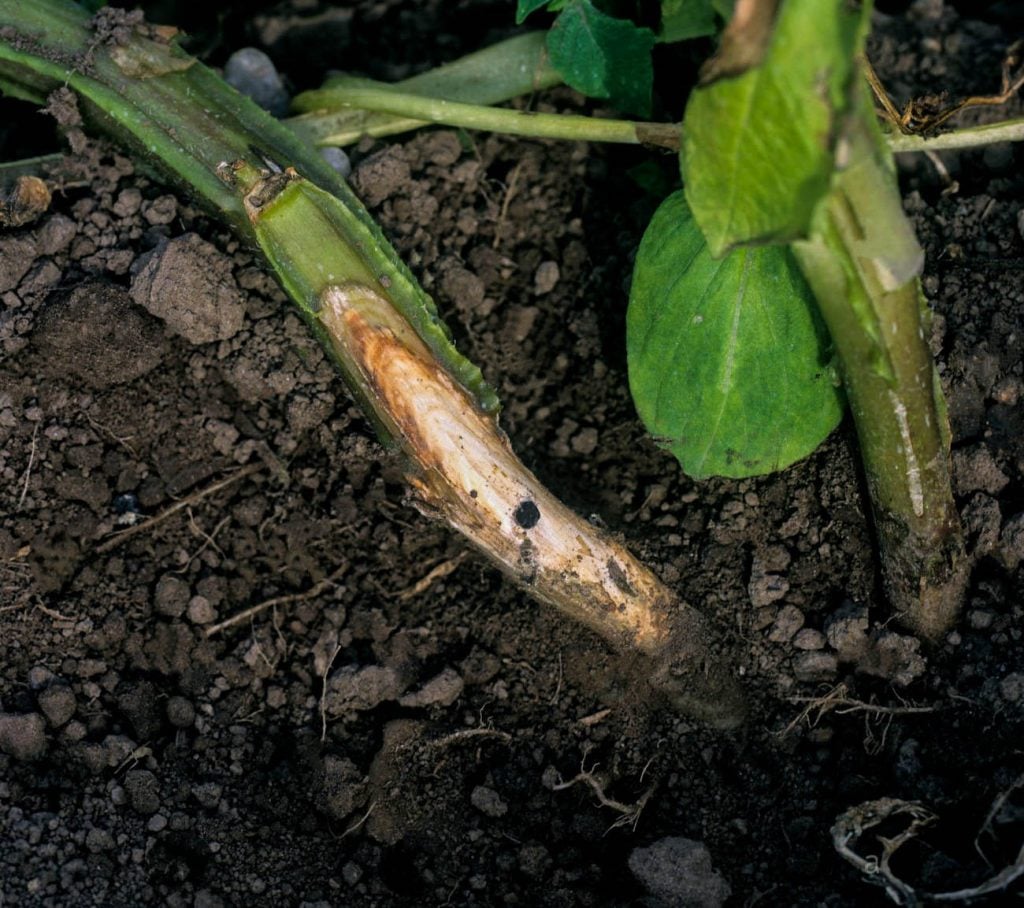
A black stem rot in your mint production is a moderate to severe problem, depending on how much the plant is affected. If your plant turns brownish or has black cankers on the stem, it has caught the fungus. The chance of getting this fungus is relatively high on chilly or rainy days. It slowly spreads in your plant, eventually causing it to wilt and die.
4. Anthracnose
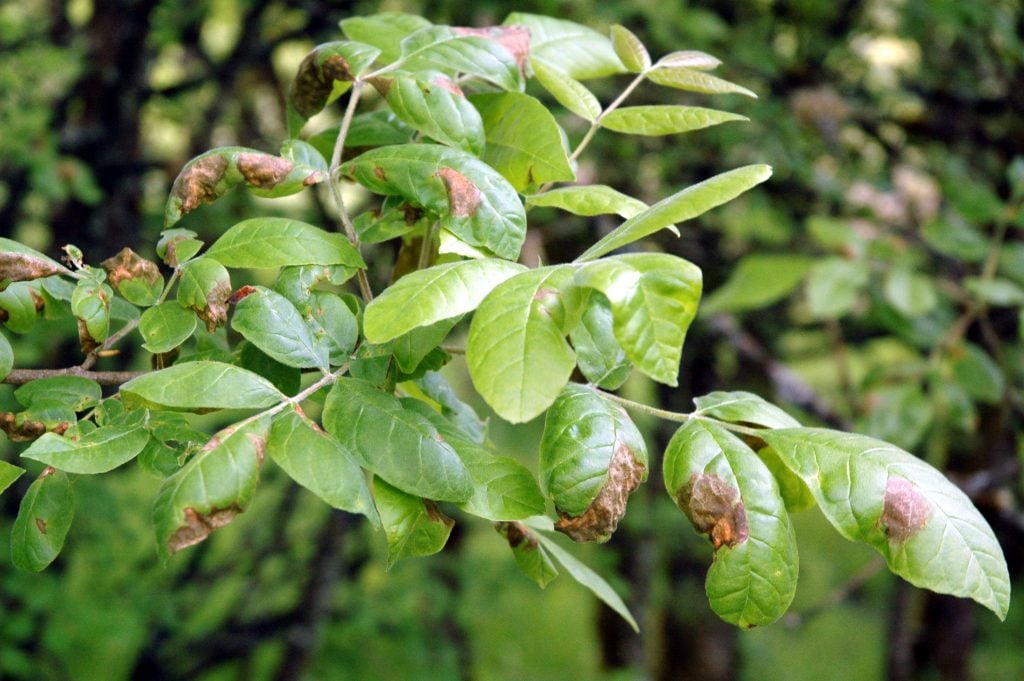
Mint Anthracnose, also known as leopard spots, is a fungus causing small brown spots on the lower leaves and stems of the plant. Like rust, it can also spread to other plants through watering. You can try spraying a lighter copper-based fungicide or prune and destroy the affected leaves completely. However, removing it would be a better option if your plant gets seriously infected.
Five Benefits of Mint Leaves
Now that you know how to harvest mint leaves, it’s time to put the cuttings into use.
1. Cook Your Favorite Dishes

Use the freshly cut mint leaves in your favourite recipe. It goes significantly well with peas, beans or porks and lambs. You can chop them off and add them to your fruit salad for a tangy flavour.
2. Mint Tea

Make a soothing and strong mint tea by boiling water and adding leaves. Steep it for 5 minutes and add sugar according to your taste. It helps relieve stress and anxiety quickly.
3. Cocktails and Mint Cubes
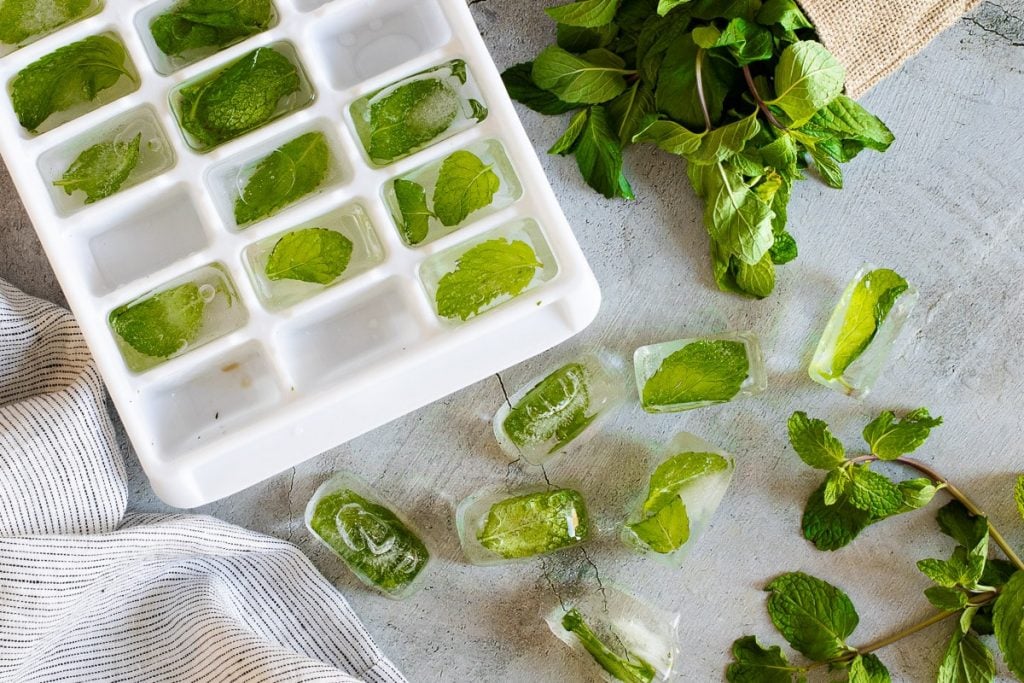
Freeze the mints with water in an ice tray. Toss those minty ice cubes in your favourite cocktail or lemonade. You can easily make your own mint mojito with mint plants right at your place.
4. Dressing the Meals

Garnish the dishes for an added taste when your meal is ready. Or, when you start cooking, you can use powdered mint with other herbs to have a spicy, tasty dish to devour.
5. Curing Headaches
Applying a bunch of compressed leaves directly to your forehead relieves a tension headache. The oil it secretes, filled with menthol, instantly numbs the pain and soothes you.
Conclusion
All in all, having fresh and juicy mint leaves at your home works amazingly well. This plant offers many uses, from cooking to soothing nerves to livening up the place. So, when the question arises regarding how to harvest mint, you can do so simply by plucking its leaves very gently.
Mint is considered a bully plant that, when not clipped away, very often could take over. This herb tends to be most flavoured right before it starts flowering. So, when the plant is fully established, cut down its leaves, and use them for cooking or other things.
Harvesting the plant doesn’t require much effort, so let it grow appropriately, and trim it every other day to have a new, fresher growth.
Frequently Asked Questions
Does Mint Regrow After Cutting?
Yes, mint grows back with fresher leaves after trimming or cutting them. And you can pluck them twice or thrice in its growing season to have tangy-flavoured mints ready to be eaten. Just cut a certain amount you require or store it whenever you like.
How to Harvest Mint to get the best flavours?
To get the best flavoured minty leaves, trim them before they start blooming. Watch carefully for the flower spikes to be born, and cut it right at the base of the plant. The more you pluck the leaves, the fresher growing leaves you’ll have in your house.
How Do You Know When Mint is Ready to Be Plucked?
You can clip the leaves whenever necessary. But, the accurate harvesting time for mint would be when the plant has reached a height of around 4 inches. And, when it is ready to start flowering, pluck the leaves out right before.