How to Plumb in American fridge freezer?

Table of Contents
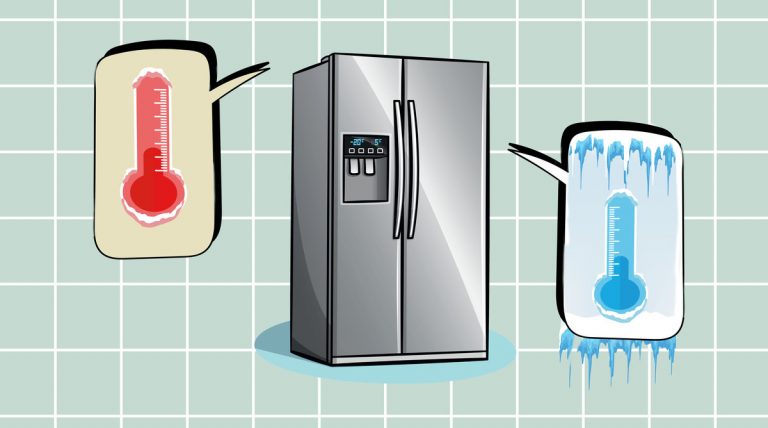
Having a constant water supply plumbed into your fridge which has cold water and ice dispenser gives you a convenient way of having chilled water and ice cube supply all the time. Whenever you want a glass of cold water or want some ice in your drink you can have it at a press of a button.
There are various models of fridge freezers available, some of the best American fridge freezer have the feature where you can install a water supply. While other models do not require plumbing in and the water can be filled manually. This not only consumes a lot of time but it is also not very efficient.
So, it is far better to have a water line connected to your fridge rather than filling water manually several times a day. If you just moved to a new house and wondering how to plumb in your American fridge freezer to water supply then you have visited the right place.
When we buy a new fridge then we get a free installation from the company but when we move to a new place, we have to arrange it ourselves or call a technician. However, you can do it yourself and that’s what today’s article is all about.
Where should you install the fridge freezer.
The first thing you have to do is to decide where you are going to get the water from your fridge freezer. Check whether you have a water line in the basement and a place to keep the fridge nearby just above it.
If your home doesn’t already have a water line setup then look for a place which has a sink or water tap nearby. The water taps or sink already has a water line installed so you can use it for your fridge freezer. Make sure to use the cold-water line because you don’t want to put hot water into the fridge and then let the fridge cool it down.
You have to make sure the distance between the tap and the fridge is close to minimize the pipes. Once you have determined the location then you can proceed with the routing process and connect the fridge to your sink’s water line.
Plumbing a Water Line to your fridge freezer.
Once you have decided where to install the American fridge freezer let’s see how you can plumb it in. There are several moments where the installation could go wrong so we suggest you to read each step carefully to avoid doing any mistakes.
Materials and Tools Required.
Let’s start by buying all the materials required. Basically, you will need some fittings, valves, and pipe. The fittings should be Push-fit type that comes in T shape but in your situation, it might be different. So, we recommend you to get the installation kit which already has most of the things required so you don’t have to buy each item +separately. You can get it in any of the hardware stores at a very affordable price. The water line should be braided as they are long-lasting. You also need a few simple tools such as the small wrench and a screwdriver.
Making the Connection.
Now that we have gathered all the materials and tools required let’s see how you can make the fittings. First, turn off all the water supply by switching off the main valve which supplies water to the sink. Now take a closer look at the sink and see how it’s connected to the waterline. If the pipe goes under the sink and there it has the connections to the water line then you have to open the connection and add the T shaped valve.
Basically, the T shape valve is used to break a water line into two different connections. So, you can have one connection to the Water tap and other to the fridge freezer. In case the water tap is directly connected to the water line then we have to remove the tap and add the T shaped Valve over there.
Connect one end of the T shaped Valve to the water line and connect the other end to the sink or water tap. The hole left in the center is where you are going to connect the piping. Secure the pipe using the O ring. Now connect the braided pipe you bought or the one which comes with the installation kit to the valve and pass the other end to the fridge freezer. If the water line goes under the sink then you might have to drill a hole through the cabinet and pass it to the fridge.
Finally, the last thing you have to do is connect the pipe to the fridge to complete the connection. Here again, you have to do the same thing, just push the other end of the bike on the connection at the back of your fridge and fix the O ring to secure the connection. Once everything is done you can use tape and secure everything in place. After you have connected the pipe to the fridge you can turn on the water supply and test if everything works.
Test If Everything Works.
To test that everything is working fine and there is no leakage just turn the water supply and fridge back on and give it some minutes so the water runs through the pipe and store in the inbuilt water tank.
Once the water dispenser is ready to turn it on and flushes around 8 to 10 glass of water through it and in the meanwhile go through the plumbing and see if there is any kind of leakage happening. This will prevent any kind of problem in the future.
Final Words.
So, this was a quick tutorial on how you can plumb in your American fridge freezer however we will always recommend you to do the full research before performing such things. Any mistake made will either cause a problem to you or your fridge freezer so keep those things in mind. If you have any kind of problem then do let us know in the comments below and we will try to help you out.