How to Sharpen Garden Hedge Trimmers?
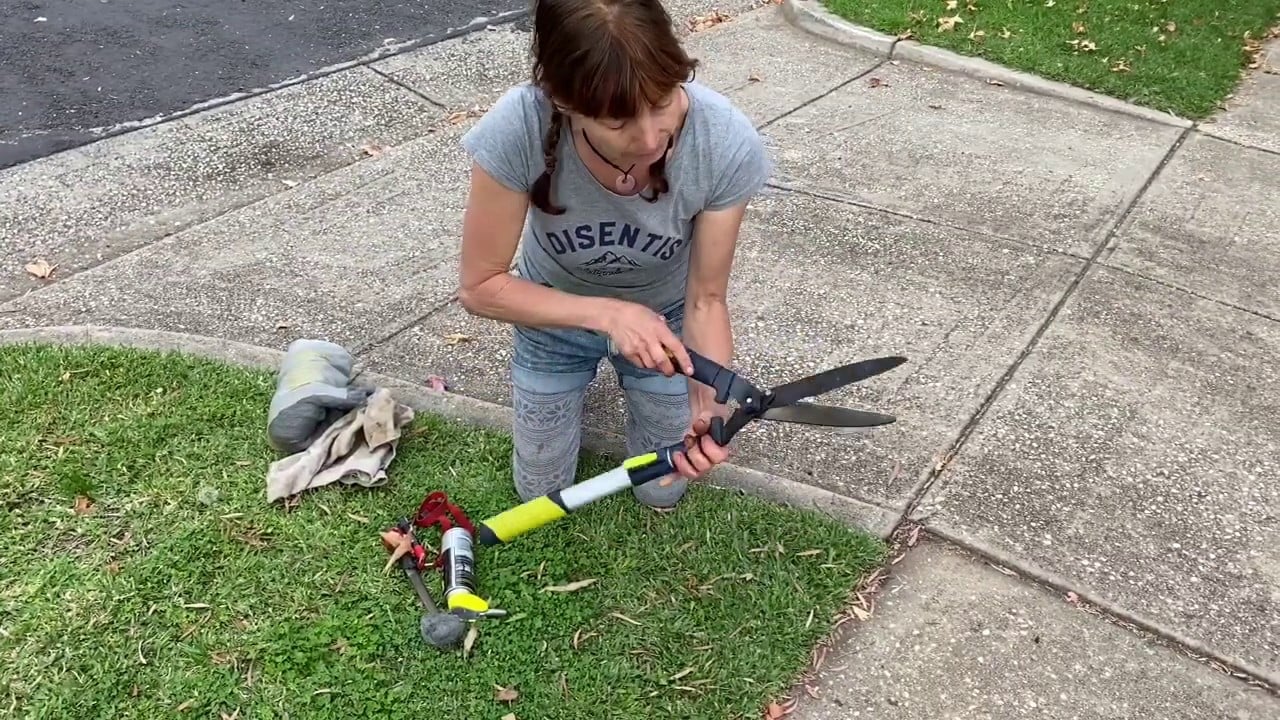
Table of Contents
Owning or taking care of a garden is not a piece of cake. As much as an aesthetic it proffers, it requires regular maintenance, from taking care of plants to cutting out and shaping the bushes or hedges. Though it demands expertise, once you are friendly with the technique, you are good to go! It will also aid you in saving some money in the future.
Should I repair my blade or buy a new one? This is the first question that pops up in our minds regarding the subject matter. Well, the answer is very logical. If the cost of repairing that is, of course, sharpening the blade of your trimmer is higher than half the price of a newer blade. Definitely, you should buy a new one but sometimes due to economic reasons, one cannot afford a repair or a replacement.
This happens when you do not regularly maintain your blade’s health. Sharpening should be a part of routine maintenance for your hedge trimmer. So, it is better to keep a track of your blade’s teeth and timely sharpen them when required.
For people who are comfortable doing the same, here is a small guide briefly describing how to sharpen your garden hedge trimmers and for people who might feel uncomfortable or timid doing the same may take professional assistance. Simply if you are not confident enough doing it just do not as it is a really tiring process and may give future complications if you are suited to the job!
Safety First. Before trying any kind of labor, safety measures and the kit are a must because you are not the classic, all arounder handy- manny!
Depending upon your trimmer’s type there are different ways and different tools for sharpening. However, these tools are the ones mainly used for this job- Stiff brush or steel wool pad, Soft cloths, Vice grip, Mill file, safety goggles, work or gardening gloves, stone, Dremel, or grinder.
Using a stone or a file, the work can be done physically which will take more time but Dremel and Grinder will be more efficient as they are powerful tools and will comparably take less time.
Primarily, the main source of your machine’s energy should be switched off!
- Electric Hedge Trimmers should be removed from the power source or the electrical outlet.
- The battery of Cordless Trimmers should be
- Make sure to unplug the corded
- For Gas Powered Hedge Trimmers, the gas tanks should be emptied
The basic trimming technique follows these steps:
- Wear protective gear during the whole course of time while doing the job. Goggles, gloves, clothes covering your body parts that are in close contact with the
- The area, where you will be carrying out the operation, should be cleared out to
- around easily.
- The surface should be flat where you will keep the
- Before using any tool like a whetstone, cleaning the blades before sharpening and moistening them is a foremost
Sharpening with a file
Although this is a time taking process but provides good results so all you need is just a little bit of patience.
- For a perfectly sharp blade, you should be filing towards the cutting The file tool works evidently when it is used in one direction.
- Look at your tool’s operating instructions for getting to know the ideal sharpening angle.
- Make sure all blades are cut at the same length lastly for providing good results. You may use the same number of strokes while using a file for Only the cutting edge of each tooth should be nipped.
- Be careful of NOT removing too much material while sharpening or the trimmer might become
Sharpening using a whetstone.
- During filing burrs develop underside of the blades, so use a whetstone which will help you in removing those
- Moistening was already So, using a careful motion in the direction of the tip and smoothing the surface which probably got rough while filing, use the whetstone along each tooth.
Sharpening with a Power Grinder
This process is quicker when compared to previous ones but since it procures faster results it also involves some dangers. So being alert and super cautious is all you need.
- Be gentle with the pressure in order not to grind the whole of your trimmer’s
- According to the sources, 60 or 80 is the best grinding wheel to work
- Be super sure of the movement of your It should complement the natural angle while going down.
- Power grinders prove to be the appropriate choice for better Short strokes for each tooth will result in superb shape and sharpness.
- Unlike filing, power grinding does not create much You could use a stone if this happens although the chances are comparatively lesser.
After-The-Process Awareness
There are also steps involved in caring for your trimmer after getting the job done. These steps not just fulfill the entire course of the process but also gives your trimmer a long life.
Everything needs cleaning, be it a living thing or a non-living thing and so does your trimmer. Cleaning is important after you sharpen your trimmer’s tooth. It will help in protecting it from natural destroyers such as rust and corrosion.
Finishing with the whole sharpening process and assembling your trimmer once again, oil the blades. Every tool and machinery needs regular oiling for maintenance over time.
Trust us if you accomplish the whole process, you will surely feel no more than the human handy-manny. The process is surely solid but will assist you in sparing the penny next time.
At the end, we would suggest watching a YT video for getting very thorough knowledge and grasping each little detail for this as it involves a lot of minor doubts which might have gotten skipped by us as it was a skimpy guide and sometimes, we require very peculiar attributes for an activity.